There’s something magical about bringing fresh spring blooms into your home—the colors, the fragrance, the instant mood boost. But let’s be honest: most of us grab a bunch of flowers, shove them in a vase, and hope for the best. The result? A sad, lopsided arrangement that looks nothing like those gorgeous Pinterest photos.
Here’s the good news: you don’t need years of floral design training to create stunning arrangements. With a few simple tricks that professional florists use, you can turn any grocery store bouquet into a magazine-worthy centerpiece. Let’s dive into the secrets that’ll have your friends asking, “Wait, you did this yourself?”

Choose Your Flowers Wisely
The foundation of any great arrangement starts at the flower shop (or farmer’s market, or even your backyard). For spring arrangements, you want a mix of three types:
- Focal flowers: These are your stars—think tulips, ranunculus, peonies, or garden roses
- Filler flowers: Smaller blooms that add texture like waxflower, stock, or spray roses
- Greenery: Eucalyptus, lemon leaf, or even herbs like rosemary
Pro tip: Choose flowers in different stages of bloom. Tight buds will open over the next few days, giving your arrangement a longer life and evolving beauty.
Prep Your Blooms Like a Pro
This step makes all the difference, even though most people skip it. Here’s what florists do behind the scenes:
- Strip the stems: Remove all leaves that would sit below the waterline—they’ll only create bacteria and make your flowers die faster
- Cut at an angle: Use sharp scissors or floral shears to cut stems at a 45-degree angle. This creates more surface area for water absorption
- Use clean water: Fill your vase with room temperature water and add flower food if you have it (or a tiny drop of bleach works too!)
Give each stem a fresh cut right before placing it in the vase—even if you just bought them. Those stems start sealing up within minutes of being cut.
Master the Grid Technique
Here’s a florist secret that changes everything: create a grid across the top of your vase using clear tape. Simply make a tic-tac-toe pattern across the opening.
This grid gives you control. Instead of flowers flopping to one side, each stem has a designated spot. You can create the exact shape you want—round, cascading, or asymmetrical. It’s like training wheels for flower arranging, and even professionals use this trick.

Build Your Arrangement in Layers
Now for the fun part! Follow this order, and you’ll create depth and dimension:
Start with greenery: Place your eucalyptus or foliage first to create the shape and size you want. This is your framework. Make it slightly wider than you think—it’ll look more natural.
Add focal flowers: Place your largest, showiest blooms next. Don’t cluster them all in the center—distribute them throughout the arrangement at varying heights. Turn your vase as you work to make sure it looks good from all angles.
Fill in the gaps: Use your smaller filler flowers to add texture and hide any stems that are showing. Think of this like adding accessories to an outfit—it’s what brings everything together.
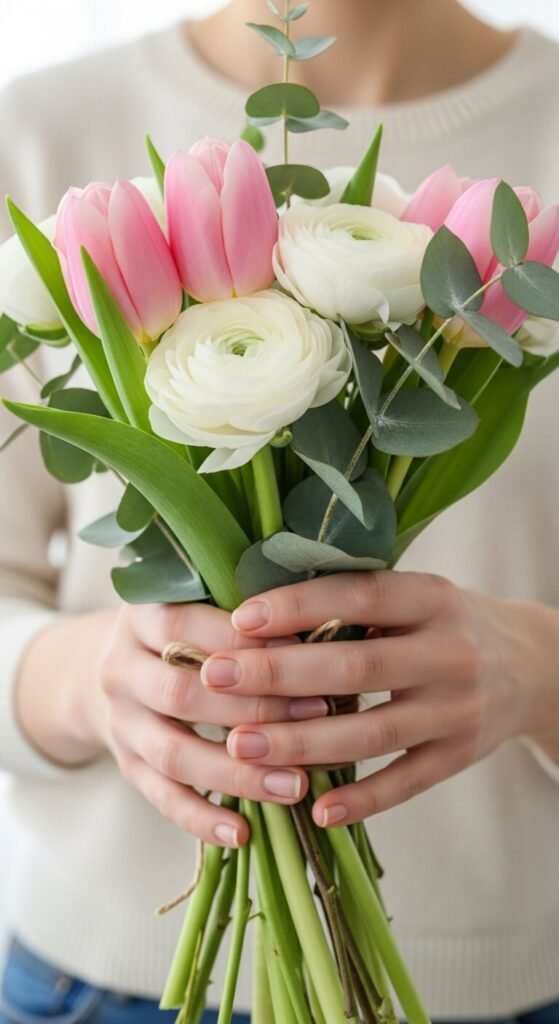
[Image Prompt] A hand placing a pink tulip into a partially finished spring arrangement, showing layers of greenery and other flowers already in the clear glass vase.
The Triangle Rule
Want to know the composition secret that makes arrangements look professionally balanced? Think in triangles.
Your arrangement should have three main points of interest forming a triangle—whether that’s three large blooms, three pops of color, or three different heights. This creates visual balance that’s naturally pleasing to the eye. It works for both symmetrical and wild, organic arrangements.
Finishing Touches That Matter
Step back and look at your creation. Here’s what to check:
- Rotate and adjust: Turn the vase and make sure there are no gaps or awkward holes
- Vary heights: Some stems should be short and tucked in, others tall and dramatic
- Remove the tape: Once everything’s in place, carefully peel away your grid
- Give it a drink: Top off the water and place your arrangement somewhere you’ll enjoy it

Keep Your Arrangement Fresh
Change the water every 2-3 days and give stems a fresh cut each time. Remove any flowers as they fade—this actually helps the others last longer.
Creating beautiful flower arrangements isn’t about perfection—it’s about bringing a little joy into your space. With these simple techniques, you’ll be arranging like a florist in no time. The best part? Each arrangement you create will teach you something new.
Save this guide for your next flower haul, and get ready to impress yourself! Your home (and your Instagram feed) will thank you.