There’s something magical about transforming plain white eggs into vibrant, naturally-dyed masterpieces. Forget the artificial food coloring—this Easter, let’s go back to basics with stunning dyes made from ingredients already sitting in your kitchen. Not only are natural dyes safer and eco-friendly, but they also create gorgeous, earthy tones that store-bought kits simply can’t replicate. Ready to create Instagram-worthy Easter eggs using nothing but vegetables, spices, and a little kitchen magic?

Why Choose Natural Dyes?
Before we dive into the how-to, let’s talk about why natural dyeing is worth the extra step. Traditional egg dye kits contain synthetic colors and chemicals that can irritate sensitive skin—not ideal when little hands are involved. Natural dyes are completely non-toxic, which means even toddlers can safely join the fun. Plus, the soft, muted hues you get from plants and vegetables have a vintage charm that’s absolutely perfect for your Easter aesthetic. Think dusty rose instead of hot pink, soft sage instead of neon green.
Gather Your Natural Dye Ingredients
The best part about natural egg dyeing? You probably already have everything you need! Here’s what creates which colors:
- Red/Pink: Beets, cranberries, raspberries, or pomegranate juice
- Yellow/Gold: Turmeric, chamomile tea, or yellow onion skins
- Orange: Yellow onion skins (more concentrated) or paprika
- Blue/Purple: Red cabbage (yes, really—it makes blue!)
- Green: Spinach, matcha powder, or combine yellow and blue dyes
- Brown: Coffee grounds, black tea, or yellow onion skins

Preparing Your Eggs and Dye Baths
Start with white eggs for the most vibrant colors (brown eggs work too, but give more muted results). Hard-boil them first and let them cool completely—this prevents cracking and helps the dye adhere better.
For each dye color, use this simple formula:
- 2 cups water
- 2 tablespoons white vinegar (this is crucial—it helps the dye stick!)
- Your chosen dye ingredient (about 2-4 cups of chopped produce or 2-3 tablespoons of spices)
Bring everything to a boil in a saucepan, then reduce heat and simmer for 15-30 minutes. The longer you simmer, the deeper the color becomes. Strain out the solids and let your dye bath cool to room temperature.
The Dyeing Process
Now comes the fun part! Gently lower your cooled hard-boiled eggs into the dye baths using a slotted spoon. Here’s where patience pays off—the longer you leave them, the richer the color.
Quick dip (30 minutes): Soft, pastel shades Standard soak (2-4 hours): Medium, vibrant colors Overnight bath: Deep, saturated hues
For the most dramatic results, refrigerate your eggs in the dye overnight. The cool temperature helps the pigment penetrate the shell more deeply.

Creative Dyeing Techniques
Want to go beyond solid colors? Try these artistic techniques:
Ombre Effect: Dip only half the egg initially, then gradually lower it deeper every 30 minutes to create a gorgeous gradient.
Nature Prints: Press small leaves, flowers, or ferns against the egg, wrap tightly in cheesecloth or pantyhose, then dye as usual. When you unwrap, you’ll have a beautiful silhouette!
Marbled Look: Add a tablespoon of oil to your dye bath before adding eggs. The oil creates random patterns and a unique marbled effect.
Rubber Band Resist: Wrap rubber bands around eggs before dyeing to create stripes and geometric patterns.
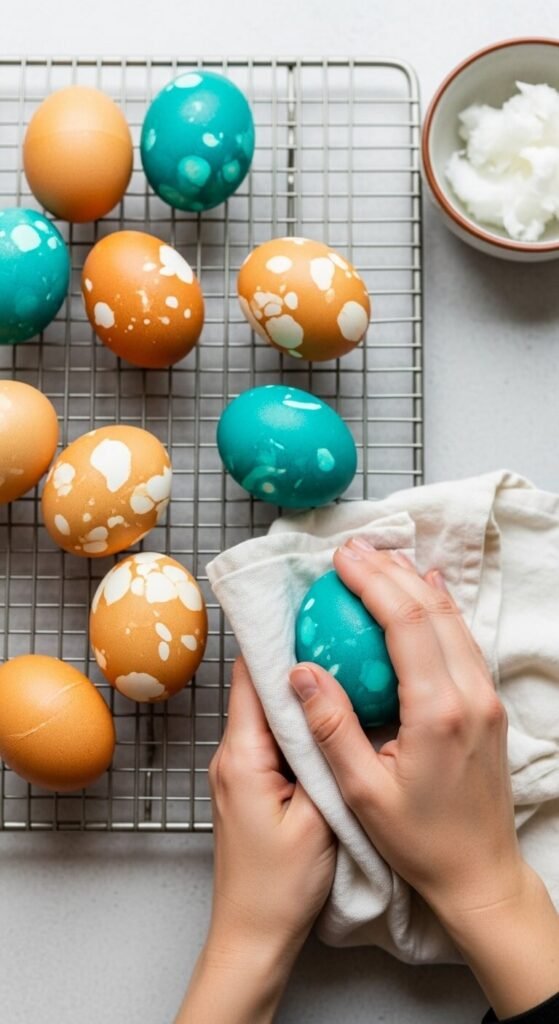
Finishing Touches
Once your eggs are perfectly dyed, remove them and pat dry with paper towels. For extra shine and a professional finish, rub each egg with a tiny bit of coconut oil or vegetable oil using a paper towel. This creates a beautiful glossy sheen that makes colors pop even more.
Display Your Natural Masterpieces
These beauties deserve to be shown off! Arrange them in:
- A vintage wire basket lined with straw or moss
- Individual egg cups down the center of your Easter table
- A rustic wooden crate with fresh spring flowers
- Clear glass vases or apothecary jars for a modern look

Tips for Best Results
- Always use white vinegar—apple cider vinegar won’t give the same results
- Be patient! Natural dyes take longer than synthetic ones
- Test one egg first if you’re unsure about color intensity
- Keep eggs refrigerated if you plan to eat them later
- Wear gloves or your hands might get dyed too (especially with turmeric and beets!)
Your Turn to Create!
Natural egg dyeing is more than just a craft—it’s a chance to slow down, get creative, and make Easter memories with ingredients Mother Nature provided. The soft, earthy colors you’ll create are absolutely worth the extra time, and you’ll love knowing exactly what went into decorating your eggs.
Ready to ditch the synthetic dyes forever? Save this guide and tag your beautiful natural egg creations! Which color are you most excited to try first?