There’s something magical about opening your front door to a burst of spring color. You know that feeling when you walk past a house with the most gorgeous wreath and think, “I could never make that”? Well, I’m here to tell you that you absolutely can—and it won’t take hours of your day or require expert-level crafting skills.
In less time than it takes to watch your favorite show, you can create a spring wreath that’ll have your neighbors doing double-takes. Whether you’re a crafting newbie or just short on time, this simple guide will walk you through creating a Pinterest-worthy wreath that looks expensive but won’t break the bank.
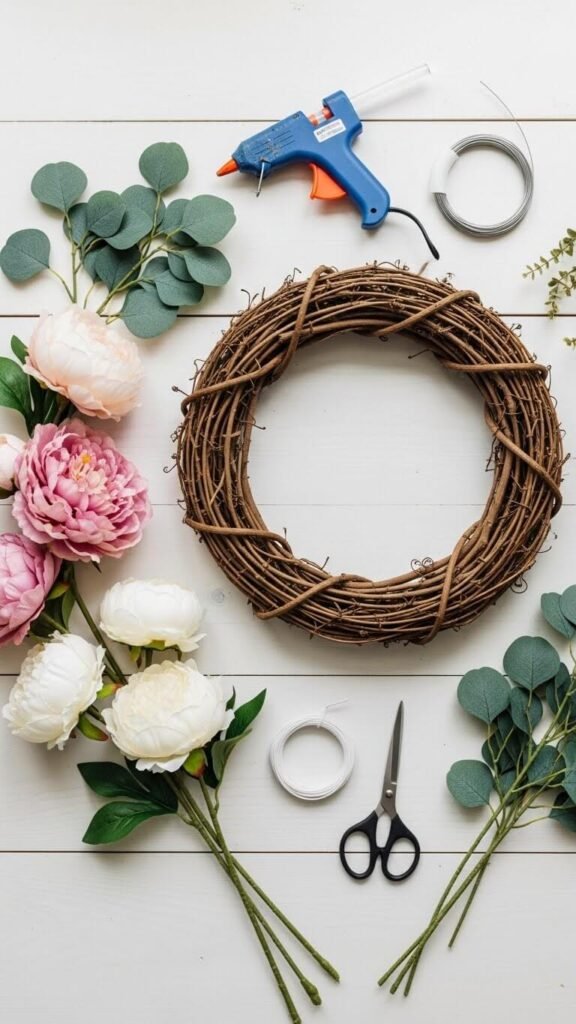
What You’ll Need
Before we dive in, let’s gather your supplies. The secret to finishing in under 30 minutes? Having everything ready to go before you start.
Essential Materials:
- One grapevine or wire wreath base (14-16 inches works best)
- Floral wire or hot glue gun with plenty of glue sticks
- Wire cutters
- 3-4 artificial flower stems in your favorite spring colors (think peonies, tulips, or hydrangeas)
- 2-3 types of greenery (eucalyptus, ferns, or ivy)
- Optional: ribbon for hanging
Pro tip: Hit up your local craft store during their weekly floral sale, or check dollar stores for budget-friendly artificial flowers that look surprisingly realistic.
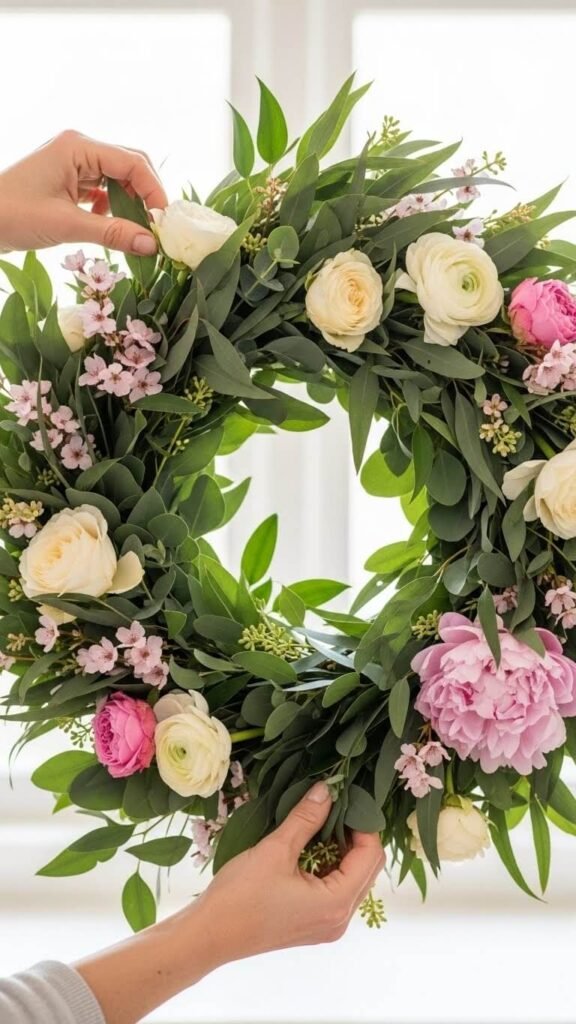
Step 1: Create Your Greenery Base
Start by building a lush foundation that’ll make your flowers pop. This is where your wreath goes from “meh” to magnificent.
Take your greenery stems and begin attaching them to the wreath base, working in one direction. If you’re using a hot glue gun, apply glue to the stem and press firmly for 5-10 seconds. For floral wire, simply wrap it around both the stem and the base a few times.
Layer different types of greenery for depth and texture. Don’t worry about making it perfect—spring is all about that wild, garden-fresh look! Aim to cover about 60-70% of your wreath base, leaving some of that beautiful grapevine texture peeking through.
Time check: You should be about 10 minutes in at this point.
Step 2: Add Your Statement Flowers
Now comes the fun part—bringing in those gorgeous blooms that’ll steal the show.
Choose one or two larger flowers as your focal points. I love clustering them on one side of the wreath for an asymmetrical, modern look, but you can also distribute them evenly for a more traditional style.
Cut your flower stems to about 3-4 inches, leaving enough to secure them but not so much that they stick out awkwardly. Tuck them into your greenery base at slight angles, not straight on. This creates dimension and makes everything look more natural and organic.

Step 3: Fill and Fluff
Take a step back and look at your wreath from a few feet away. See any gaps or sparse areas? This is your chance to fill them in.
Add smaller blooms or additional greenery pieces to balance everything out. The key here is to turn your wreath as you work, checking it from all angles. Remember, this will be hanging on a door or wall, so the front view is what matters most.
Gently bend and adjust your flowers and greenery to create movement. Real gardens aren’t rigid, and your wreath shouldn’t be either! Fluff those petals, spread those leaves, and let some elements extend outward for a full, abundant look.
Step 4: The Finishing Touches
Almost there! Give your wreath one final look and make any last adjustments.
If you’re adding ribbon, now’s the time. Cut a piece long enough to create a hanging loop, and attach it to the back of your wreath with hot glue or wire. For extra charm, you could also add a bow to the top or bottom front.
Trim any excess stems or wire that might be poking out. Run your hand gently around the entire wreath to make sure everything is secure and nothing’s going to fall off when you hang it up.

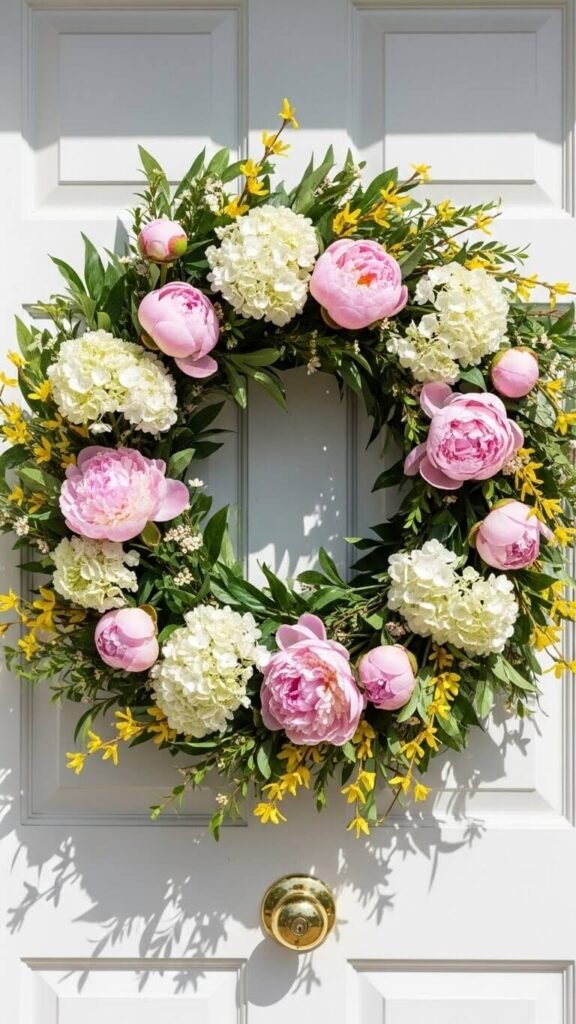
Your New Front Door Statement
And just like that, you’ve created a stunning spring wreath that looks like it came from a high-end boutique! The best part? You probably finished with time to spare for that cup of coffee you’ve been thinking about.
This wreath will brighten your entryway for the entire season, and you can easily swap out flowers or add seasonal touches as spring progresses. Feeling inspired? Try making extras as gifts—your friends will be amazed when you tell them it only took 30 minutes.
Save this tutorial for later and share it with a friend who needs a little spring refresh! Drop a comment and let me know what color combo you’re going to try first. Happy crafting!