There’s something magical about those first warm days of spring—when you suddenly notice the sunshine lasting a little longer and feel the urge to refresh every corner of your home. Your mantel is the perfect place to start. It’s like the jewelry of your living room, and with a few strategic styling tricks, you can transform it from “meh” to “magazine-worthy” in an afternoon.
The secret? Professional designers follow specific formulas that anyone can replicate. Let’s break down exactly how to create a spring mantel that looks like you hired an interior stylist—without actually spending thousands of dollars.
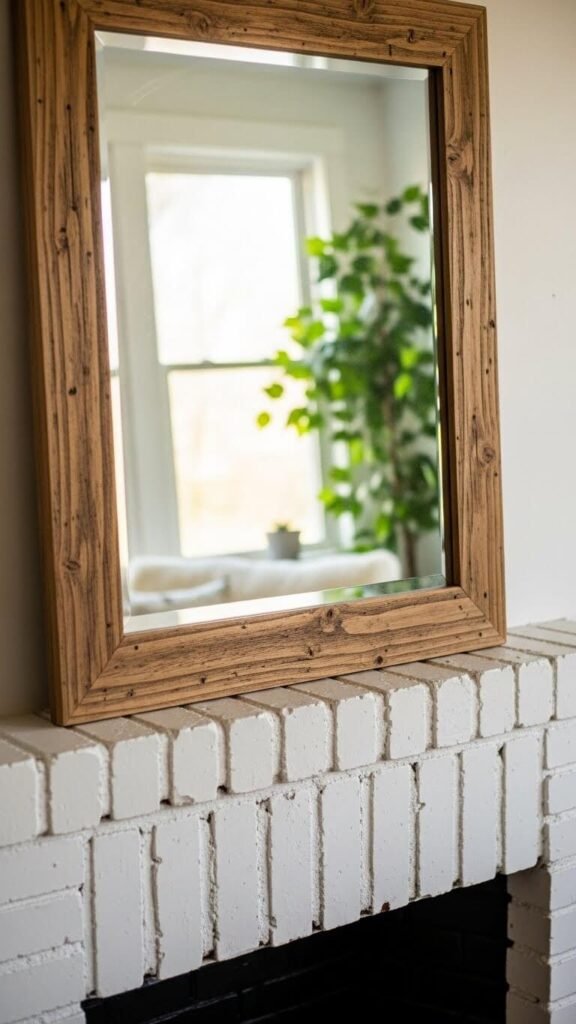
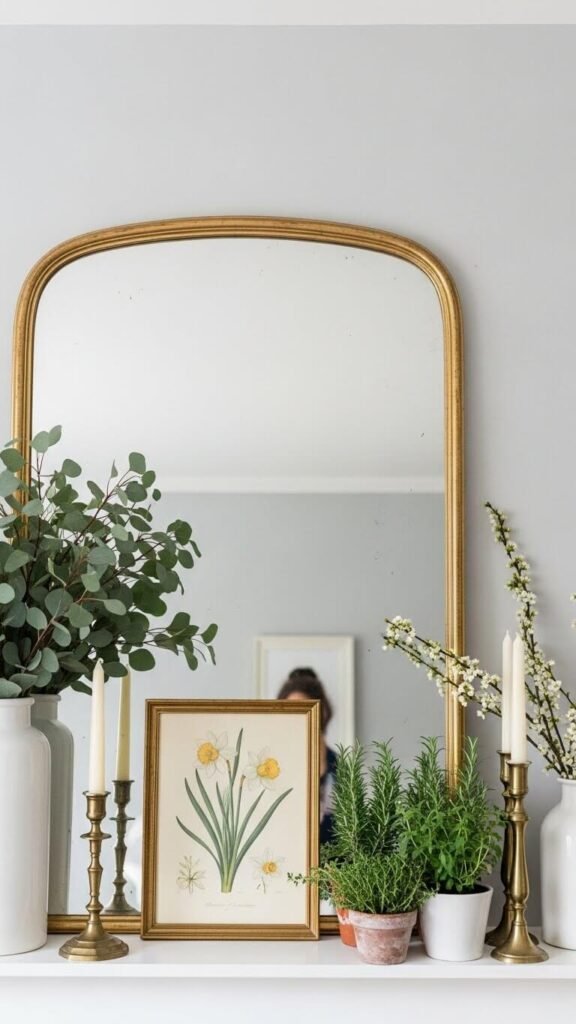
Start with a Clean Slate and Anchor Piece
Before you add anything new, clear your mantel completely. Dust it, step back, and really look at the space. This fresh perspective is crucial.
Now, choose your anchor piece—this is the hero of your mantel design. For spring, consider:
- A large mirror with a natural wood or gilded frame
- An oversized piece of botanical art
- A vintage window frame
- A statement mirror in an interesting shape
Your anchor piece should be substantial enough to ground the entire display. Position it in the center or slightly off-center, leaning it against the wall for that effortlessly chic look designers love.
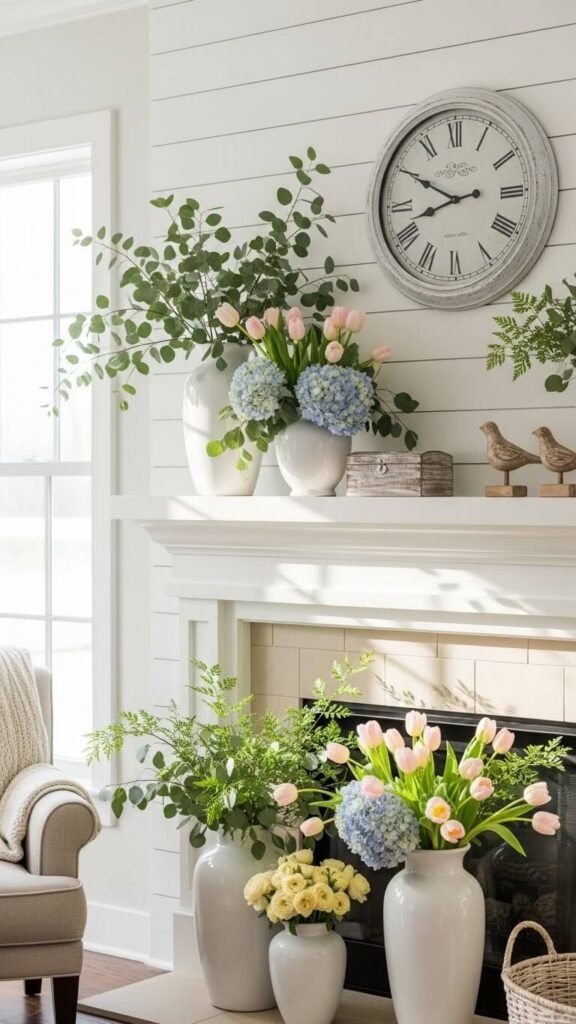
Layer in Varying Heights
Here’s where the magic happens. Professional designers never place everything at the same height—that’s the quickest way to a boring mantel. Create visual interest by varying heights using:
- Tall candlesticks or taper candles (aim for at least 12-15 inches)
- Medium-height vases with fresh or faux spring branches
- Lower elements like small potted plants, decorative boxes, or books
The trick is working in odd numbers. Group items in threes or fives for the most pleasing arrangement. Place your tallest items on the outer edges or flanking your anchor piece, with shorter elements filling in the middle.
Embrace Spring’s Color Palette
Spring styling doesn’t mean drowning your mantel in pastel pink and baby blue (unless that’s your vibe!). Instead, think about nature’s actual spring palette:
- Soft greens and fresh botanicals
- Creamy whites and warm neutrals
- Pops of butter yellow or soft coral
- Natural wood tones
Stick to 2-3 main colors plus neutrals. This creates cohesion without looking too matchy-matchy or overwhelming.
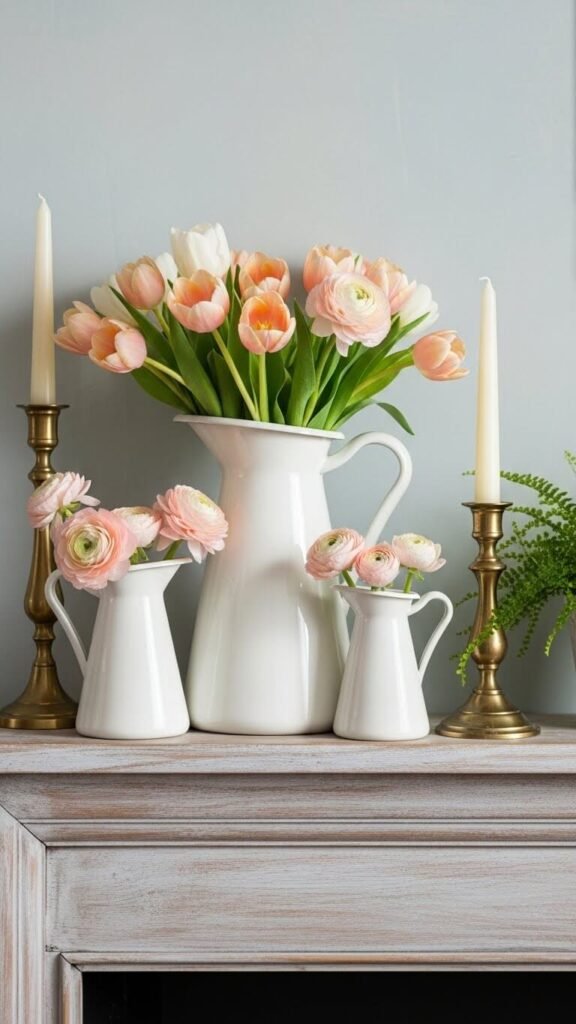
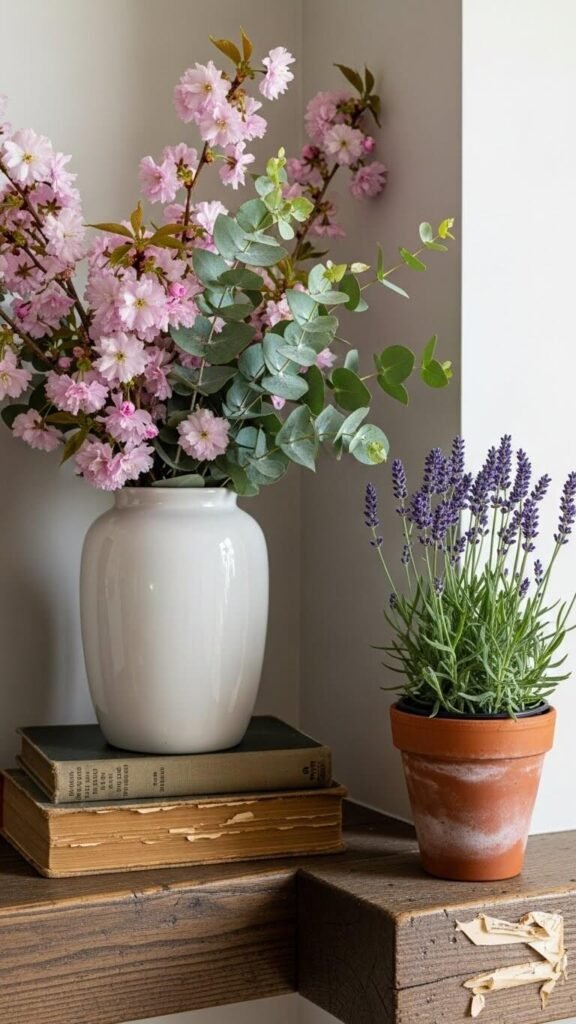
Add Natural Elements and Texture
This is what separates amateur styling from professional design—texture and natural materials. Layer in elements like:
- Fresh eucalyptus or flowering branches in tall vases
- A small potted herb garden in vintage containers
- Woven baskets or natural fiber elements
- Raw wood candlesticks or bowls
- Linen ribbons or fabric elements
The key is mixing materials. Pair smooth ceramics with rough natural wood. Combine shiny brass with matte stoneware. These contrasts create depth and sophistication.
Create Balance Without Perfect Symmetry
Perfect symmetry can look formal and stiff. Instead, aim for visual balance—where both sides feel equally weighted without being identical.
If you have a large vase on the left, balance it with grouped smaller items on the right. Stack a few books under one element to add height and interest. This asymmetrical approach feels fresh and collected-over-time rather than bought-all-at-once.
Finish with Personal Touches
The final layer is what makes your mantel uniquely yours. Add one or two personal elements:
- A favorite vintage find from your travels
- Family photos in simple frames
- A meaningful quote in subtle lettering
- Handmade pottery or art
Keep it minimal—one or two personal items maximum. Too many, and your carefully curated spring mantel starts looking cluttered.
Your Spring Mantel Awaits
Styling a professional-looking spring mantel is less about expensive items and more about following these simple design principles: vary heights, work in odd numbers, mix textures, and create asymmetrical balance. Start with what you have, add a few fresh stems from the grocery store, and don’t be afraid to edit ruthlessly.
The best part? You can easily transition this base as the season progresses—swap flowers, adjust colors, and keep the foundation strong. Save this guide for next spring (and share it with a friend who’s been asking about your beautifully styled home)!