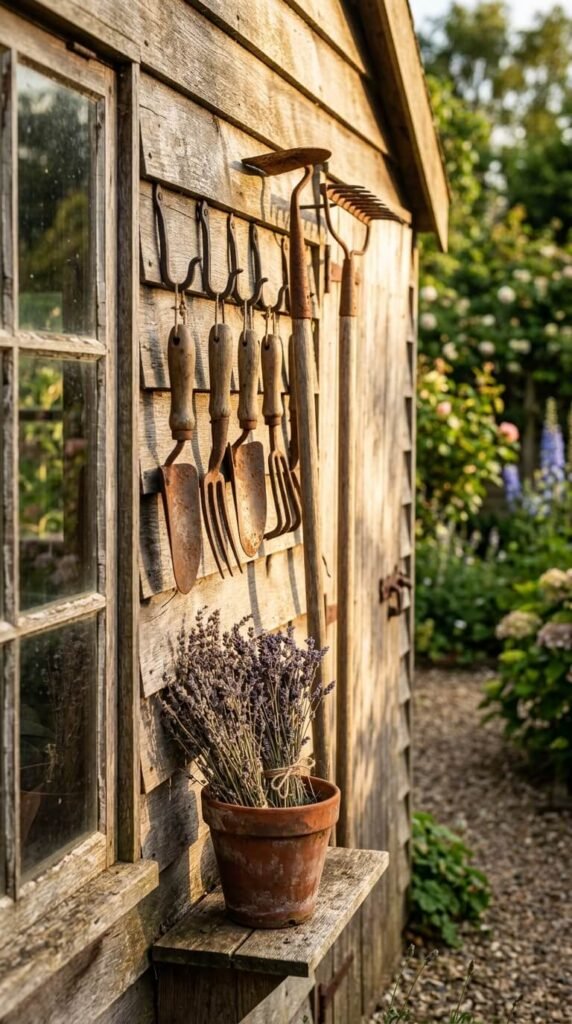
Old tools deserve better than a dark corner of the garage. When you hang a weathered rake on a barn-wood panel or tuck a row of trowels into a clay pot on your porch, something shifts — your garden space starts to feel lived-in and real. Rustic garden tool displays do two things at once: they keep your tools organized and off the ground, and they turn everyday objects into honest, unpretentious décor. No expensive art needed. No styled vignettes. Just tools doing double duty. Whether you have a potting shed, a small patio, or a single fence panel, there’s a display idea here that costs almost nothing and looks like it’s always belonged.
Repurposed Wooden Ladder as a Tool Leaner
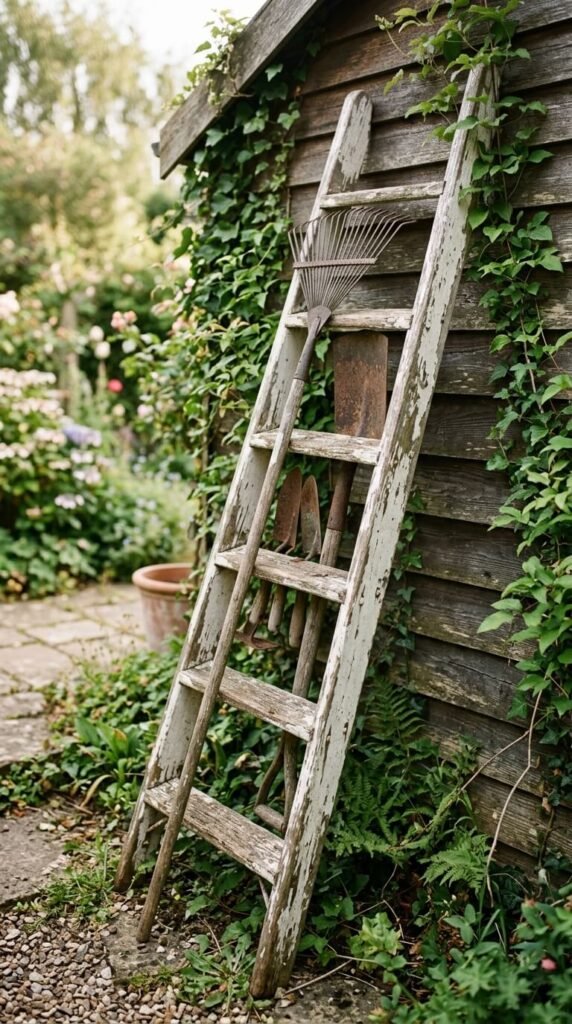
An old ladder you’d never trust on a roof is perfect here. Lean it against any wall or fence and slide long-handled tools between the rungs. Rakes, hoes, and shovels stay upright and separated so you’re not digging through a tangled pile. Find one at a flea market for a few dollars. Sand off any loose paint, leave the rest as-is for character. The spacing between rungs naturally organizes tools by length. No mounting hardware, no wall damage — just lean and load.
Pegboard Mounted on a Barn-Wood Frame
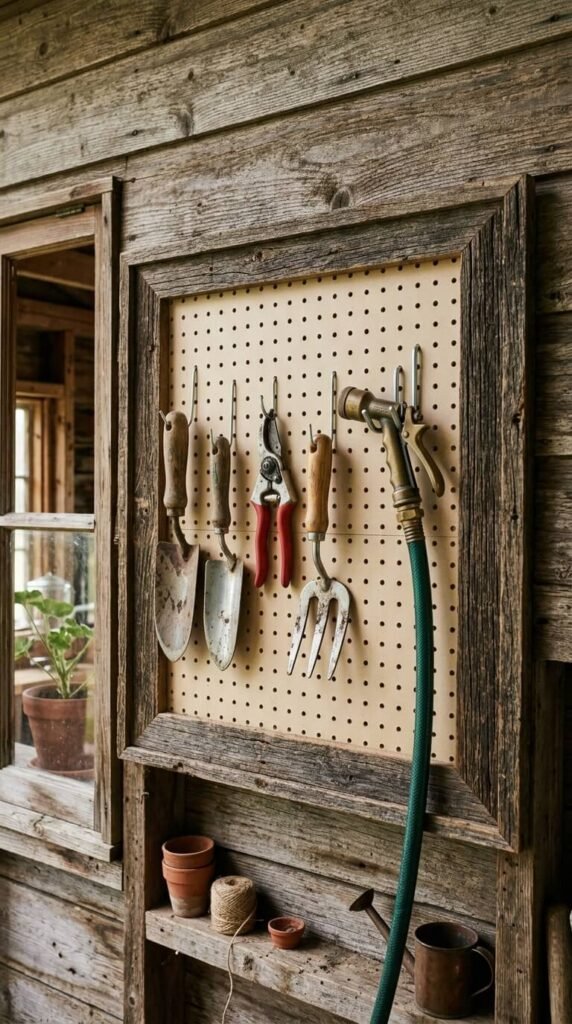
Pegboard is the most flexible tool organizer you can buy. Frame it with reclaimed barn wood to give it that rustic finish instead of the hardware-store look. Cut four planks, nail them around the pegboard edges, and hang the whole thing with two screws. Rearrange hooks anytime your tool collection changes. A 2×4-foot panel holds a full set of hand tools with room to spare. Total cost with new pegboard and second-hand wood trim: under $15.
Galvanized Pipe Rail Along a Fence Post
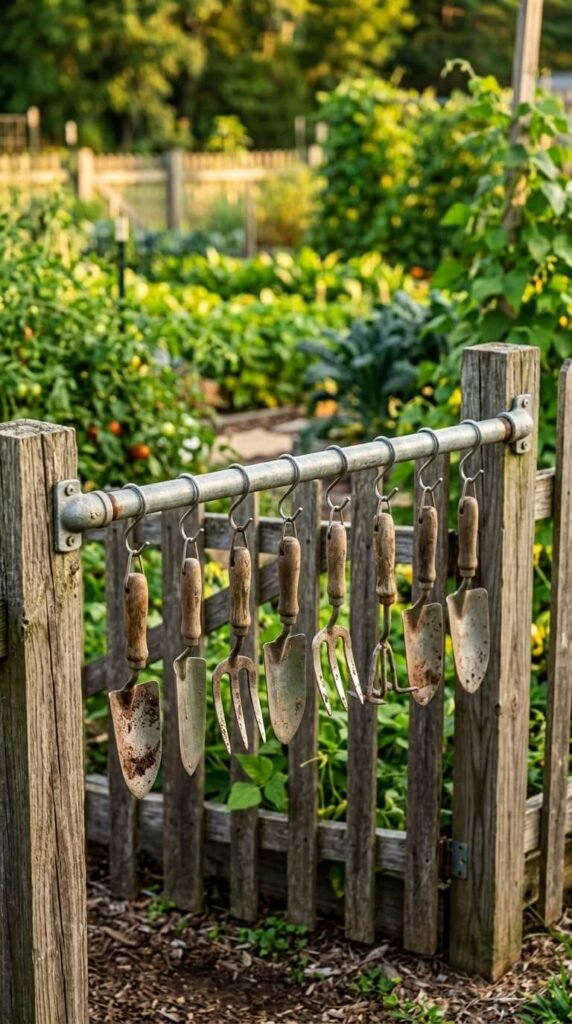
Mount a single length of galvanized pipe between two fence posts and hang tools from S-hooks spaced a few inches apart. This works beautifully along a raised bed perimeter or potting area. The pipe costs a few dollars per foot at any hardware store. Use pipe flanges to secure each end to the posts. Tools hang freely, dry off quickly, and are always in sight. Add more S-hooks as your collection grows. Simple, sturdy, and practically maintenance-free.
Vintage Window Frame as a Wall-Mounted Tool Holder
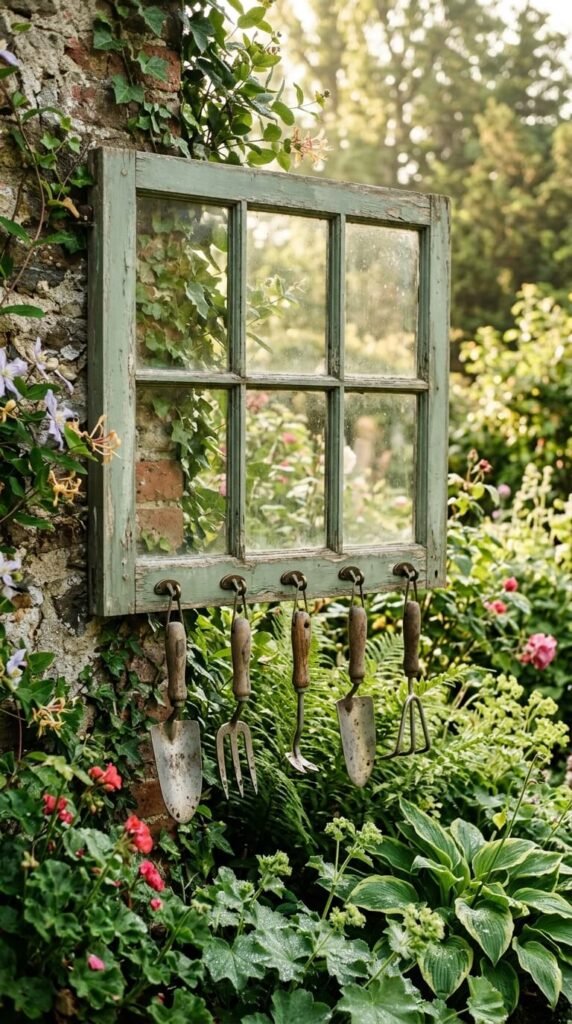
A salvaged window frame doesn’t need glass to be useful. Screw cup hooks along the bottom rail and hang small hand tools from them. The frame itself becomes a backdrop that gives the display a finished, intentional look. Check salvage yards, antique shops, or Facebook Marketplace. Peeling paint or cracked wood adds to the appeal — don’t refinish it. Mount it flat against a wall or fence using two screws through the top corners. Cost: often free or just a dollar or two.
Terracotta Pot Cluster for Upright Tool Storage
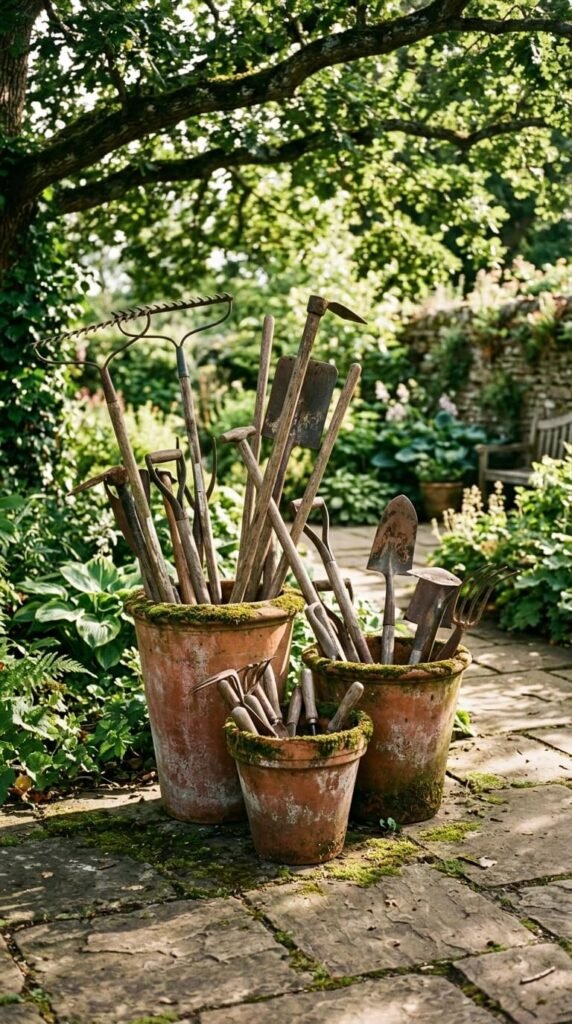
Large terracotta pots are ideal for storing upright long-handled tools without drilling a single hole. Group two or three pots of different sizes together. Fill the bottom few inches with gravel for weight and drainage, then stand tools handle-side down. Taller pots hold rakes and shovels; shorter ones work for trowels and cultivators. The grouping looks natural, like it grew there. Reposition anytime. Terracotta pots at garden centers or thrift stores run $2–$10 each depending on size.
Barrel Stave Organizer on a Shed Wall
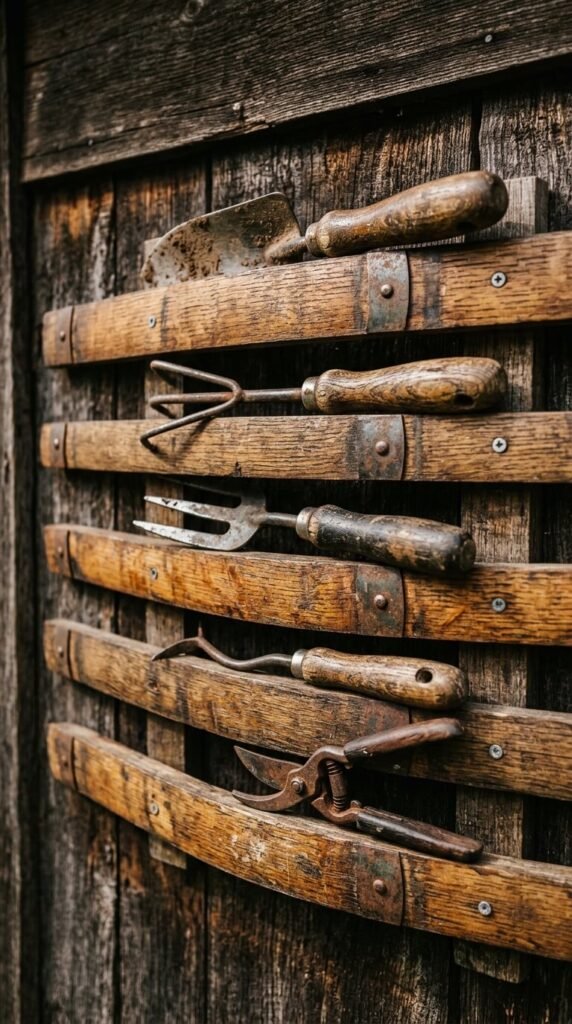
Barrel staves have a natural curve that cradles tool handles perfectly. Mount three or four staves horizontally on your shed wall, spaced about 12 inches apart vertically, and rest tool handles across them like a bookshelf. The curve prevents handles from rolling off. Ask a local winery or homebrew shop for discarded staves — they’re often free. Sand any rough edges. Attach with two short screws per stave. A set of four staves can organize eight to ten tools across a three-foot wall section.
Crate Wall Grid for Small Hand Tools
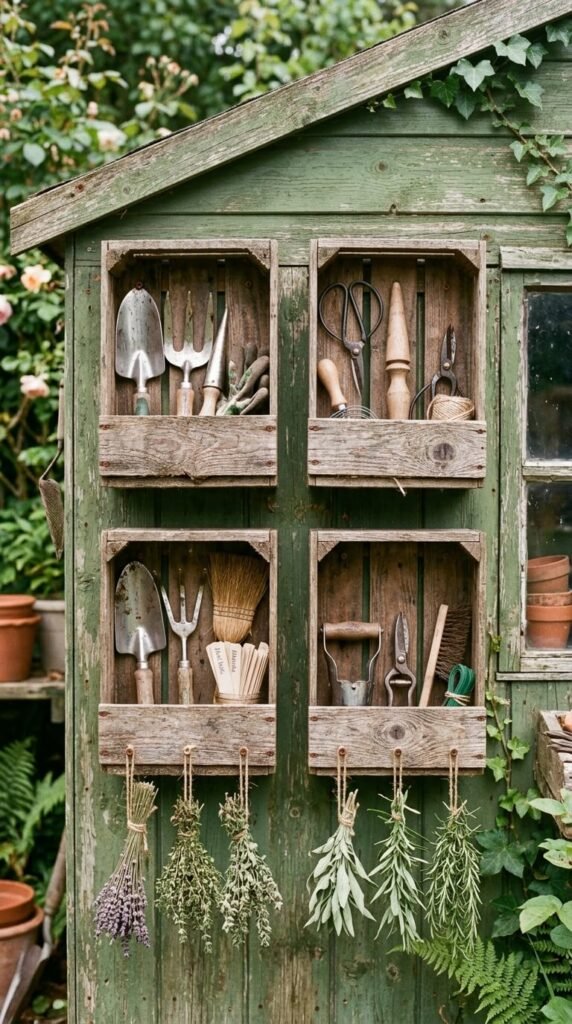
Wooden fruit crates mounted in a 2×2 or 3×3 grid make organized compartments for small hand tools. Each crate becomes a dedicated zone — trowels in one, pruners in another, gloves in a third. Mount them with two screws through the back panel into a wall stud or fence board. Find crates at grocery stores, farm stands, or dollar shops. Leave the weathered wood natural or give the inside backs a coat of chalk paint for contrast. Easy to add to or rearrange.
Driftwood Branch as a Wall-Mounted Hook Rail
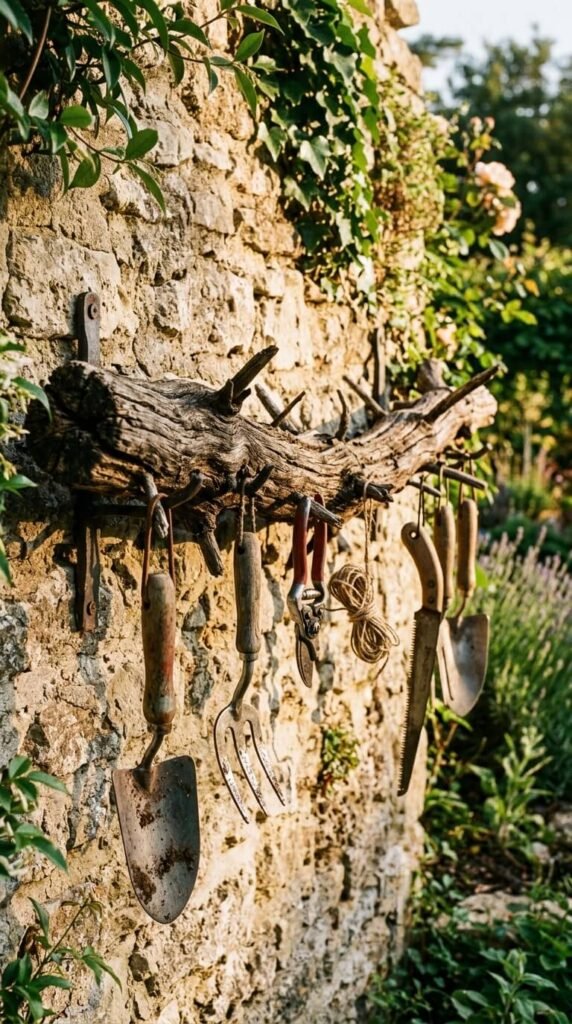
A thick branch with smaller side branches makes natural hooks without any drilling into the branch itself. The side twigs do the work. Mount the main branch horizontally on your wall using two large iron brackets. Let short side branches point outward and slightly upward to hold tools, twine, or small baskets. Find suitable branches after a storm or pick up driftwood on country roads. Each branch is unique. No two displays look alike. Completely free if you source from your own yard.
PVC Pipe Rack Inside a Wooden Box Frame
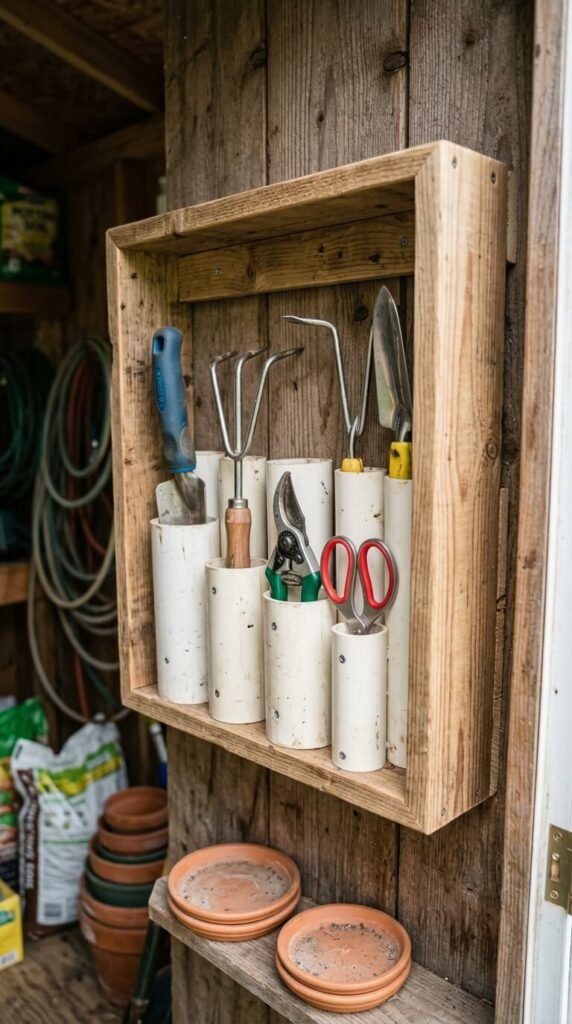
Cut short lengths of PVC pipe — 4 to 6 inches each — and arrange them inside a shallow wooden box frame. Each pipe becomes an individual slot for a tool handle. Glue the pipes together with PVC cement, then set the bundle inside the frame. Mount the box on your shed wall. This method keeps each tool perfectly separated. Use wider pipe for thick handles, narrower for small tools. Leftover PVC scraps from plumbing jobs are often free. The whole project costs less than $10.
Salvaged Wooden Headboard Repurposed as a Tool Panel
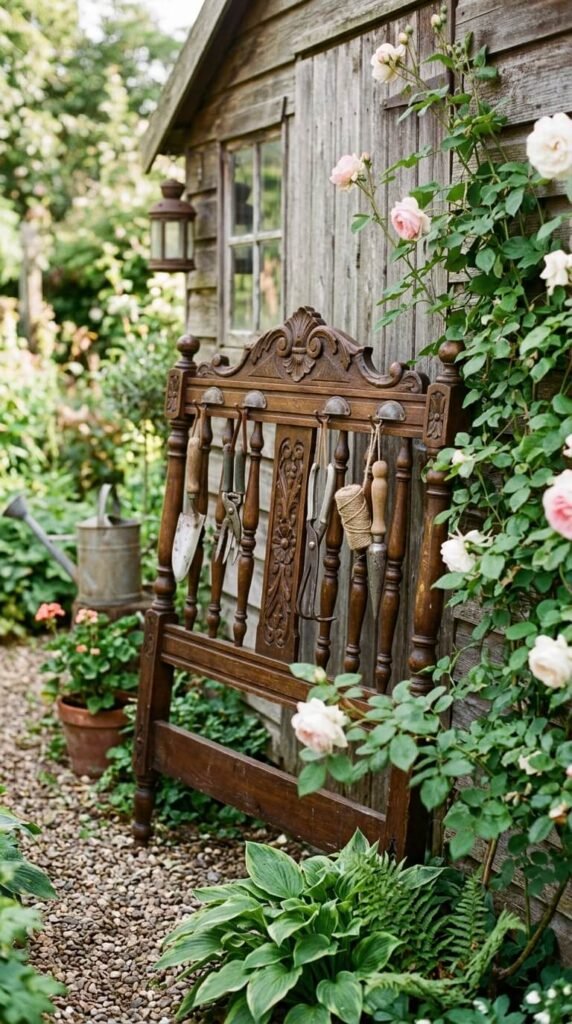
Old bed headboards have spindles that are perfect gaps for hanging tool handles. Lean a headboard against your shed wall or mount it flat. Thread long-handled tools between the spindles. Add cup hooks along the top rail for pruners and hand tools. Thrift stores sell headboards for $5–$15. Look for solid wood ones with vertical spindles spaced about 4 inches apart. The ornate carvings add unexpected charm to a working garden space. Totally unconventional — always a conversation starter.
Metal Bucket Rail Along a Garden Pathway
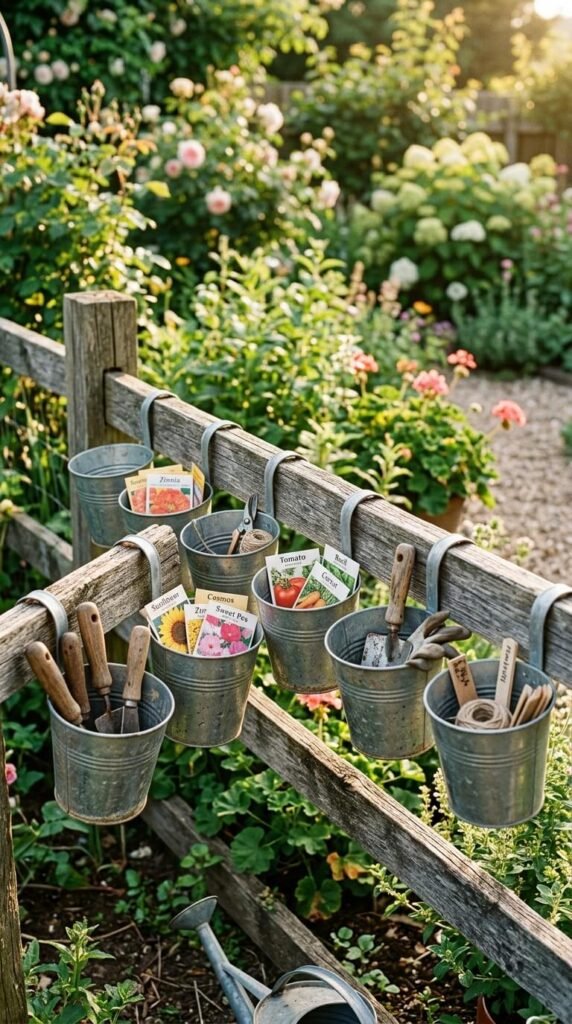
Punch a hole near the rim of each bucket and use an S-hook to hang it from a fence rail or horizontal bar. Each bucket becomes a tool caddy sorted by task — one for weeding tools, one for planting tools, one for seeds and labels. Galvanized buckets from hardware stores cost $3–$8 each. Old paint buckets work too. Space them evenly for a tidy look, or cluster them at one end of the fence for a dedicated potting station. Lift any bucket off and carry it straight to your work area.
Timber Pallet Garden Tool Wall
A single wooden pallet gives you multiple horizontal slats for resting, hanging, or storing tools at zero cost. Mount it vertically on a fence or shed wall using four heavy-duty screws. Hang S-hooks from the gaps between slats for hand tools. Rest longer handles across the face. Tuck small pots into the openings. Free pallets are available outside garden centers, warehouses, and hardware stores — just ask. Sand any splinters before mounting. One pallet can organize 15 or more tools across its surface.
Copper Pipe Tripod for Corner Tool Storage
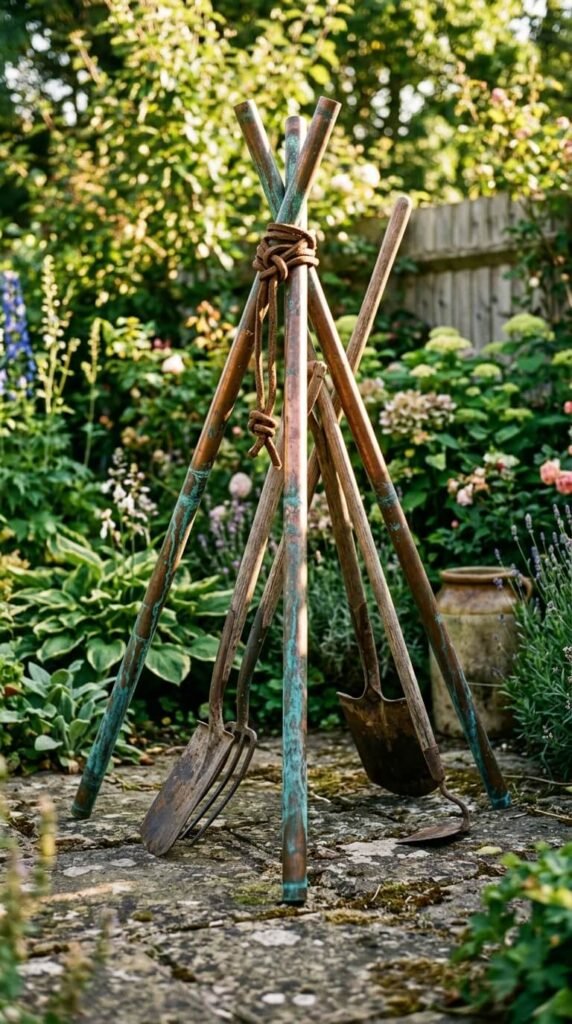
Three lengths of copper pipe lashed together at the top with leather cord or rope form a freestanding tripod that holds tools in any corner — no wall attachment needed. Spread the legs about 18 inches apart at the base. Rest tools against the frame, handles inward at the top. The copper ages beautifully to green over a season outdoors. Use ½-inch pipe from any hardware store. Cut three equal lengths of 5 feet each. Lash tightly at the top, adjust leg spread for stability. Costs about $12 in materials.
Antique Rake Head as a Wall Hook Strip
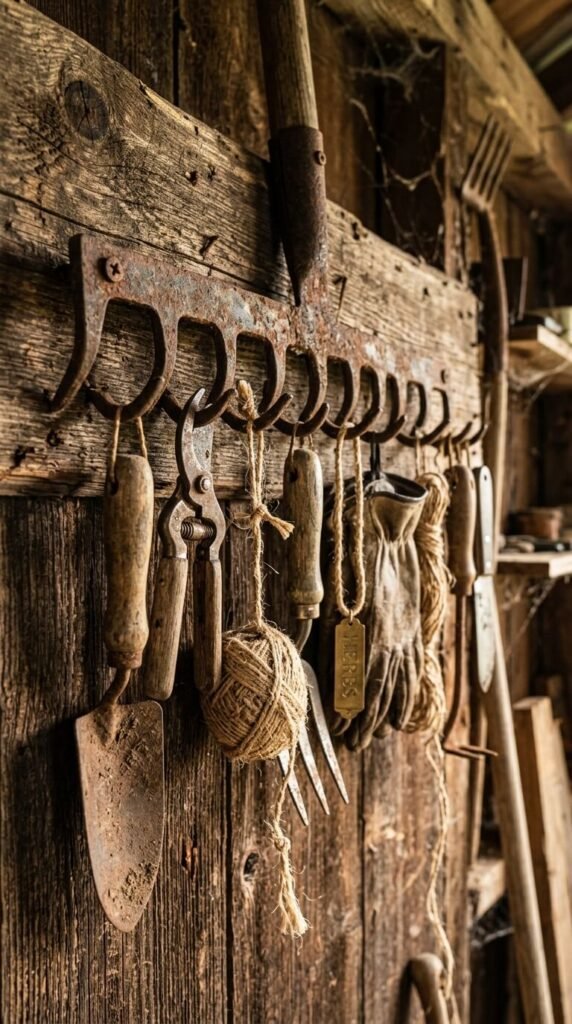
Remove the handle from an old rake and mount just the rake head to the wall. Each tine becomes a hook. Hang hand tools, twine balls, seed packets, or small baskets from individual tines. Drill two holes through the rake head’s crossbar and use long bolts to attach it to the wall. The natural spacing of tines gives each item its own spot. Check estate sales and farm auctions for old rake heads — often priced at $1–$3. Functional, free-feeling, and completely authentic.
Reclaimed Door Panel as a Tool Display Board
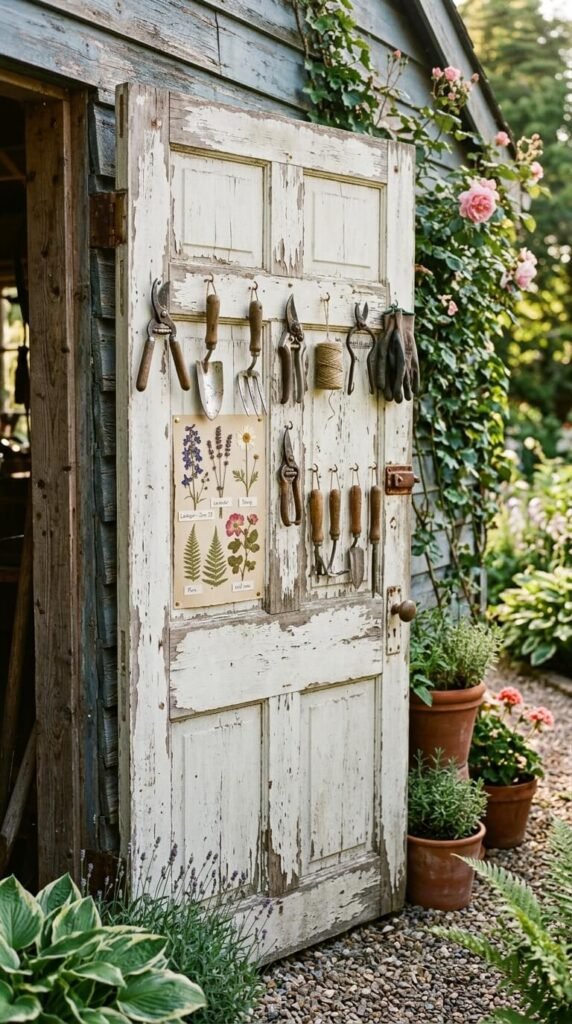
An old interior door laid flat on your wall becomes a large, structured display surface with its own architectural grid. Screw hooks into the stiles (side edges) and rails (horizontal pieces) to hang tools at different heights. Pin garden notes, labels, or seed packets to the flat panels. Salvage yards often have old doors for $5–$20. Choose solid-core doors — they’re heavy enough to feel substantial. Mount with four heavy-duty wall anchors. The door’s existing hardware holes can serve as hook locations too.
Tree Stump Tool Caddy at Ground Level
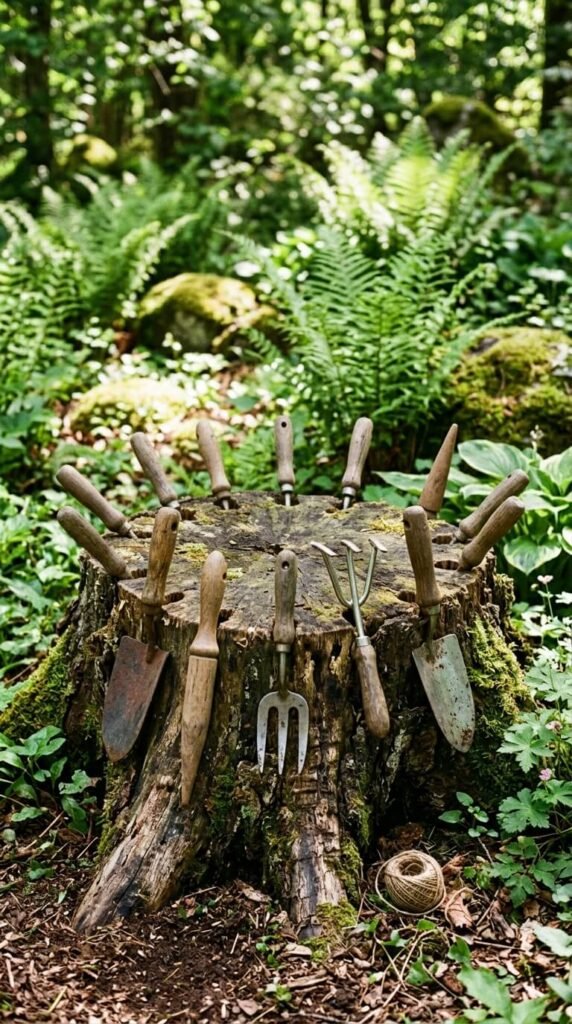
Drill a ring of angled holes around the outer edge of a large flat stump — each hole just wide enough for a tool handle. Angle the holes outward so handles lean away from center, keeping tools stable and easy to grab. A 12-inch-diameter stump can hold 10–12 hand tools. Leave the stump in place as a permanent ground-level station near your potting area. No mounting, no hardware, no wall space required. If the stump isn’t naturally in the right spot, section a log and set it wherever you need it.
Chicken Wire Tool Pocket Panel
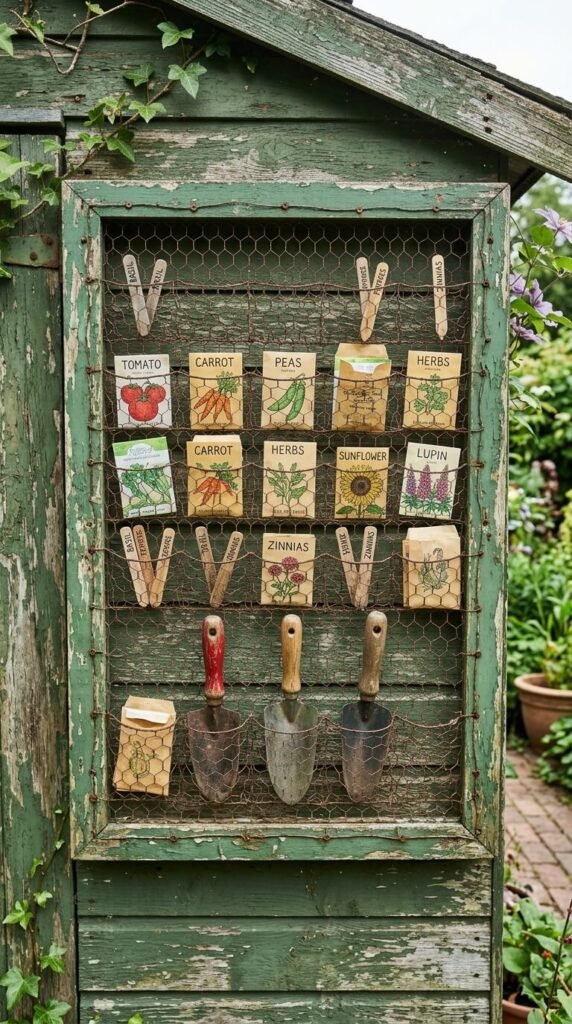
Stretch chicken wire over a simple wooden frame and bend small sections outward to form shallow pockets along the face. Each pocket cradles a hand tool, seed packet, or garden label. The open wire lets you see everything at a glance. Build the frame from scrap 1×2 lumber and staple the wire tightly to the back. Hang with two picture-frame D-rings. Total material cost: under $8. The rough, utilitarian look fits perfectly in a working garden or potting shed environment.
Weathered Shutter Converted to Tool Wall
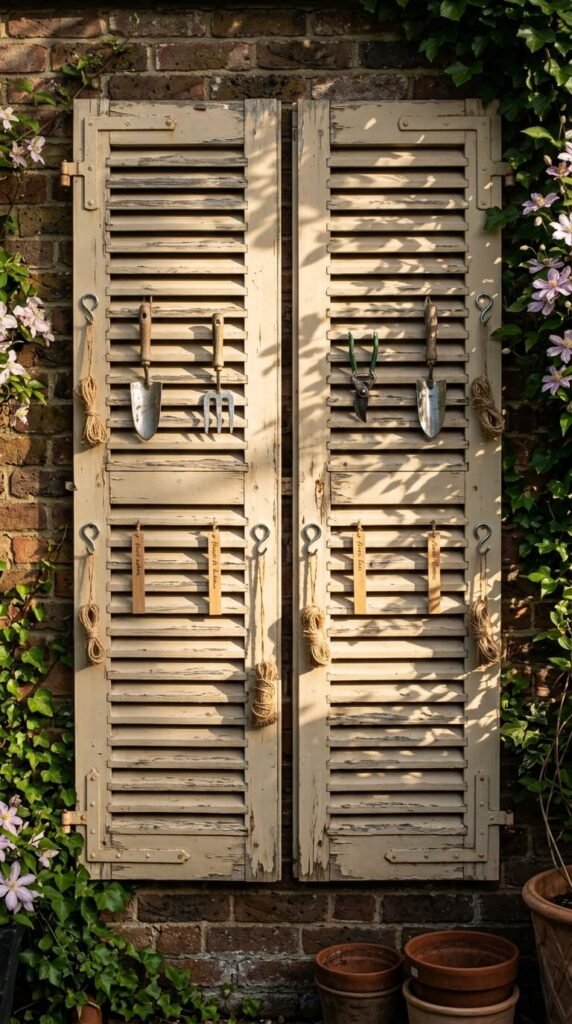
Old shutters with angled louvers are ready-made tool holders. Slide handles through the louver gaps at different angles — each slat grips the handle slightly so tools don’t slide out. Screw cup hooks into the outer frame for hanging lighter items. Mount two shutters side by side for a wider display. Salvage yards price old shutters at $2–$8 each. Leave the original paint for authenticity. Pair them with a small shelf mounted just below to hold pots or tool baskets.
Horseshoe Hook Board for Heavy Tools
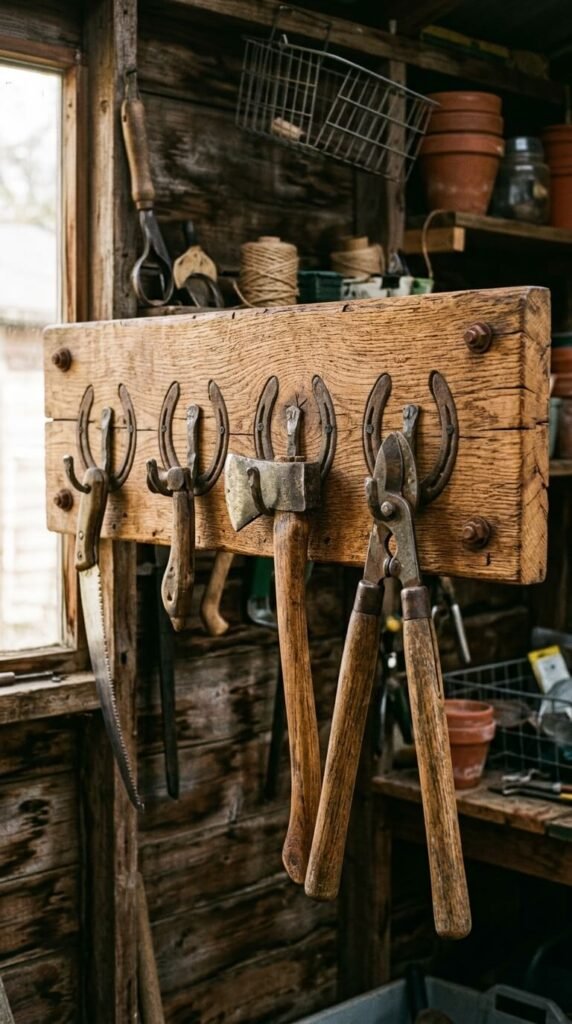
Weld, bolt, or screw old horseshoes flat to a thick plank of wood and mount the plank on your wall. The U-shape of each horseshoe forms a natural cradle for thick-handled tools — loppers, pruning saws, and cultivators rest securely in the curve. Horseshoes are available at farm supply stores or online for $1–$3 each. Use at least 3-inch screws to attach horseshoes to the plank. This display works especially well for heavier tools that slip off standard hooks.
Garden Fork Repurposed as a Display Rack
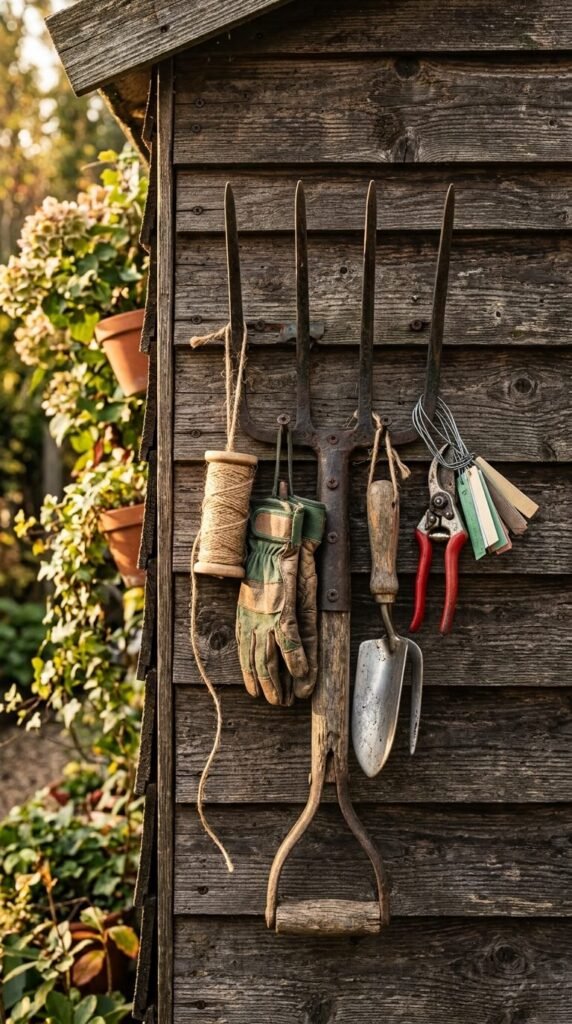
A garden fork with a broken handle doesn’t belong in the trash. Mount it tines-up on your wall using two U-bolts through the handle socket and remaining shaft. Each tine becomes a hook for twine, gloves, small tools, or plant ties. The natural spread of the tines spaces items apart neatly. This is one of the most honest forms of recycling in garden décor — the tool stays in service, just in a different way. Costs nothing if you already have a broken fork collecting dust.
Mason Jar Row for Seed and Small Tool Storage
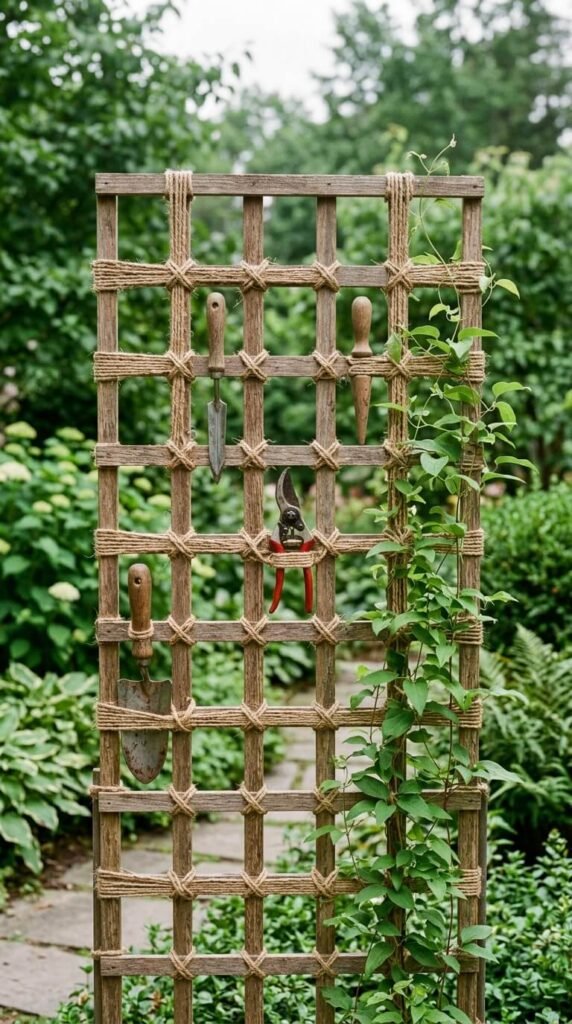
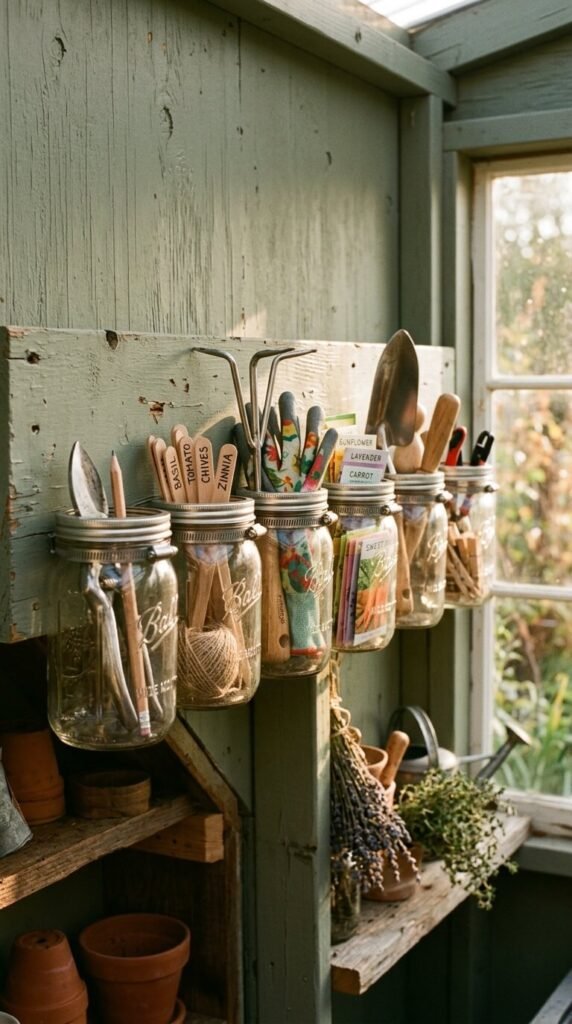
Attach metal hose clamps or pipe clamps to a painted board, slide mason jars into each clamp, and tighten. Each jar displays its contents through the glass and keeps small items from disappearing into drawers. Use wide-mouth quart jars for trowels and cultivators; pint jars for seed packets and labels. Mount the board with two screws. Paint the board any muted earthy color for contrast. Total cost: $8–$12 depending on jar and clamp sizes. Easily the most organized potting shed wall you’ve ever had.
Twine-Wrapped Branch Grid on a Trellis
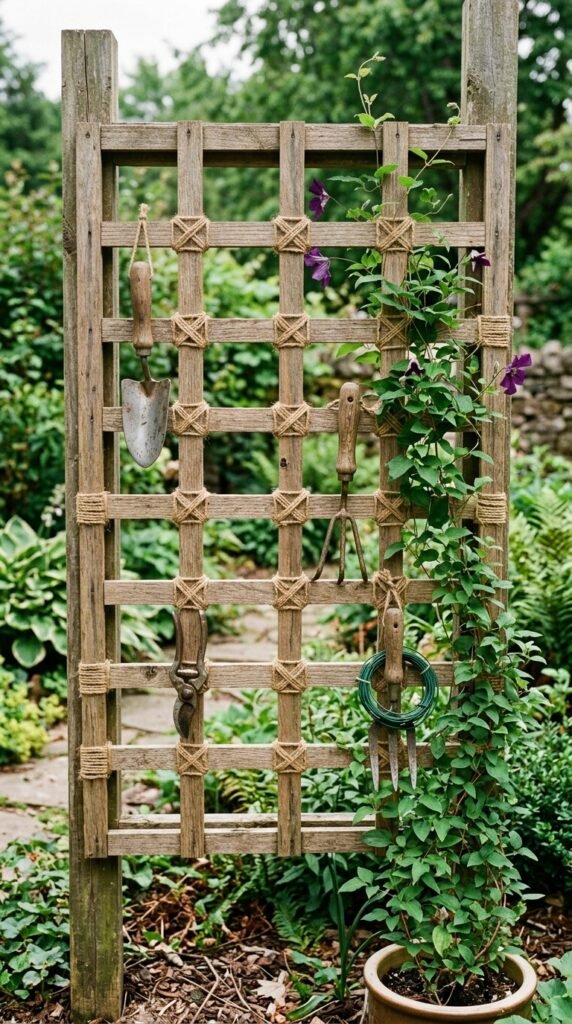
Weave jute twine back and forth across an existing trellis panel to create a soft grid of loops that hold tools in place. Space your twine runs about 4 inches apart so handles slide in and out easily. The twine grips without marring handles. Tie ends to the trellis frame. Add a second layer of twine running perpendicular for tighter pockets. This costs almost nothing if you already have a trellis and twine. Replace twine seasonally if it stretches or frays — takes five minutes.
Conclusion
Rustic garden tool displays work because they take the most honest objects in your yard — worn handles, rusted tines, cracked terracotta — and give them a place of pride rather than hiding them away. You don’t need a large budget or a Pinterest-perfect shed. A single pallet, a salvaged ladder, a broken fork mounted to a wall — any one of these can turn a cluttered corner into a display that feels earned and genuine. Start with one idea. Use what you already own. The best garden tool displays are the ones that look like they happened naturally over years, not the ones that came from a catalog.