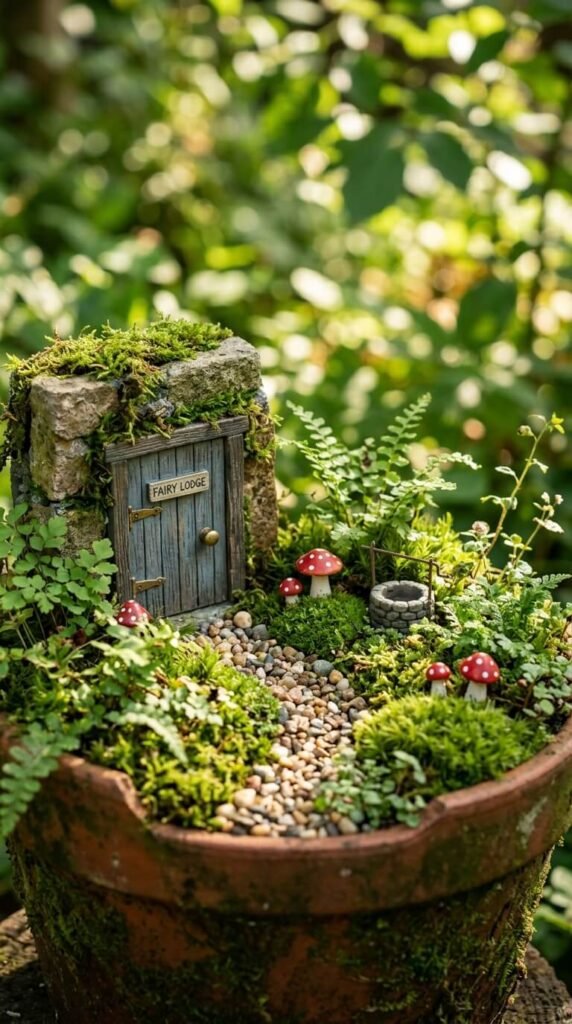
Step into a world where moss-covered stones become castles and acorn caps turn into tiny bowls. Fairy gardens are small, imaginative landscapes that let you create a magical miniature world — in a pot, a corner of your yard, or even on a window ledge. They’re perfect for kids and adults alike, and most setups cost very little. Whether you have a sprawling backyard or just a balcony, there’s a fairy garden style that fits your space, your budget, and your creative spark. Here are 27 ideas to get you started.
1. The Teacup Garden
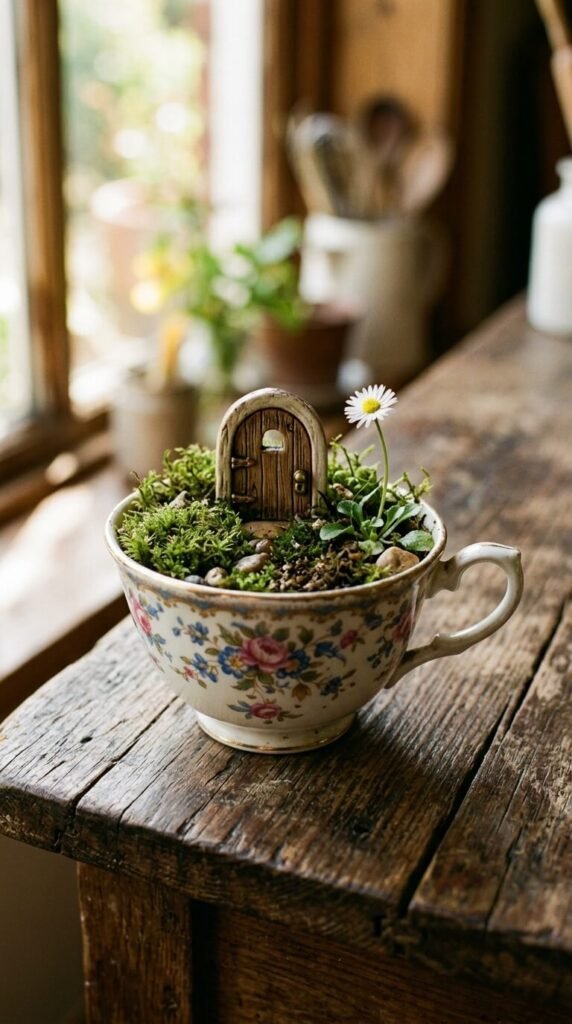
An old teacup is one of the easiest starting points. Fill it with potting soil and a small piece of moss. Add a tiny figurine or a pebble path made from gravel. You can find chipped teacups at thrift stores for under a dollar. Succulents work great here — they stay small and need almost no water. Place your finished cup on a windowsill or outdoor table for a charming, low-effort display.
2. Hollow Log Hideaway
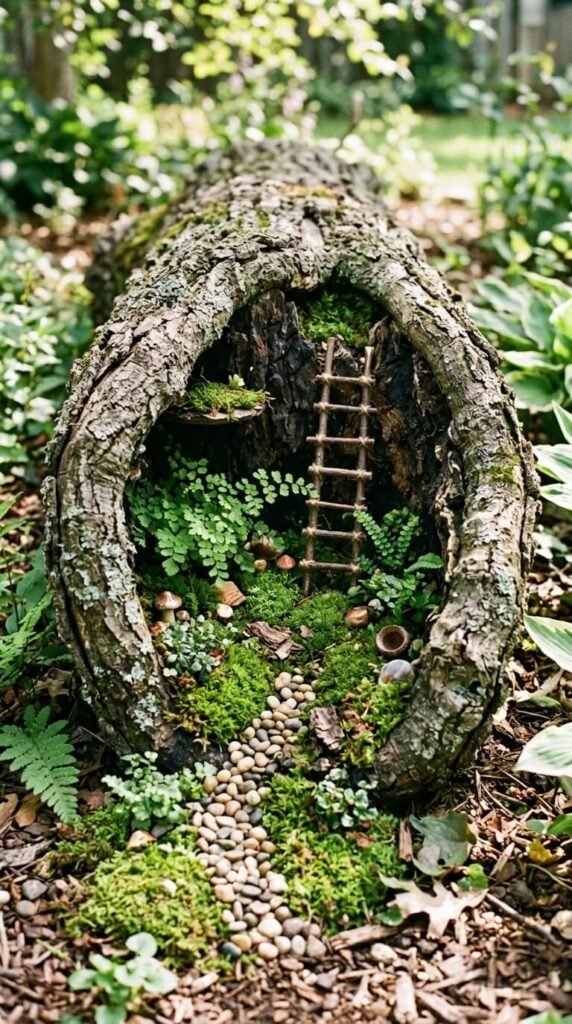
A rotting log from your yard becomes instant fairy real estate. Hollow out a small space or use the natural cavity. Pack it with damp moss and tuck in small ferns or creeping thyme. Add a tiny ladder made from twigs and twine. This costs nothing if you already have a fallen log. The natural texture of bark gives it a wild, organic feel that looks like it grew there on its own.
3. Cracked Pot Cascade
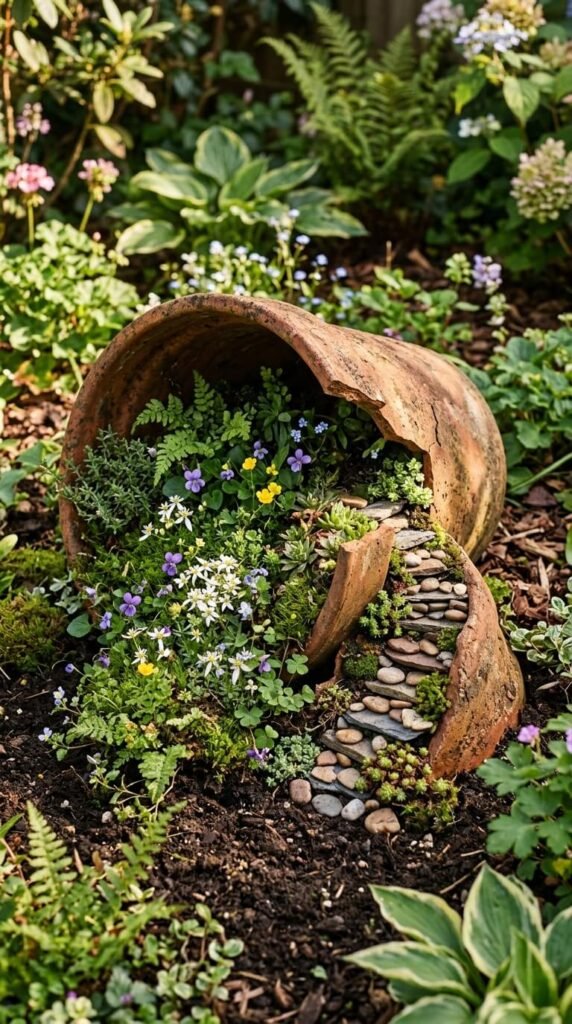
Got a broken pot? Don’t toss it. Lay it on its side and let the crack become the entrance to a tiny world. Stack flat stones inside to create levels. Plant creeping herbs like thyme or baby tears along the edge. The broken look is part of the charm. Add a small wooden door at the crack’s opening. This upcycled idea costs almost nothing and looks like something straight out of a storybook.
4. Birdcage Fairy World
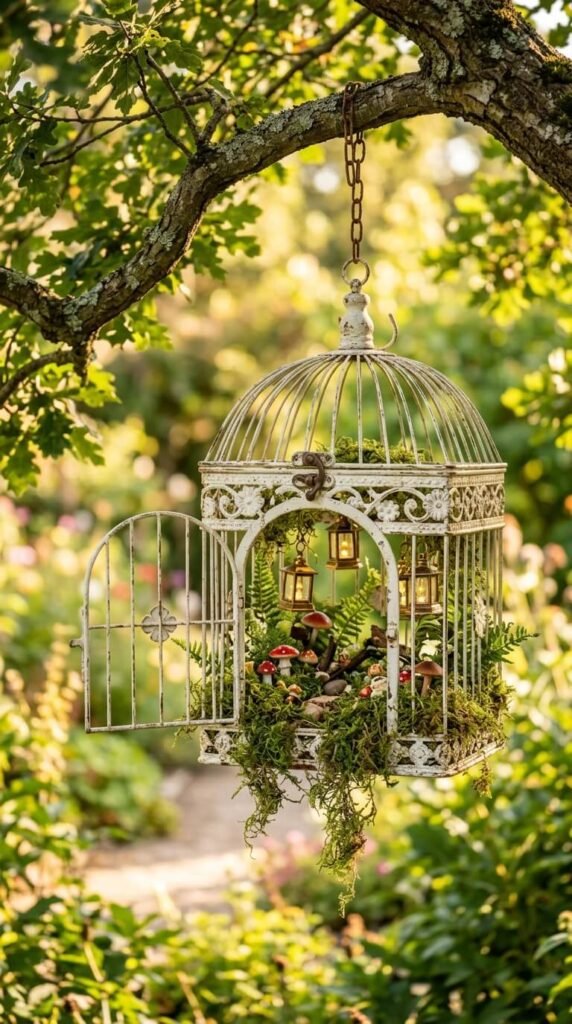
An old decorative birdcage makes a ready-made fairy home. Hang it from a tree branch or set it on a shelf. Line the bottom with peat moss and add trailing plants like string-of-pearls or baby ivy. Glue small fairy lights inside to make it glow at night. Thrift stores often sell these for a few dollars. The open bars let you peek inside from every angle, which makes it even more magical.
5. Stacked Stone Fairy Tower
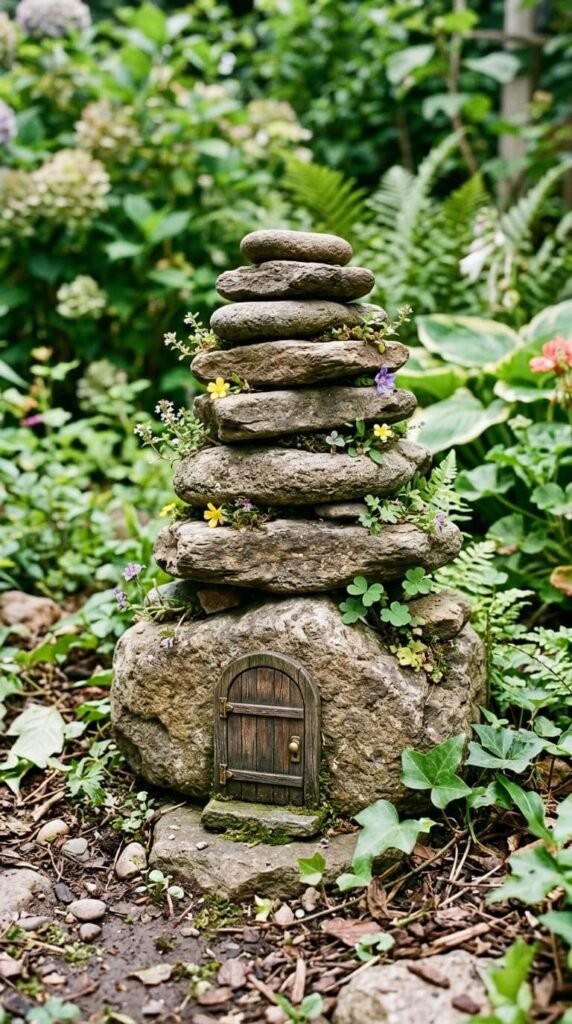
Flat river rocks stacked in a tower make a perfect fairy castle or watchtower. No glue needed if you balance them carefully. Tuck small plants like sedum between the gaps. A bag of river stones from a dollar store is all you need. Place your tower at the edge of a garden bed and surround it with low-growing plants to set the scene. Kids love building and rebuilding this one.
6. Wheelbarrow Fairy Village
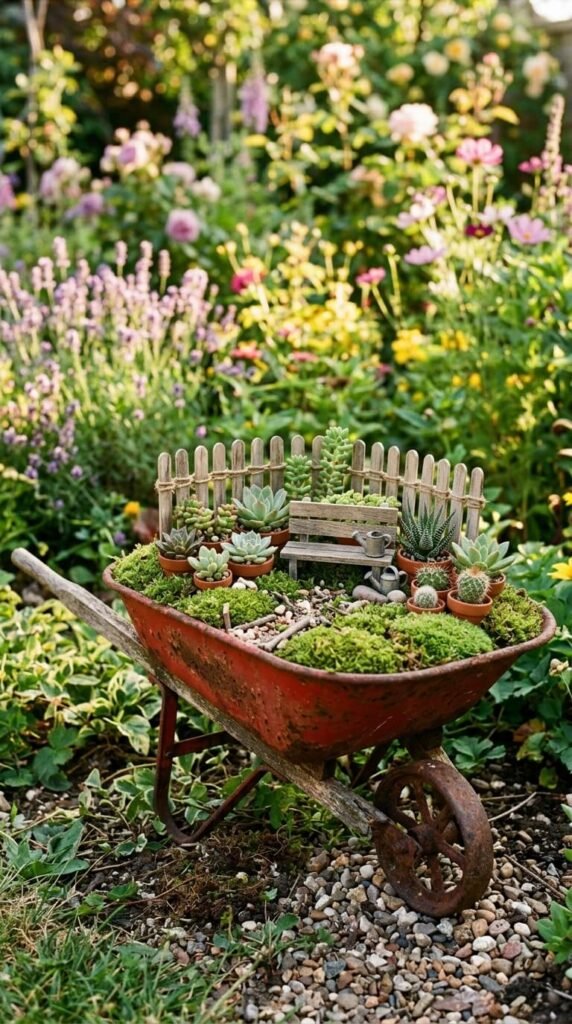
A mini decorative wheelbarrow — or a real small one — becomes a fairy village planter. Fill it with soil and build a tiny scene. Add a fence made from craft sticks, a bench from two twigs, and a few succulents for trees. Garden centers sell small wheelbarrows for around five dollars. Place it near your front door or patio for a welcoming display. It’s easy to move indoors during heavy rain.
7. Fairy Garden Under a Tree
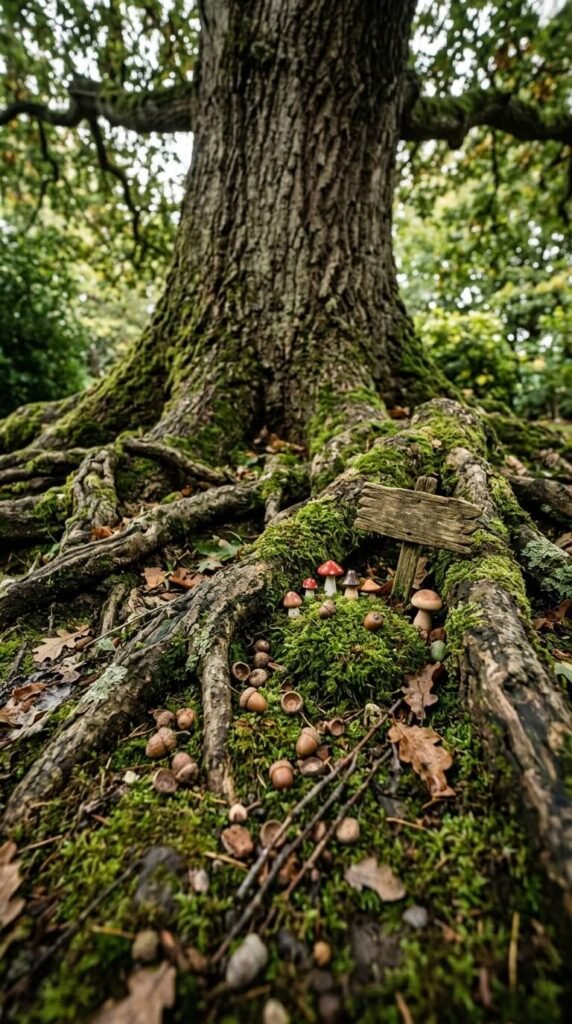
Tree roots create natural rooms and corridors. Use the gaps between roots as walls for a fairy home. Fill in with moss, bark pieces, and small plants like ferns or violets. No digging required. Let nature do most of the work. Acorn caps become bowls. Fallen seed pods become boats. Walk around the tree after a rain and collect what nature provides. This style looks stunning and costs very little.
8. Window Box Fairy Street
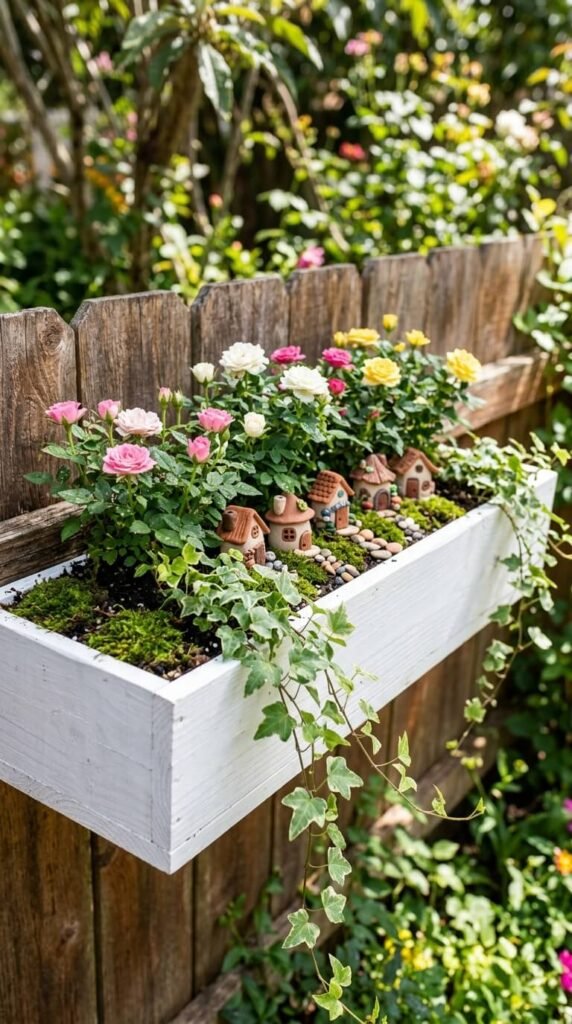
A standard window box becomes a fairy street with the right layout. Plant along the back and arrange fairy houses along the front edge. Use small figurines to create little scenes — a market stall, a bench, a lamppost. Air-dry clay lets you make your own tiny houses for free. Paint them with craft paint once dry. A window box fairy street is easy to update with the seasons.
9. Birdbath Basin Garden
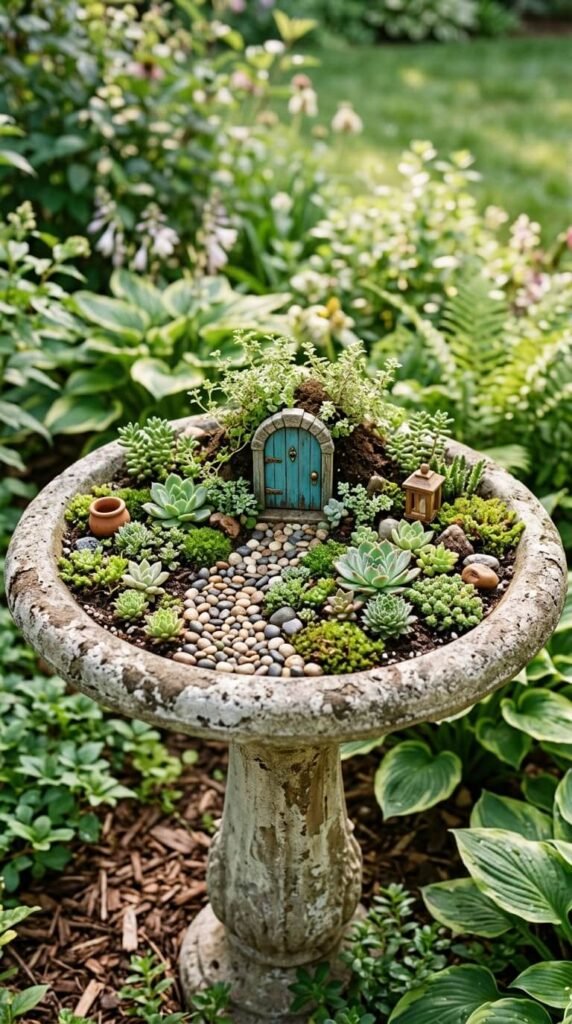
A shallow birdbath basin works perfectly as a raised fairy garden. The pedestal lifts the scene to eye level, making every detail visible. Fill the basin with fast-draining soil and plant a few tiny succulents or moss varieties. Look for birdbaths at garage sales — even cracked ones work great. Add a path of pebbles and a few miniature accessories. Water sparingly since drainage is minimal.
10. Fairy Garden in a Drawer
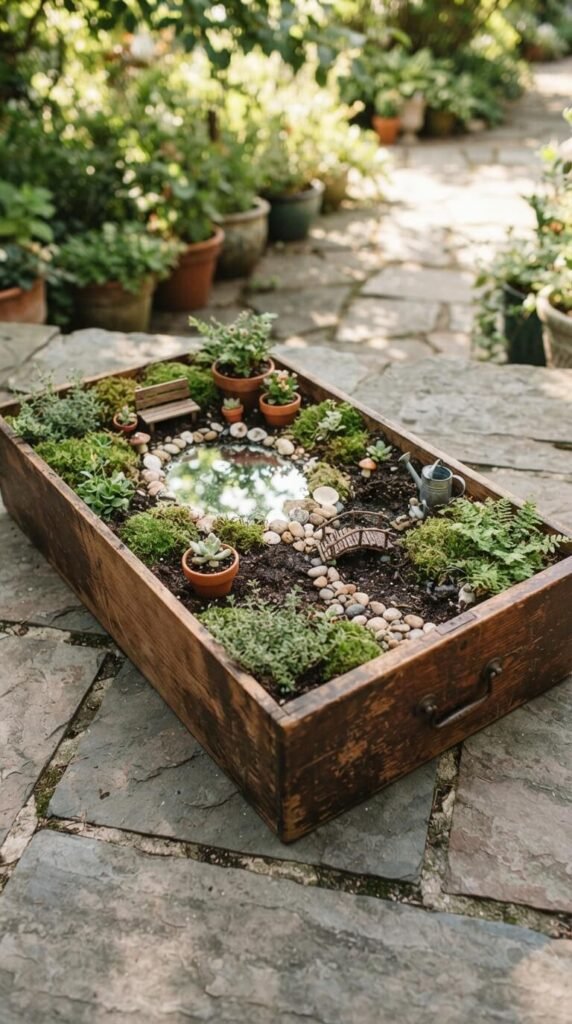
Pull an old wooden drawer out of a dresser headed for the trash. Line it with plastic, fill it with soil, and build your scene. A small mirror becomes a pond. Tiny terracotta pots make perfect fairy planters. The rectangular shape is great for telling a story — forest on one end, garden on the other. Seal the wood with outdoor paint first if you plan to leave it outside.
11. Mushroom Cluster Scene
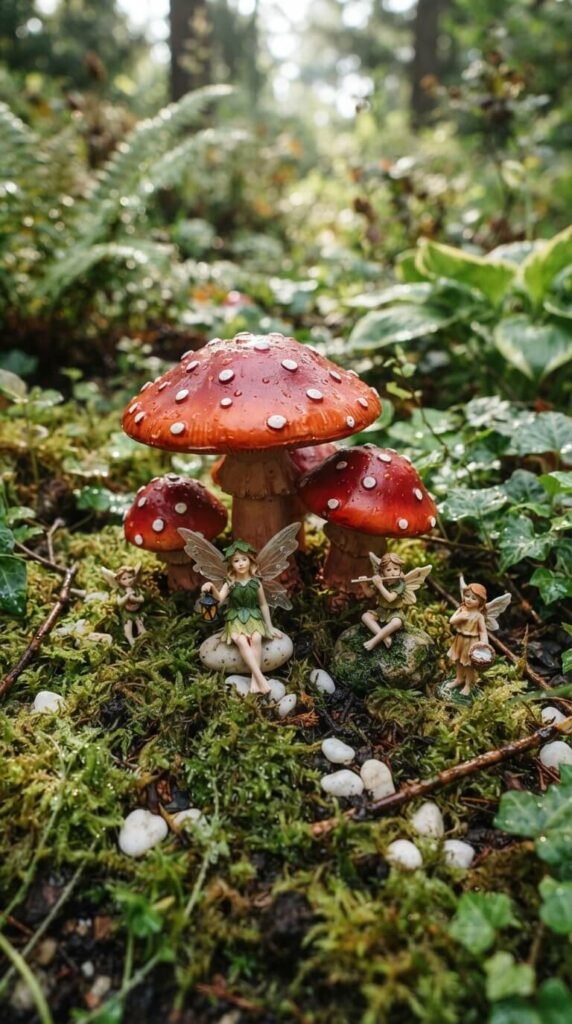
Oversized mushroom decorations set a fairy-tale mood instantly. You can buy ceramic or resin mushrooms or make your own from painted terracotta pots turned upside down. Group them in odd numbers — three or five looks natural. Tuck small figurines under the caps. Surround the base with moss and white pebbles. This style works well in shaded garden corners where most plants struggle to grow.
12. Fairy Pond With a Mirror
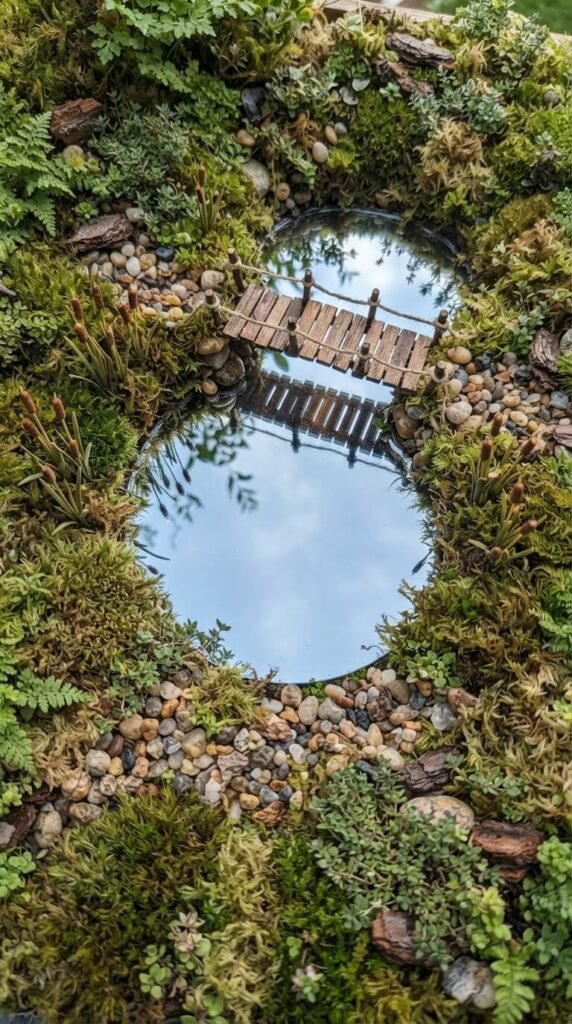
A small round mirror laid flat into soil becomes a stunning fairy pond. Edge it with pebbles or small stones. Add a twig bridge across one side. Plant small grasses or miniature cattails nearby. Craft store mirrors cost under two dollars. The reflection of sky and clouds makes the illusion feel real. Kids especially love this trick. It’s one of those details that makes the whole garden look professionally done.
13. Fairy Garden Terrarium
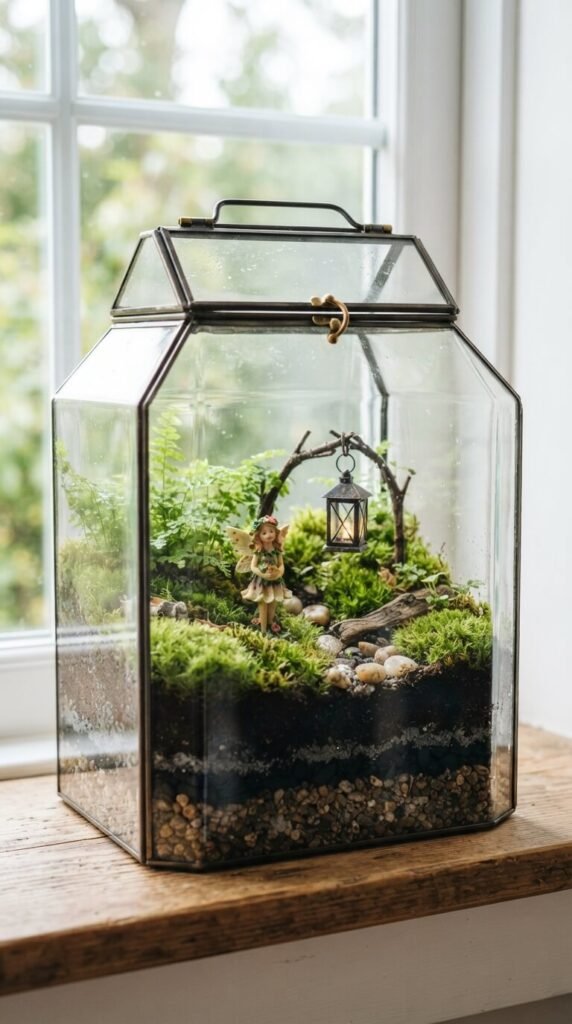
A glass terrarium keeps the humidity high and the mess contained. Layer gravel at the bottom for drainage, then charcoal, then soil. Plant moisture-loving plants like ferns, moss, and baby tears. Sealed terrariums almost water themselves. Add a few small accessories and a fairy figurine. Place it near a bright window but out of direct sun. This is great for apartments or rooms with no outdoor space.
14. Pebble Path Feature
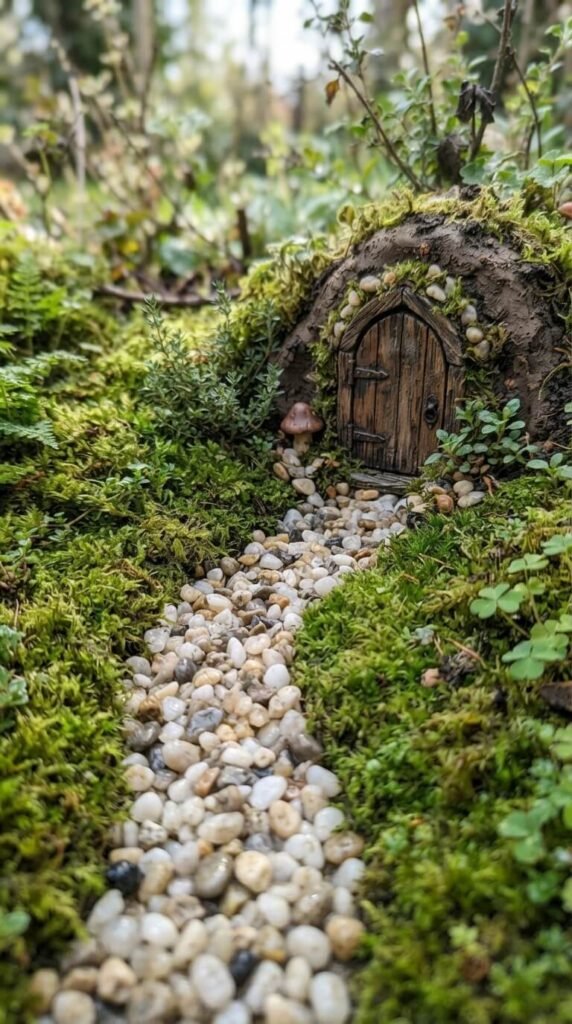
A winding path changes the whole feel of a fairy garden. Use small pebbles, sand, or even broken eggshells for texture. Curve the path so it disappears around a corner — that sense of mystery works well. Collect pebbles from a driveway or beach for free. Press them into soft soil and they’ll stay in place. Line the sides with tiny plants or small stones to frame the walkway clearly.
15. Fairy Door in a Wall or Fence
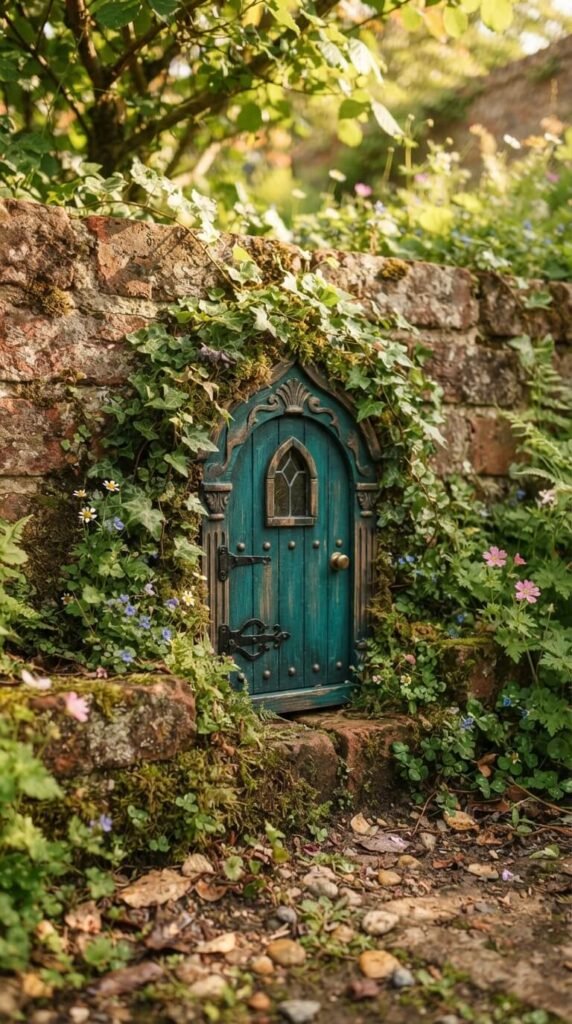
A fairy door mounted low on a fence, tree, or wall creates the illusion of a whole hidden world inside. You can buy them at craft stores or make your own from popsicle sticks and craft paint. Place them at the base of a garden bed surrounded by small plants and pebbles. Add tiny footprints in the soil leading up to the door using a pencil eraser. It’s simple and completely charming.
16. Seasonal Fairy Garden

Change your fairy garden with the seasons instead of keeping one fixed display. Use pumpkins and pine cones in autumn. Tiny wrapped gifts in winter. Flower bunches in spring. Dollar stores stock seasonal miniatures throughout the year. Build your base garden once in a shallow tray and swap out accessories as the months change. This keeps the display interesting and gives kids a reason to check on it regularly.
17. Fairy Garden for Kids to Build
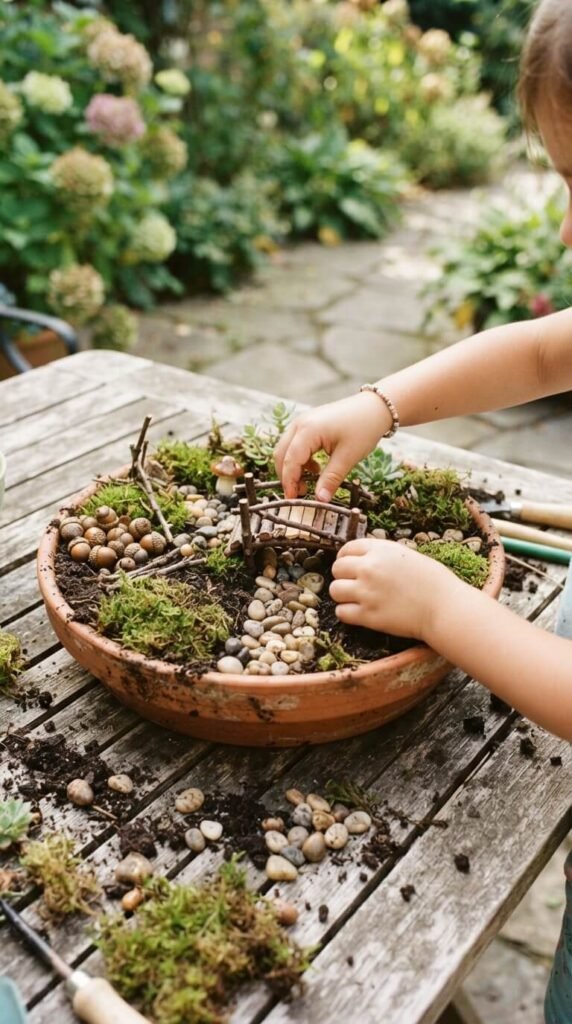
Let kids build their own fairy garden from scratch. Give them a pot, some soil, moss, and a handful of small natural items — pinecones, pebbles, sticks. No rules, no wrong answers. They’ll naturally create paths, rooms, and little scenes. Add a few inexpensive fairy figures as a starting point. Building it teaches them about plants and nature without feeling like a lesson. Tending it regularly gives them a small, real responsibility.
18. Succulent Fairy Garden
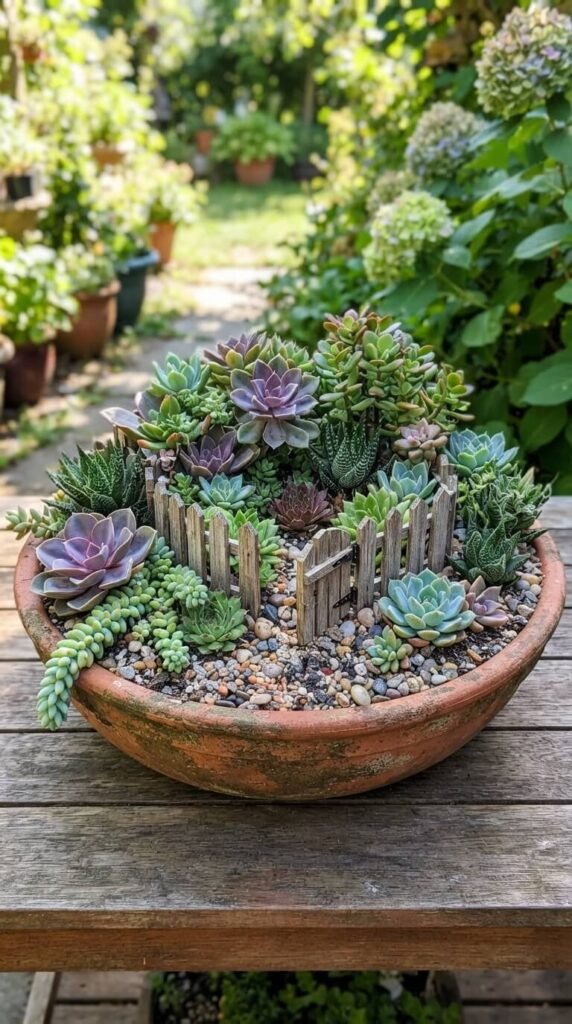
Succulents are the best plants for beginner fairy gardens. They stay small, tolerate dry soil, and come in dozens of shapes. Arrange them by height — tall ones at the back, ground-hugging types at the front. Mix colors for a vibrant look. Add a tiny fence, gate, and stepping stones between plants. A shallow bowl works perfectly and drains well. Most garden centers sell small succulents for one to two dollars each.
19. Fairy Garden Along a Garden Path
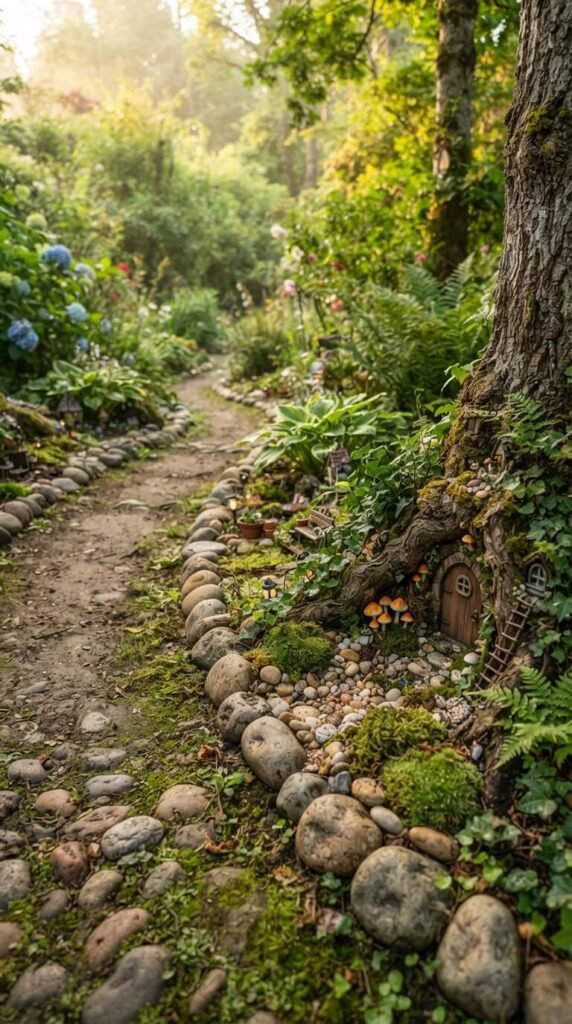
Turn the edge of an existing garden path into an ongoing fairy story. Every few feet, add a new small scene. A tiny door in a root here. A mushroom cluster there. The path becomes a trail of discoveries. Use natural items found nearby — bark, stones, acorns. This approach doesn’t require buying a container and works with any existing garden space. Visitors notice more the longer they look, which makes it genuinely interactive.
20. Fairy Garden in a Colander
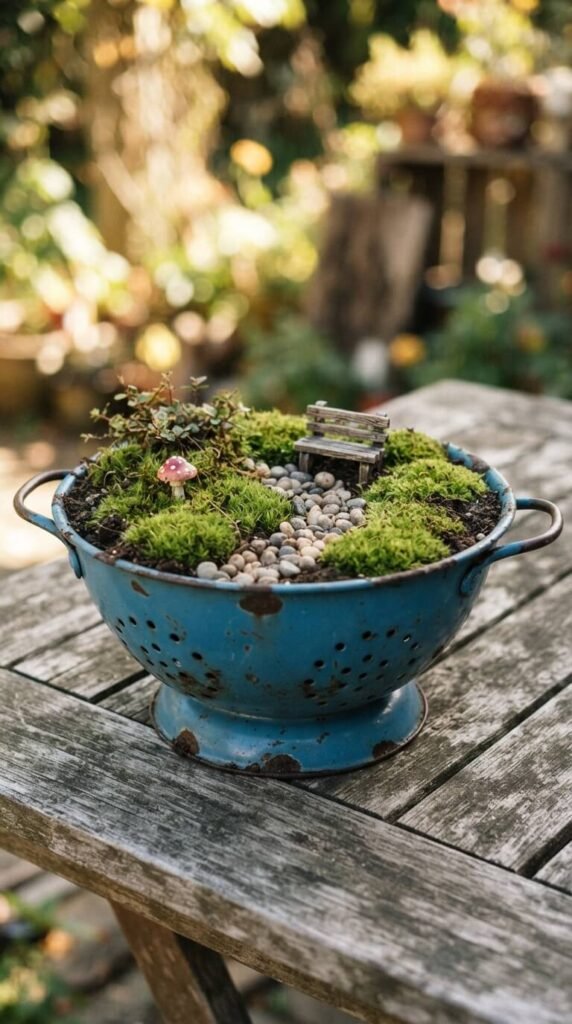
A metal colander makes a surprisingly perfect fairy garden container. The holes at the bottom provide instant drainage — no need to add rocks or drill anything. Fill it with soil, press in some moss, and build your scene. Thrift stores and garage sales often have colanders for almost nothing. Enamel ones look especially charming. Hang it on a fence for a vertical effect, or set it on a table as a centerpiece.
21. Woodland Floor Fairy Scene
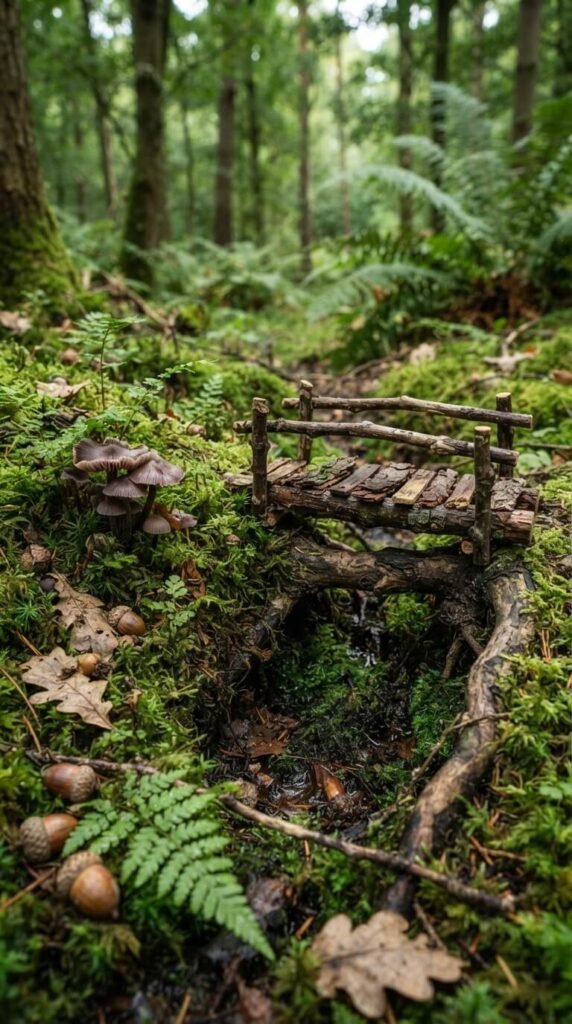
If you have a wooded area or a shaded yard, build directly on the ground using what’s already there. Clear a small patch and arrange natural materials — moss, bark, fallen leaves, stones. This garden costs nothing at all. Use sticks to build a fence. Acorn caps become dishes. A flat stone becomes a table. Everything here is found and placed, not purchased. It’s the most natural-looking fairy garden style of all.
22. Painted Rock Fairy Accessories

Painted rocks turn into tiny fairy houses instantly. Use smooth river stones and acrylic craft paint. Paint on windows, doors, and rooftops. Seal them with clear varnish so they last outdoors. A set of five painted rocks clustered together forms a whole village. Kids can paint them and feel proud every time they see their work displayed. A pack of stones and basic paints costs around three dollars total.
23. Fairy Garden With Lighting
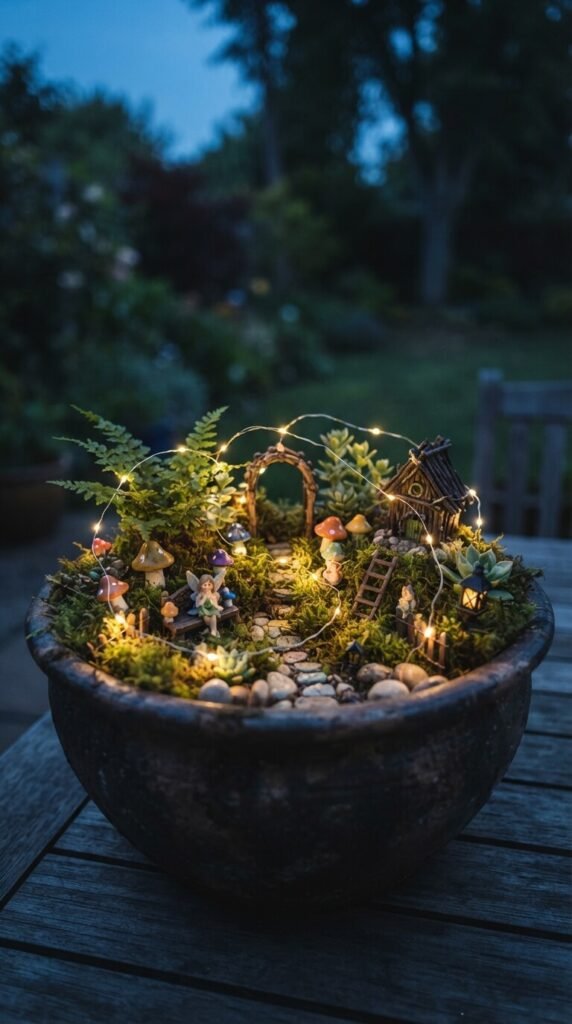
Battery-powered fairy lights change everything once the sun goes down. Weave a short string of warm LED lights through your garden, around mushrooms, and along paths. Most fairy light strings run on two AA batteries and cost just a few dollars. Set them on a timer so they come on automatically at dusk. The warm glow makes even a simple garden look magical and draws attention in the evening garden.
24. Fairy Garden on a Balcony
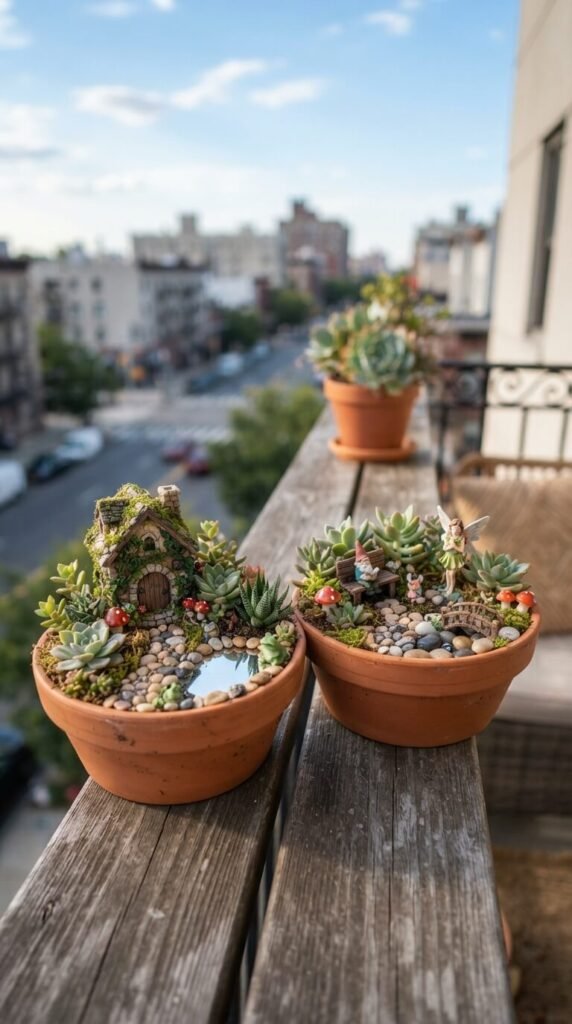
You don’t need a yard. A balcony railing or ledge holds two or three small pots that together create a connected fairy world. Use railing planters to save floor space. Link the pots with a story — garden on one, forest on another, pond in a third. Keep plants small and drought-tolerant if your balcony gets a lot of sun. This is one of the most space-efficient ways to create a fairy garden.
25. Clay Fairy Houses
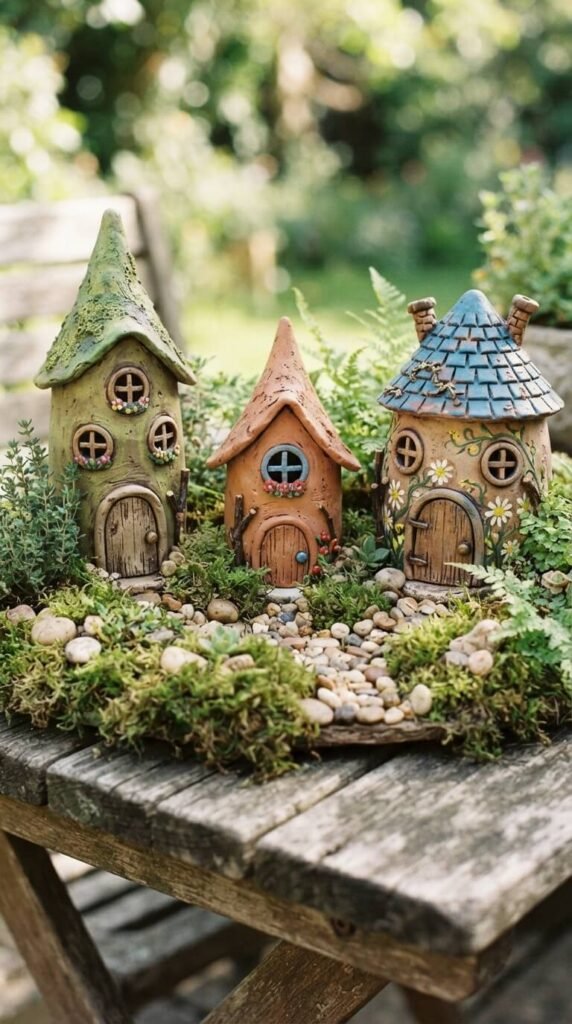
Air-dry clay from any craft store lets you shape your own fairy houses without a kiln. Roll it, shape it, add texture with a toothpick, and let it dry for 24 hours. Paint with acrylic and seal with varnish to make it weather-resistant. You can shape houses, bridges, benches, fences — anything. A block of clay costs two to three dollars and makes an entire village. It’s one of the most satisfying DIY options.
26. Fairy Garden for Pollinators
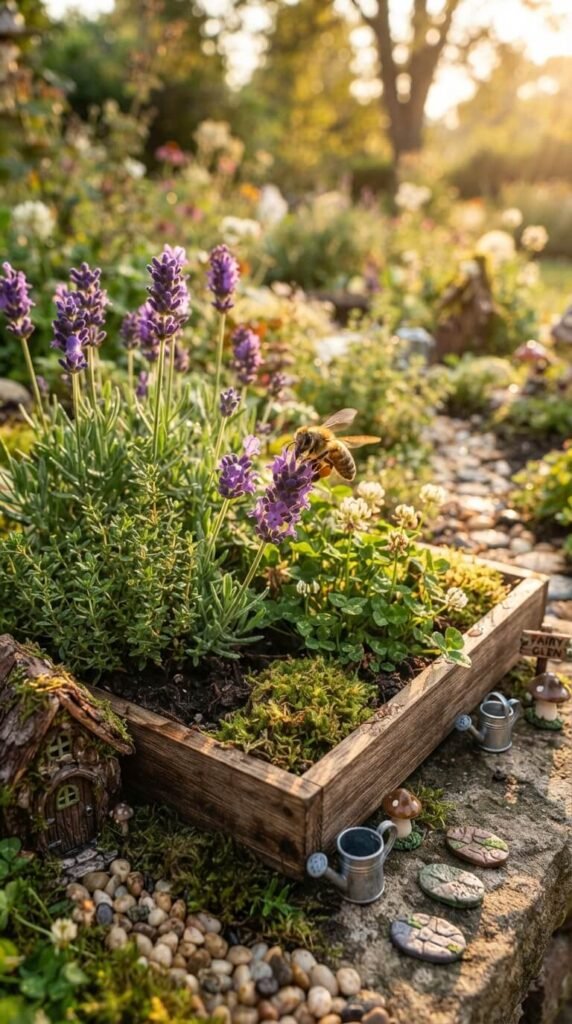
Build a fairy garden that’s also a pollinator habitat. Choose plants like thyme, clover, lavender, and alyssum — they stay small and attract bees and butterflies. This makes your fairy garden actually good for the garden ecosystem. Add a tiny birdbath or water dish for visiting insects. You get the whimsical look and real environmental value. It’s a great conversation point and teaches kids why pollinators matter.
27. Night-Glow Fairy Garden
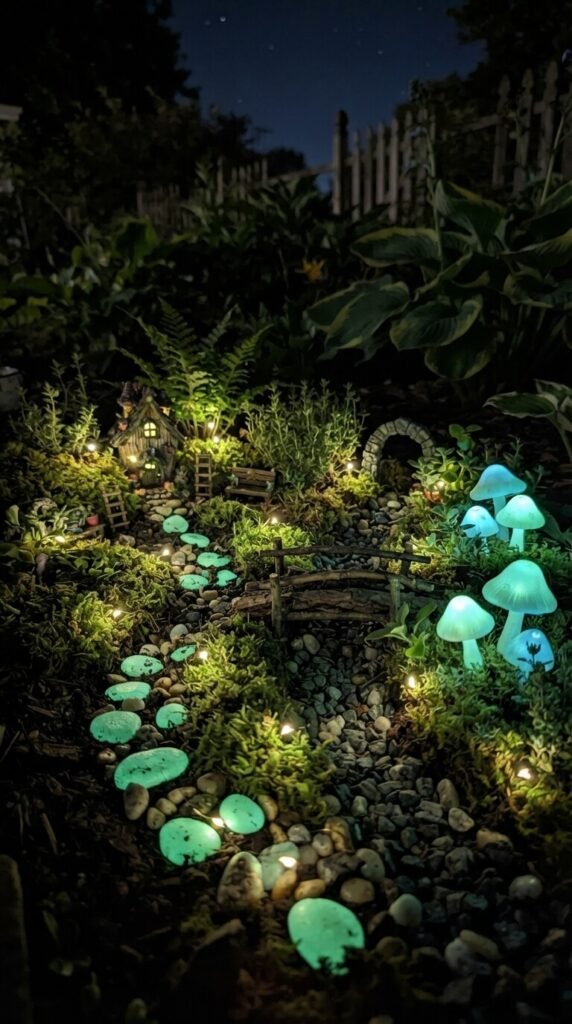
A night-glow fairy garden is a special project for evening enjoyment. Use glow-in-the-dark paint on stones and mushrooms. Add solar-powered micro lights along the path. Phosphorescent paint absorbs sunlight and glows for hours after dark. This garden is invisible to most people during the day, but comes alive at night. It’s a wonderful surprise for kids and guests who discover it after sunset.
Conclusion
Fairy gardens are one of those rare creative projects where the budget doesn’t determine the result. A $2 teacup and a handful of moss from your yard can be just as beautiful — and even more personal — than anything bought from a store. Whether you’re building a tiny world for yourself, your kids, or your garden space, the only real rule is to enjoy the process. Start small with one container and one idea. Then let curiosity take over. Add, rearrange, and grow it over time. That’s exactly how real fairy gardens work — slowly, naturally, and always surprising you with what comes next.