There’s something deeply satisfying about building something with your own hands — and when that something becomes a lush, blooming centerpiece for your outdoor space, it’s even better. Planter boxes are one of the easiest weekend DIY projects you can tackle, and the results are nothing short of showstopping. Whether you have a sprawling backyard or a tiny balcony, a well-built planter box can transform your spring garden from ordinary to absolutely gorgeous.
What You’ll Need Before You Start
Before you pick up a saw or drill, gather your materials. Having everything on hand makes the build go smoothly and keeps the momentum going.
Materials:
- Cedar or redwood boards (naturally rot-resistant and perfect for outdoor use)
- Exterior wood screws (2–3 inches work great)
- Drill and drill bits
- Sandpaper (medium and fine grit)
- Measuring tape and pencil
- Landscape fabric (to line the inside)
- Exterior wood sealant or paint
Cedar is the go-to choice for most DIYers because it resists moisture and pests without needing heavy chemical treatment. It also looks beautiful as it weathers to a soft silver-gray over time.
Step 1 — Plan Your Size and Shape
The most common beginner mistake is building a planter box that’s either too small to make an impact or too large to move once it’s filled with soil. A good starter size is 24 inches long × 12 inches wide × 12 inches deep. This gives your plants plenty of root room while keeping the box manageable.
Think about where the box will live:
- Full sun spots are perfect for tomatoes, herbs, and marigolds
- Partial shade areas suit ferns, impatiens, and begonias
- Balconies or decks may need lighter materials or casters on the bottom
Sketch a simple diagram before cutting any wood. Even a rough pencil drawing helps you visualize the finished product and catch sizing errors early.
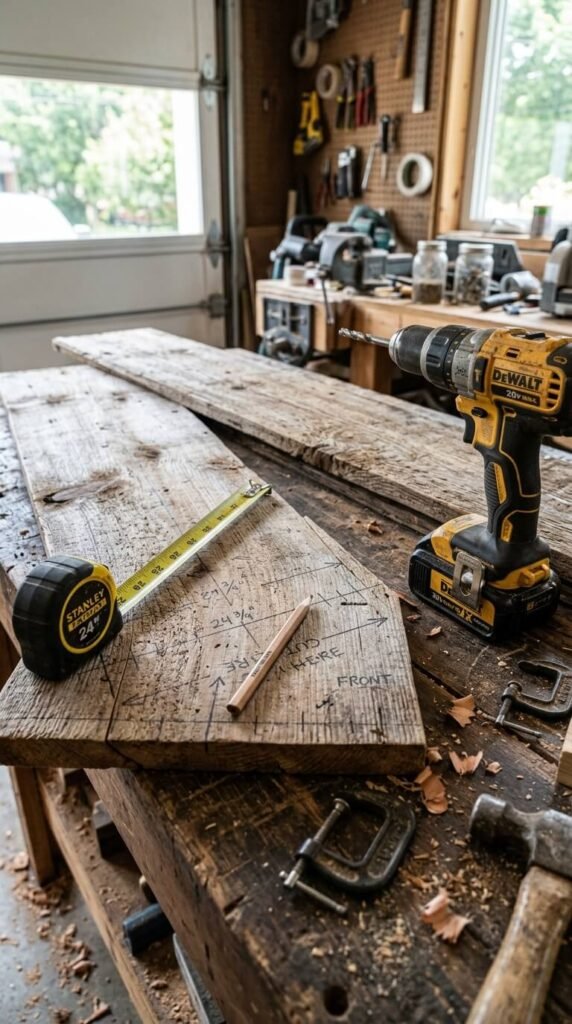
Step 2 — Cut and Assemble the Wood
Once your measurements are locked in, cut your boards to length. If you don’t have a saw at home, most hardware stores will cut lumber for you right in the aisle — just bring your measurements.
Assembly steps:
- Build the two long side panels first by attaching boards side by side
- Connect the short end panels between the long sides using exterior screws
- Add a bottom panel with small gaps between boards for drainage
- Pre-drill all holes to prevent the wood from splitting
Don’t rush this stage. Take time to make sure your corners are square — a quick check with a carpenter’s square saves a lot of frustration later.
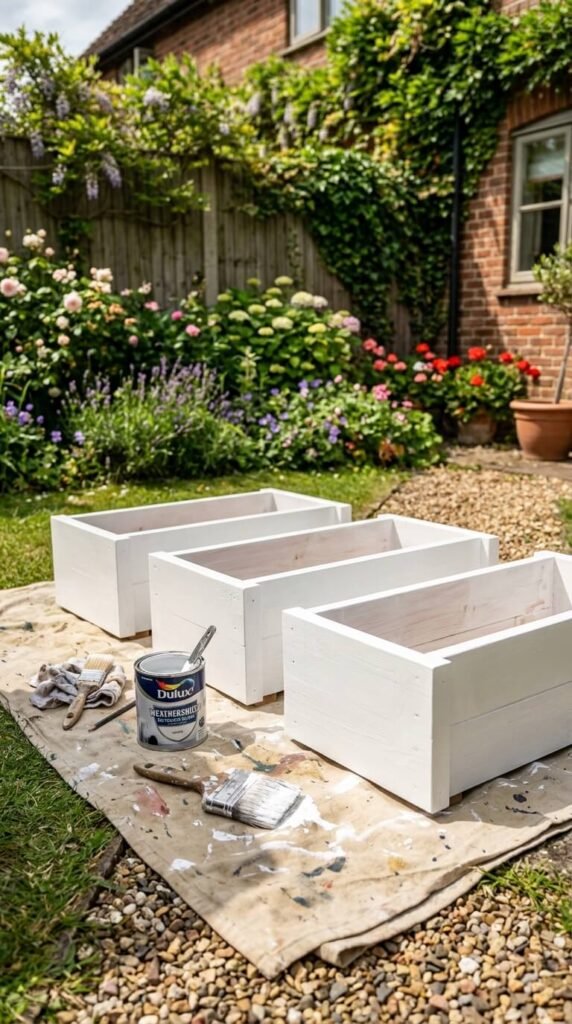
Step 3 — Sand, Seal, and Finish
Raw wood left unprotected won’t last more than a season or two outside. Once your box is assembled, sand all surfaces smooth, paying special attention to the top edges where hands will rest.
Apply an exterior wood sealant or a coat of outdoor paint in a color that complements your garden palette. Soft sage green, crisp white, and warm terracotta are all trending for spring gardens right now.
Let it dry completely — usually 24 hours — before adding soil.
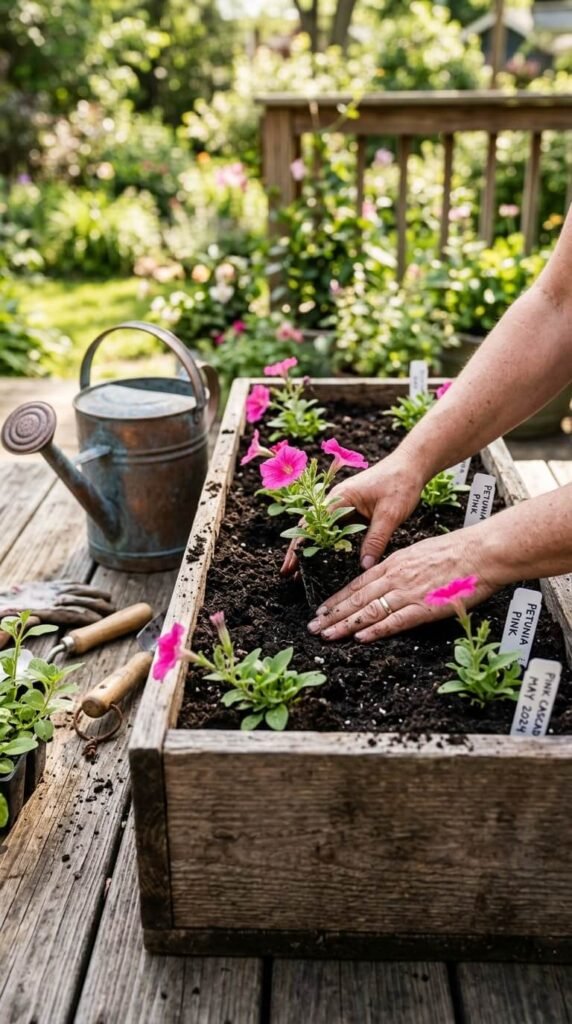
Step 4 — Line, Fill, and Plant
Before adding soil, line the inside of your box with landscape fabric. This keeps the soil in while still allowing water to drain freely, which protects the wood from constant moisture contact.
Filling tips:
- Use a quality potting mix, not garden soil (it’s too heavy and compacts quickly)
- Add perlite or coarse sand to improve drainage
- Fill to about 2 inches below the rim to leave watering room
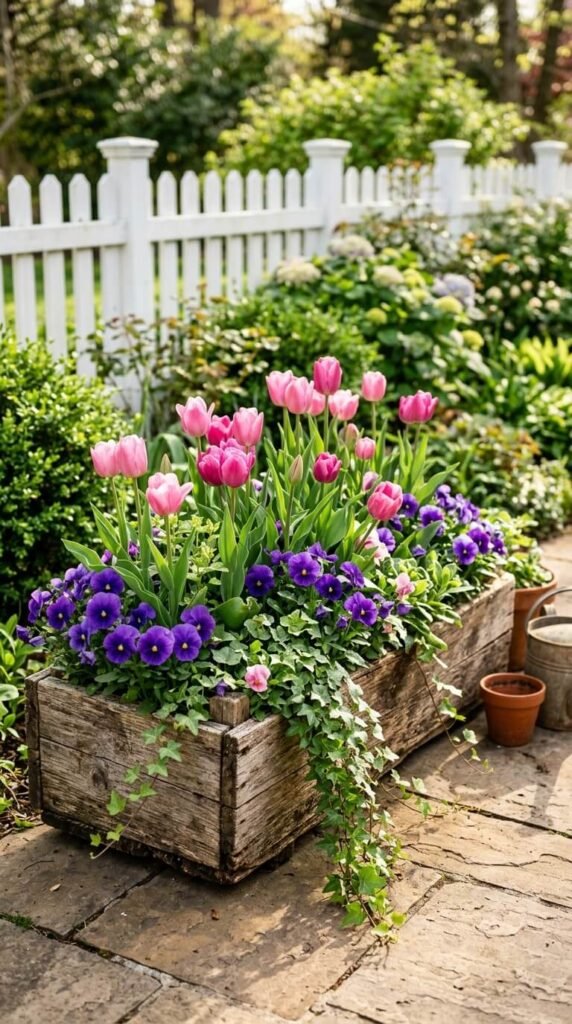
Now comes the fun part — planting! For a classic spring look, try layering tall plants (like snapdragons) at the back, mounding plants (like petunias) in the middle, and trailing plants (like sweet potato vine) at the front edges.
Watch Your Garden Come to Life
Building your own planter boxes is one of those projects that keeps giving all season long. Every morning you step outside and see those blooms reaching toward the sun, you’ll feel proud knowing you built the stage they’re performing on.
Start simple, build one box, and see how it transforms your outdoor space. Once you do, you’ll want to build five more.
Save this guide for your next weekend project — and tag your finished planter box build when you share it! 🌿