There’s something about a beautifully lettered sign that instantly makes a space feel intentional and alive — and spring is the perfect season to try your hand at making one. Whether you’re decorating your front porch, sprucing up a gallery wall, or crafting a welcome sign for a seasonal party, spring signage is one of those projects that looks impressive but is surprisingly doable, even if you’ve never picked up a brush before.
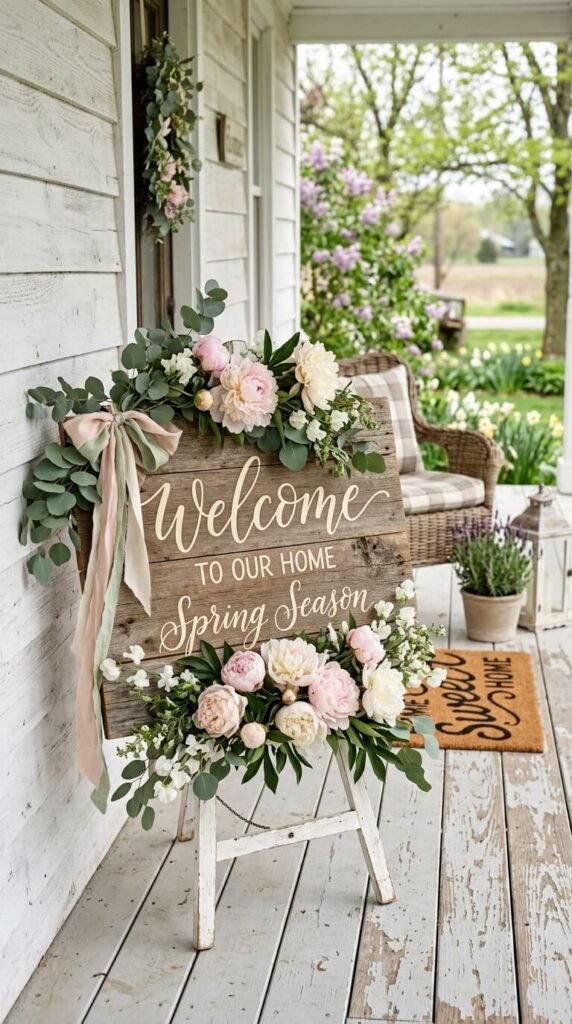
Let’s walk through everything you need to get started — from choosing your method to adding those finishing touches that make your sign look totally Pinterest-worthy.
Choose Your Method: Hand-Lettering vs. Stencils
First things first — decide how you want to create your lettering. Both methods are beginner-friendly, but they have different vibes.
Hand-Lettering is freehand. You use a brush, chalk marker, or paint pen to write directly onto your surface. It’s personal, slightly imperfect, and has that handmade charm people love.
Stencils are your best friend if you want crisp, uniform letters without the pressure of freehand writing. You can buy pre-made stencils from craft stores or cut your own using a Cricut or similar machine.
- Choose hand-lettering if you want something organic and artistic
- Choose stencils if you want clean edges and consistent sizing
- Want the best of both? Stencil your main text and hand-letter accent words like “hello” or “bloom”
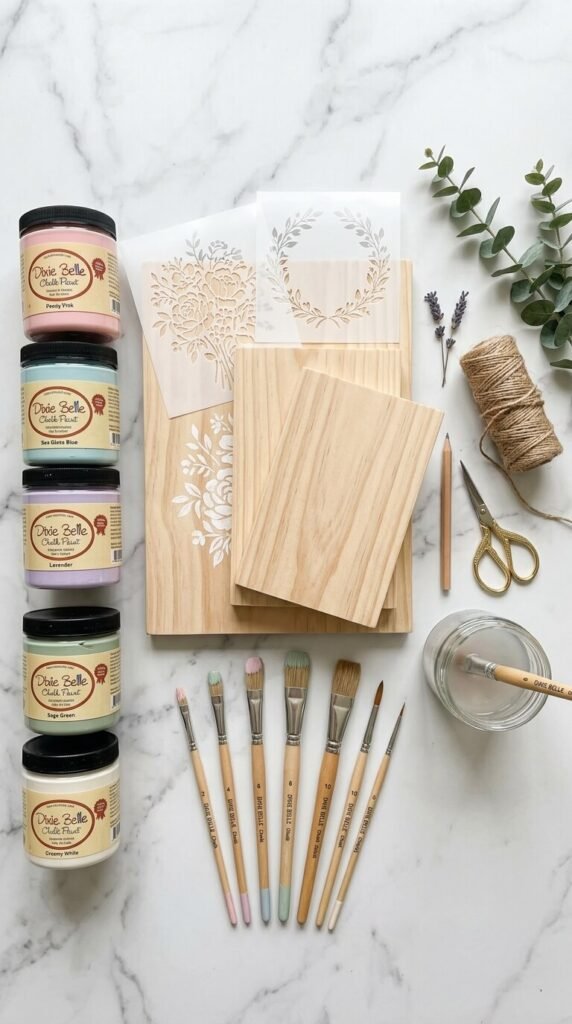
Gather Your Supplies
You don’t need a lot to get started. Here’s a simple supply list depending on your chosen method:
For Hand-Lettering:
- Wooden plank, canvas, or chalkboard surface
- Acrylic craft paint or chalk paint
- A round brush or brush-tip paint pen
- Pencil for light sketching first
- Ruler (optional but helpful)
For Stencils:
- Pre-cut stencil or printable stencil sheet
- Stencil brush or small foam roller
- Painter’s tape to hold the stencil in place
- Acrylic paint in your chosen spring palette
Prep Your Surface
This step makes a huge difference in how your final sign looks.
- Sand your wood lightly if it’s rough, then wipe away the dust
- Apply a base coat — white, cream, or a soft sage green works beautifully for spring
- Let it dry completely before adding any lettering (at least 30–60 minutes)
- Sketch your layout lightly in pencil so you know where your words will sit before committing with paint
A good base coat makes your lettering pop and gives the whole sign a polished, finished look.
Letter Your Sign
Now for the fun part!
If you’re hand-lettering:
- Start with your pencil sketch to map out spacing
- Use thin strokes on the upstroke and thicker pressure on the downstroke for a classic brush-lettered look
- Work slowly — there’s no rush
- Small mistakes? Let the paint dry, dab on a bit of base coat, and redo
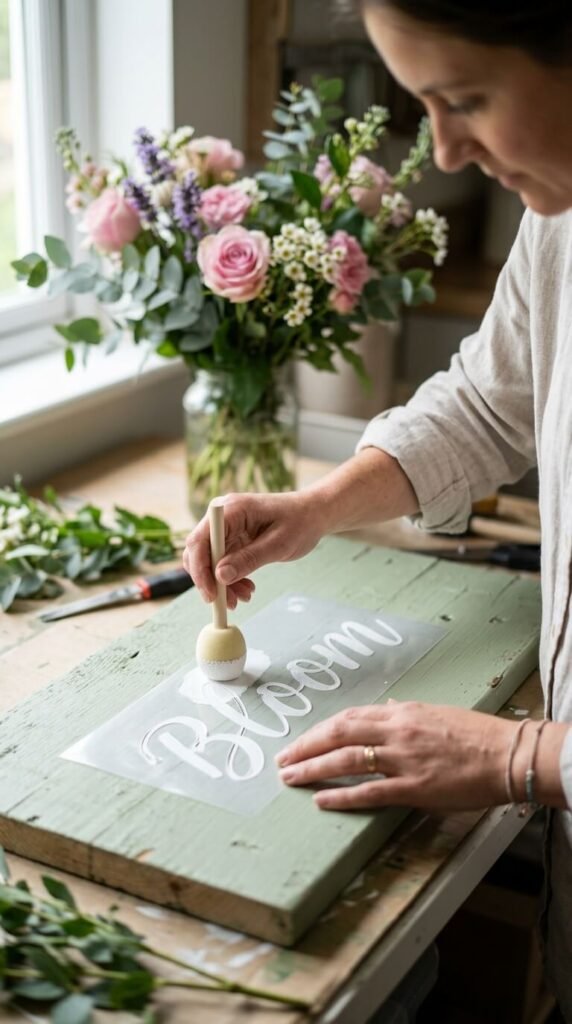
If you’re stenciling:
- Tape your stencil firmly to avoid paint bleeding underneath
- Use very little paint on your brush — a dry-brush technique gives the cleanest results
- Dab, don’t stroke, to keep the edges sharp
- Carefully peel the stencil while the paint is still slightly wet for the cleanest lift
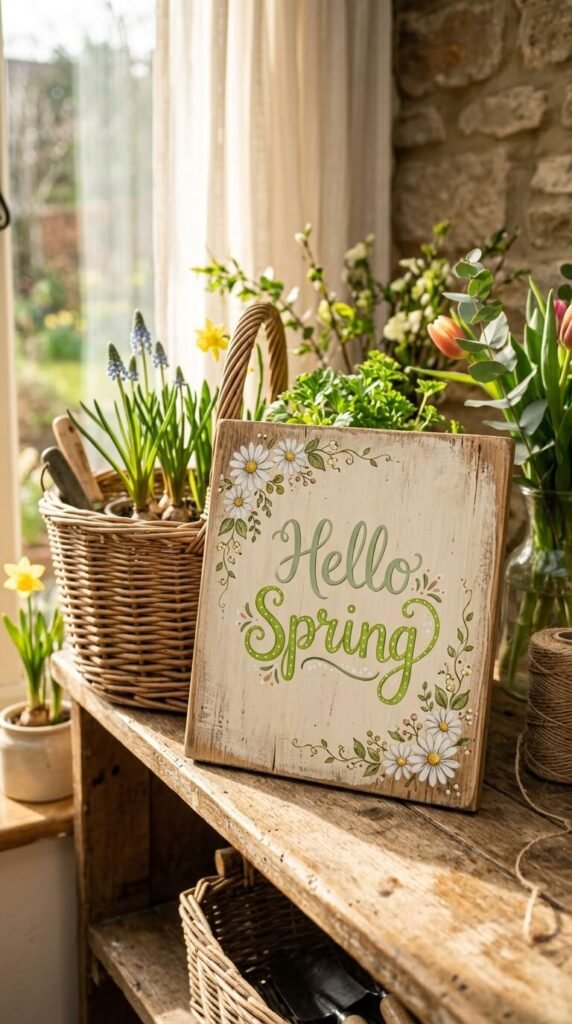
Add Spring Accents and Details
This is where your sign goes from simple to stunning. Once your lettering is dry, consider adding:
- Floral details — paint simple wildflowers, daisies, or lavender sprigs around the text
- Greenery borders — a few loose eucalyptus or fern leaves frame the sign beautifully
- A distressed finish — lightly sand the edges for a farmhouse, vintage feel
- Twine or ribbon for hanging
Seal and Display Your Sign
Once everything is completely dry, apply a clear matte or satin sealer to protect your work — especially if the sign will live outdoors. A quick spray of Mod Podge or Minwax Polycrylic does the trick.
Then find the perfect spot: your entryway, a mantle, a garden fence, or leaning against a stack of books on a shelf.
Spring signage is one of those crafts that gives back way more than it asks for. A little paint, a little patience, and you’ve got a piece of décor that feels completely custom and totally you.
Save this for your next rainy afternoon project — and tag your finished sign when you make it! 🌸