Spring is basically begging you to redecorate — and the best part? You don’t have to spend a single dollar to do it beautifully. Free printables are one of the most underrated decorating secrets out there, and with a little creativity, you can transform bare walls into a gorgeous seasonal gallery in just one afternoon.
Whether you’re a seasoned DIY decorator or a total beginner, this guide walks you through everything — from finding the best free printables to framing and styling your finished display. Let’s get your walls spring-ready.
Step 1: Find the Right Free Printables
The internet is overflowing with stunning, high-quality spring printables — you just need to know where to look. Here are the best places to start:
- Pinterest – Search terms like “free spring printable art,” “botanical wall art download,” or “spring quote printable” pull up thousands of options.
- Etsy (free listings) – Many Etsy shops offer a few free designs as a sample. Filter by “free” in the downloads section.
- Design blogs – Sites like Lolly Jane, Tatertots & Jello, and Eighteen25 regularly publish seasonal freebies.
- Canva – Create your own custom spring art using their free templates, fonts, and floral elements.
Look for files that are at least 300 DPI so your prints come out sharp and crisp — especially if you’re going big.
Step 2: Print Like a Pro
Once you’ve downloaded your favorites, it’s time to print. Here’s how to get the best results without wasting paper or ink:
- Use cardstock instead of regular printer paper. It feels more substantial and looks more polished once framed.
- Print a test copy first on plain paper to check sizing and color before committing to the good stuff.
- Don’t have a printer? Upload your files to Walgreens, Staples, or Canva Print for affordable, high-quality printing in multiple sizes.
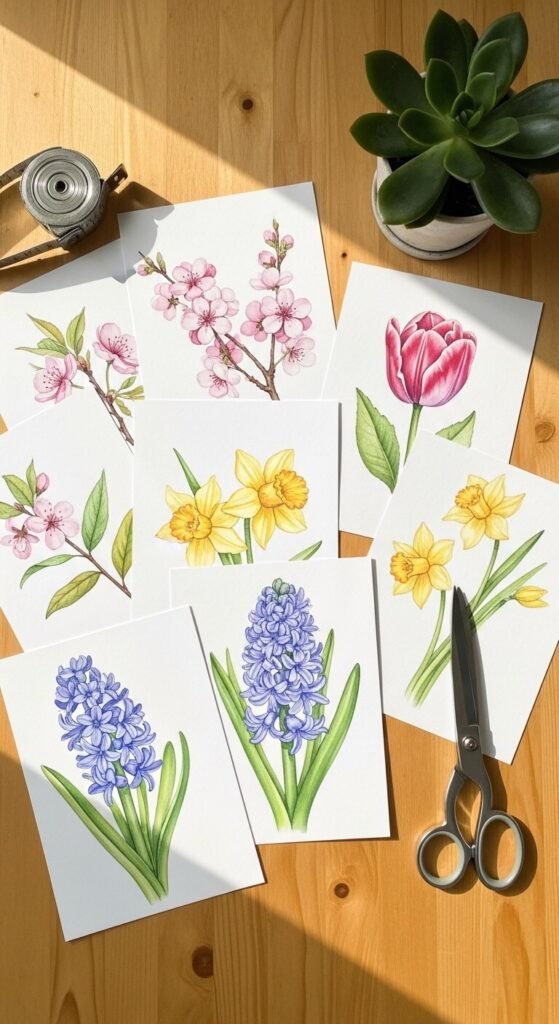
Pro tip: Printing at 5×7 or 8×10 gives you the most flexibility when shopping for frames — these sizes are everywhere and almost always affordable.
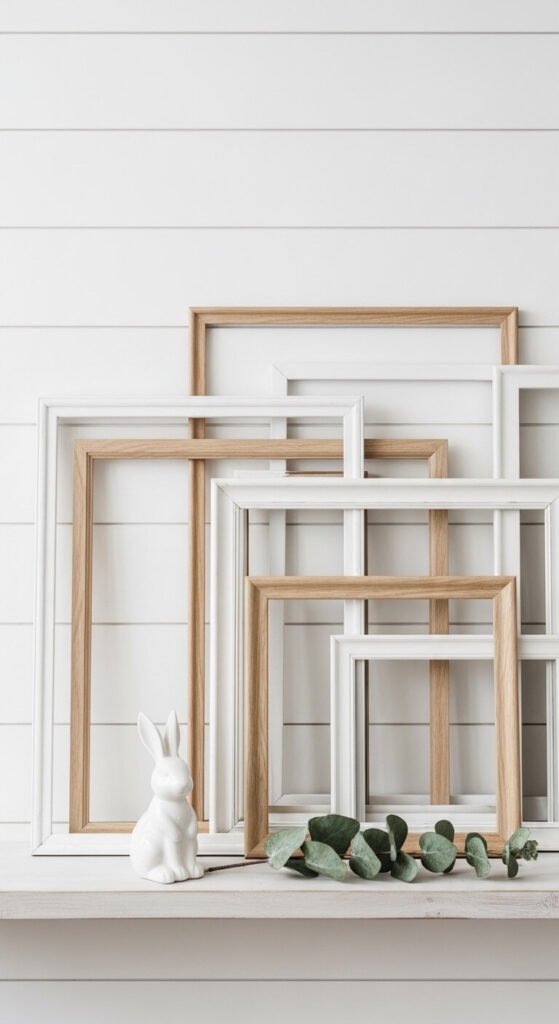
Step 3: Choose Your Frames
Frames can make or break your wall art. For spring, lean into these popular looks:
- White or cream frames for a light, airy cottage feel
- Natural wood frames for a warm, organic vibe
- Thin black frames for a modern, graphic contrast against pastel prints
- Mismatched vintage frames painted the same color for an eclectic but cohesive gallery wall
Shop dollar stores, thrift shops, and Target’s dollar section — you can often find matching sets for next to nothing.
Step 4: Plan Your Gallery Wall Layout
Before putting a single nail in the wall, plan it out. Here’s a simple method:
- Trace your frames onto kraft paper or newspaper and cut them out.
- Tape the paper cutouts to your wall using painter’s tape to test your arrangement.
- Step back and adjust until the spacing and flow feels right.
- Mark your nail holes through the paper before removing it.
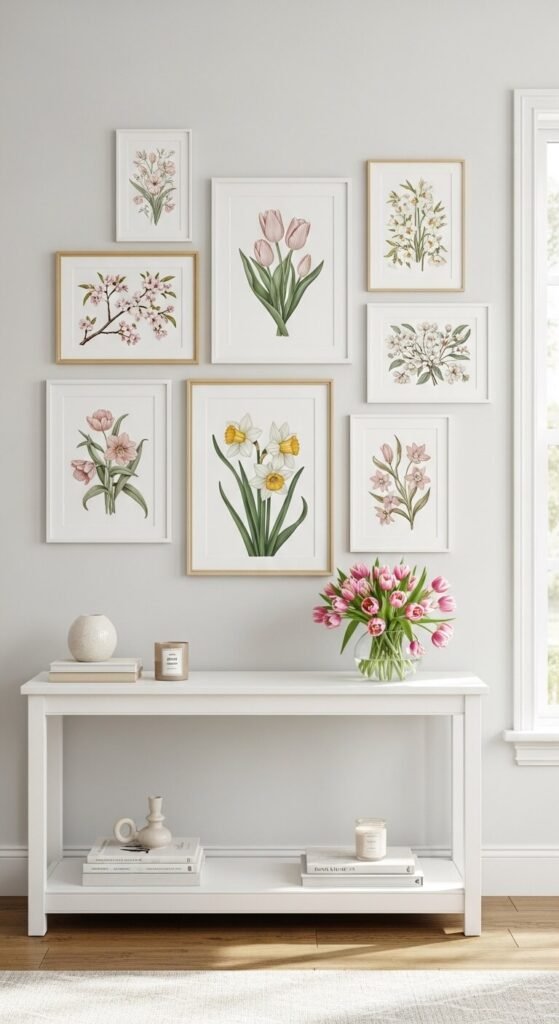
For spring, try a loose cluster of 3–5 frames in different sizes rather than a perfectly symmetrical grid — it feels more relaxed and seasonal.
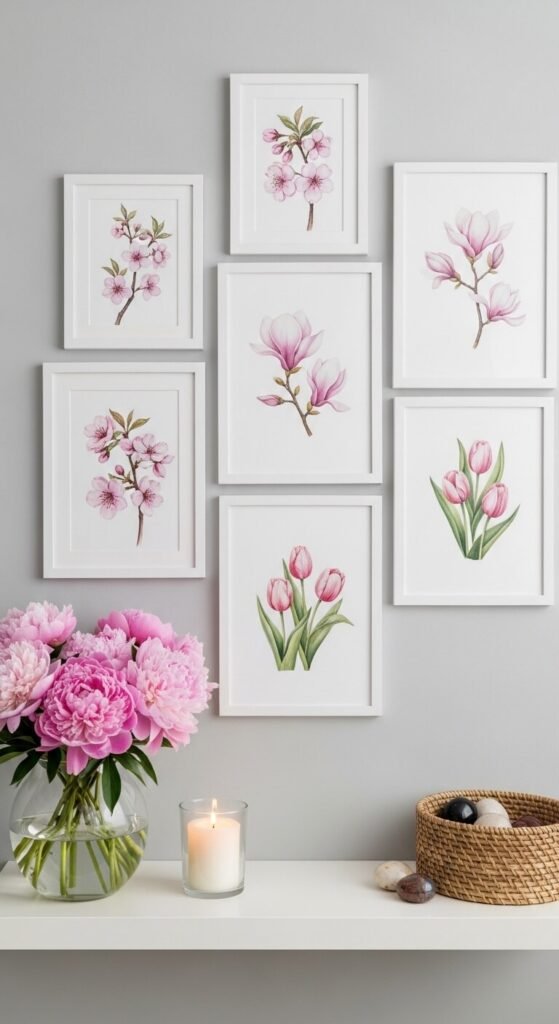
Step 5: Style the Finished Display
The art is up — now make it sing. Styling the area around your new wall art pulls the whole look together:
- Add a small shelf below with a candle, a tiny vase of fresh flowers, or a ceramic figurine.
- Layer in some real or faux greenery nearby to echo the botanical prints.
- Use a warm-toned LED bulb or a plug-in picture light above the arrangement for a gallery-worthy glow.
The Takeaway
Refreshing your home for spring doesn’t have to cost a fortune or take all weekend. A few beautiful free printables, some budget-friendly frames, and a creative eye are truly all you need to build a wall display that looks intentional, beautiful, and completely you.
Save this article for your next seasonal refresh — and tag your finished spring gallery on Pinterest so others can get inspired by your space! 🌸