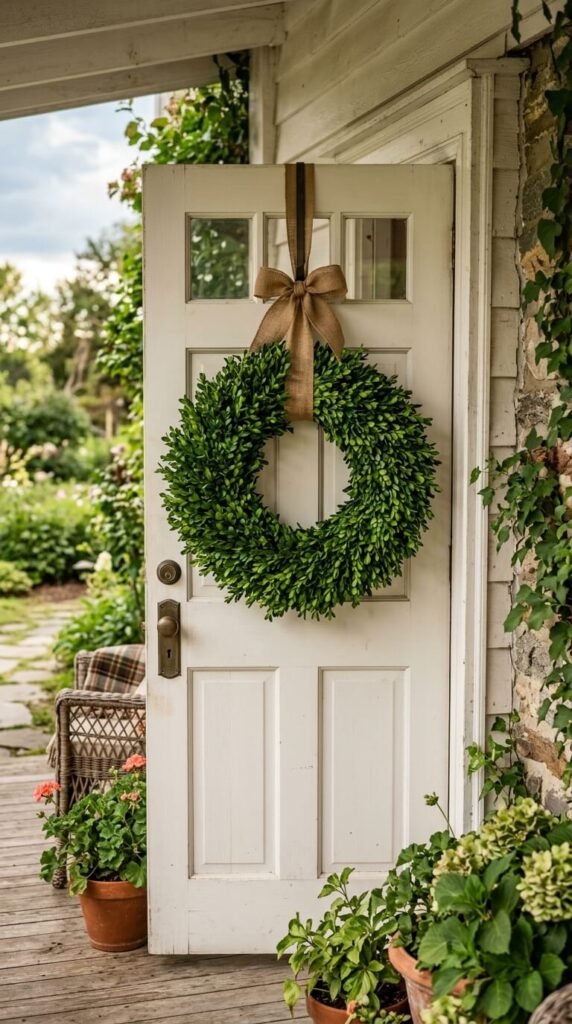
There’s something about a lush boxwood wreath hanging on your front door that just screams put-together. It looks like something you’d pay $80 for at a boutique — but here’s the secret: you can make one yourself in an afternoon, for a fraction of the cost, and it’ll look just as gorgeous. Whether you’re decorating for the holidays, a wedding, or just everyday curb appeal, this guide will walk you through every step.
What You’ll Need Before You Start
Getting your supplies together ahead of time makes the whole process so much smoother. Here’s your shopping list:
- Boxwood clippings (fresh or faux) — about 2–3 bundles for a standard 12-inch wreath
- A wire wreath frame (12–16 inch, available at any craft store)
- Floral wire or paddle wire
- Wire cutters
- Garden shears or scissors
- Optional: ribbon, pinecones, berries, or florals for decorating
Fresh boxwood smells incredible and looks stunning, but faux boxwood is a great low-maintenance option that lasts for years. Either works beautifully with this method.
Step 1: Prep Your Boxwood Clippings
Cut your boxwood into small, manageable sprigs — about 4 to 6 inches long. You’ll need more than you think, so don’t be shy about trimming generously. Strip the bottom inch of leaves off each sprig so you have a clean stem to wrap wire around.
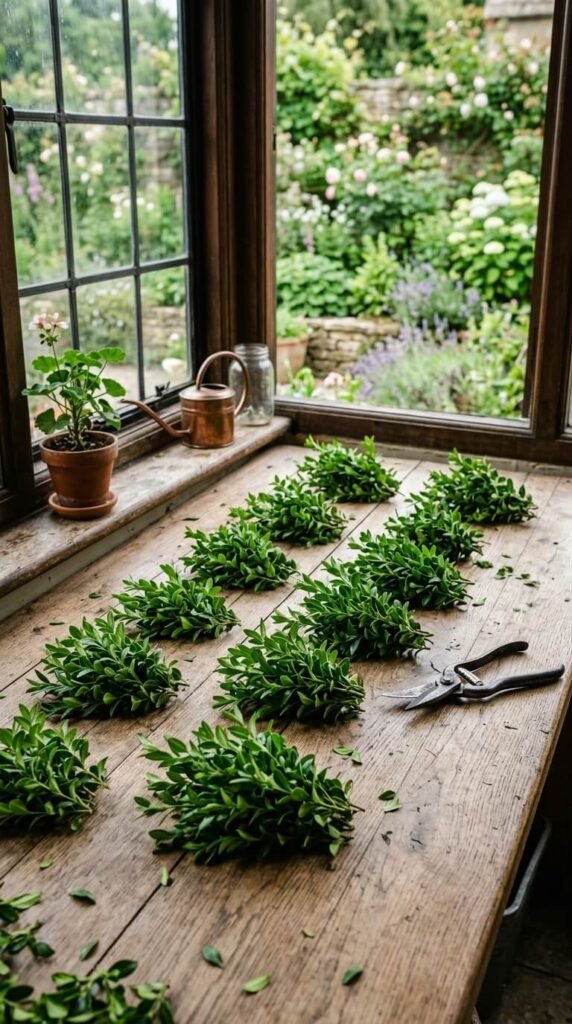
Pro tip: Work over a drop cloth or newspaper — boxwood clippings get everywhere, and future-you will be very grateful.
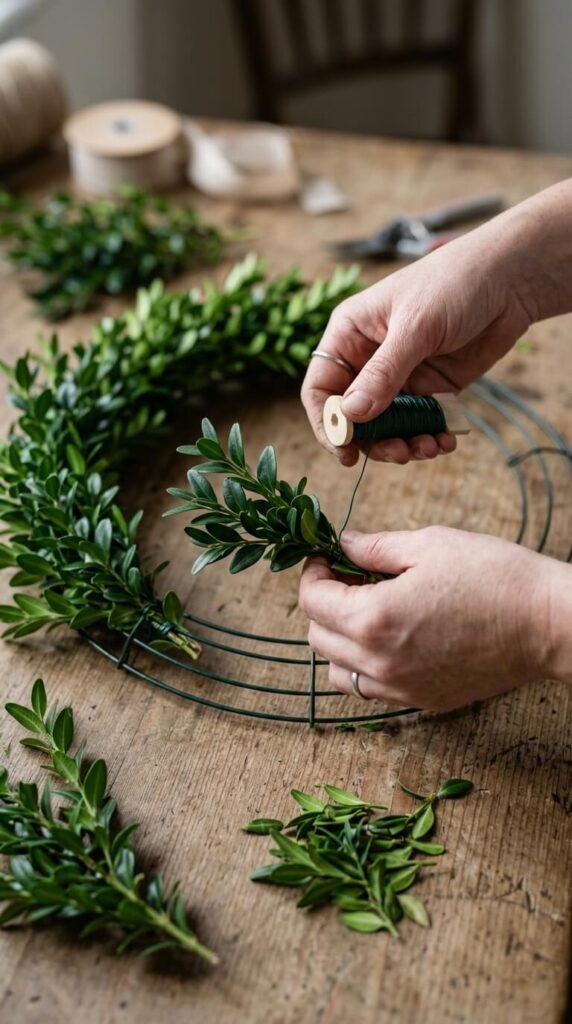
Step 2: Attach the First Layer
Hold a small cluster of 3–4 sprigs together, angle them slightly, and position them at the top of your wire frame. Wrap your floral wire tightly around the stems and the frame several times until it feels secure. Don’t cut the wire — keep it on the paddle so you can work continuously around the wreath.
Overlap each new cluster slightly over the stems of the previous one. This hides the wire and creates that full, layered look professional wreaths are known for.
Step 3: Work Your Way Around the Frame
Continue adding clusters in the same direction, each one slightly overlapping the last. Keep your clusters consistent in size — this is what gives the wreath an even, polished shape. Press each bunch down flat before wiring it in place.
A few things to watch for:
- Gaps? Tuck in a few extra sprigs and wire them down.
- Uneven edges? Trim lightly with scissors once the wreath is complete.
- Losing density? Use slightly larger clusters as you go.
Step 4: Secure the Last Cluster
When you’ve made it all the way around the frame, tuck the final cluster under the first one you placed. This hides the starting point and keeps the wreath looking seamless. Wrap the wire firmly and snip it off, twisting the end securely into the frame so no sharp edges poke through.
Give the whole wreath a once-over and fluff out any sprigs that look flat or tucked under.
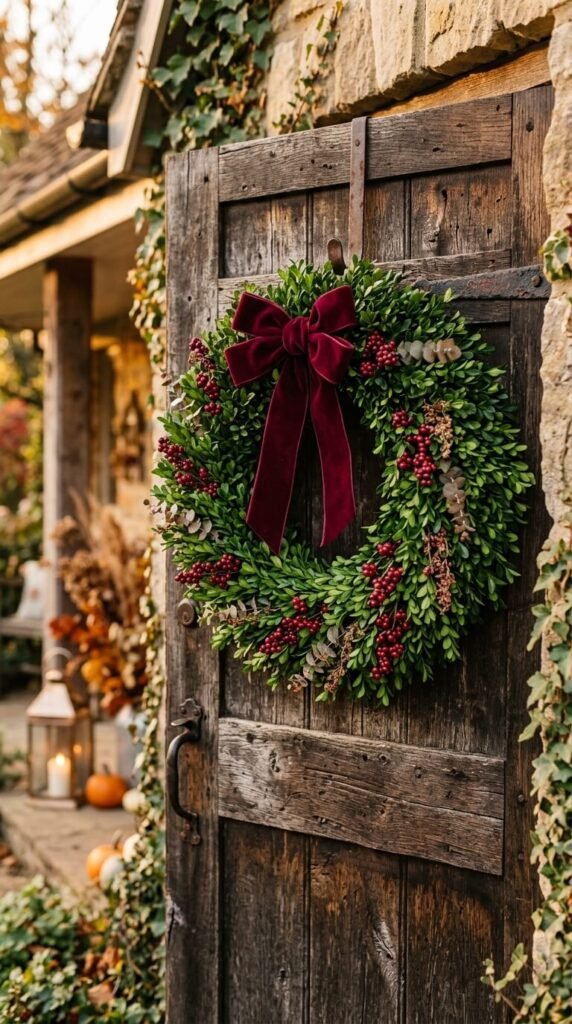
Step 5: Add Your Personal Touch
This is the fun part. A plain boxwood wreath is beautiful on its own, but a few simple additions can take it to the next level:
- Tie a thick velvet ribbon in a bow at the bottom for a classic holiday look
- Tuck in dried orange slices or cinnamon sticks for a cozy, seasonal feel
- Wire in small pinecones or berry clusters for texture
- Add white or cream florals for a wedding or spring aesthetic
Finishing Touches & Display Tips
Once your wreath is complete, hang it using a wreath hanger, a piece of ribbon looped over a nail, or even a suction cup hook for glass doors. If you used fresh boxwood, give it a light mist of water every few days to keep it looking vibrant.
Store faux wreaths in a breathable bag (not plastic) between seasons to keep the shape and color intact.
You’ve Got This
Making a boxwood wreath that looks professionally done isn’t about having fancy tools or years of experience — it’s about patience, consistency, and a little creative confidence. Once you’ve made one, you’ll want to make five more.
Save this tutorial for your next wreath-making session, and share it with a friend who’d love a beautiful DIY project! 🌿