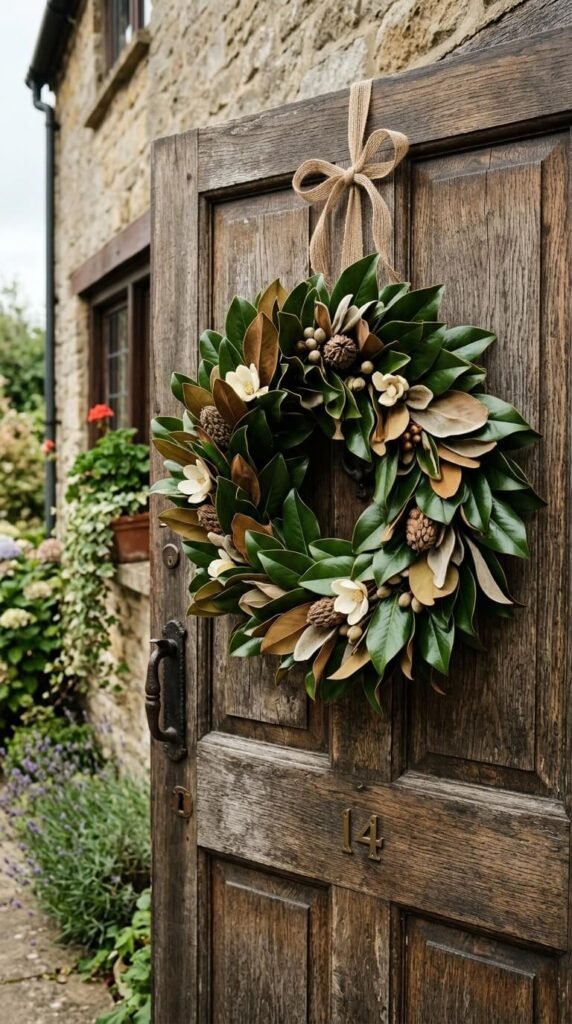
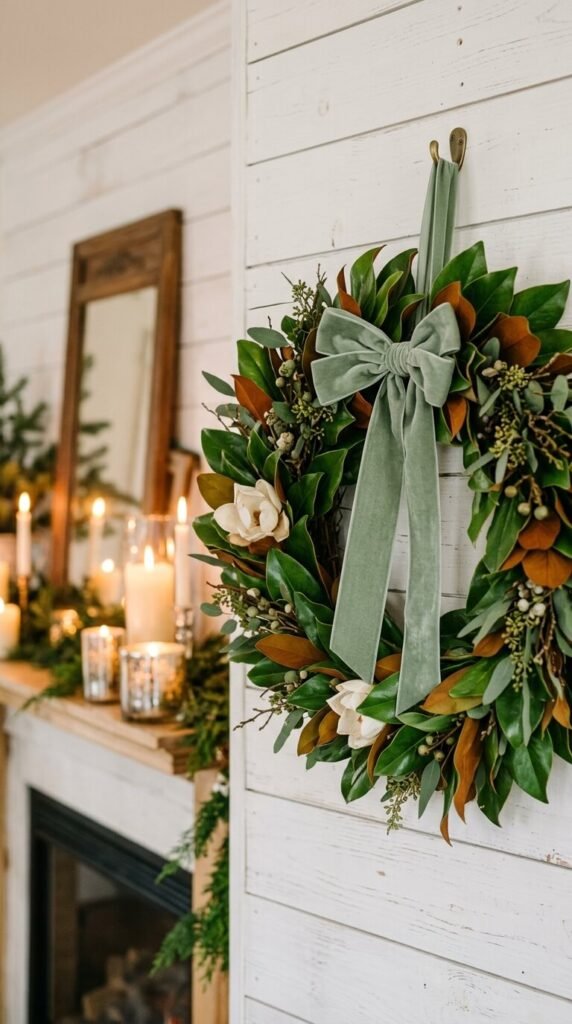
There’s something about a magnolia wreath that feels both timeless and effortlessly elegant. Whether you hang it on your front door, above a fireplace, or as a centerpiece on a dining table, it instantly transforms any space into something that looks straight out of a Southern farmhouse or a cozy cottagecore dream. The best part? You don’t need to be a florist or spend a fortune to make one.
Faux vs. Real Magnolia Leaves — Which Should You Choose?
Before you start crafting, you’ll need to decide between faux and real magnolia leaves. Both work beautifully, but they serve different purposes.
Real magnolia leaves:
- Have gorgeous natural variation in color — deep green on top, velvety brown underneath
- Are best used for seasonal wreaths you’ll refresh every few weeks
- Can be preserved with glycerin to extend their life significantly
- Give off that authentic, organic feel
Faux magnolia leaves:
- Last for years with minimal maintenance
- Are perfect for year-round decorating
- Won’t curl, brown, or dry out
- Widely available at craft stores like Hobby Lobby or Amazon
If you want a wreath you can pull out every fall or holiday season without any fuss, go faux. If you love the idea of working with fresh, real botanicals, real leaves are a rewarding choice.
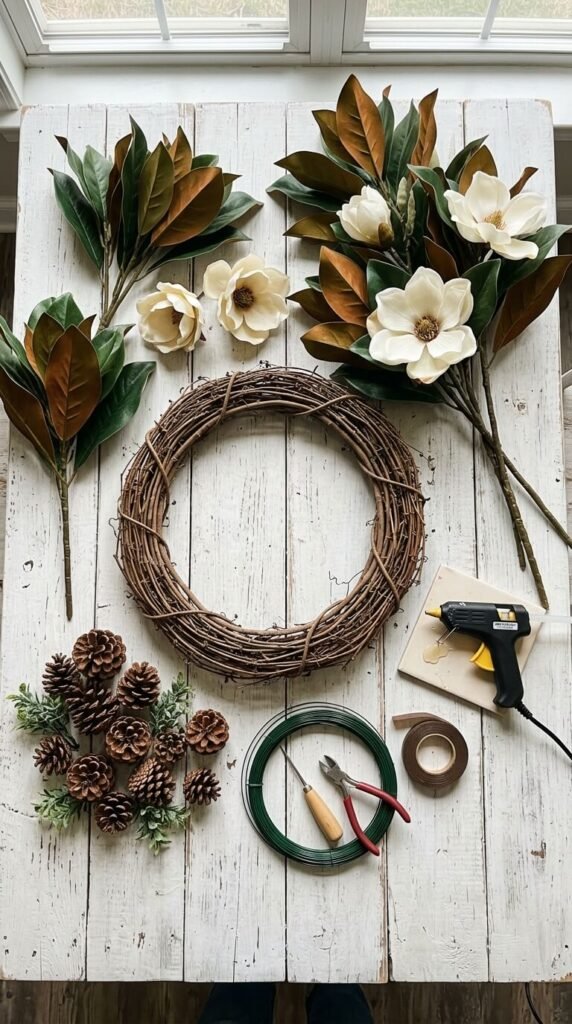
What You’ll Need
Gather your supplies before you sit down to create — it makes the whole process so much smoother.
- A grapevine or wire wreath base (12–18 inches is ideal)
- Magnolia leaf stems or branches (faux or real)
- Floral wire or hot glue gun + glue sticks
- Wire cutters
- Optional accents: dried cotton stems, pinecones, eucalyptus, or ribbon
Step-by-Step: How to Make Your Magnolia Wreath
1. Prep Your Leaves or Stems
If you’re using real branches, cut them into manageable 6–8 inch sections. For faux stems, simply bend them into shape so the leaves fan out naturally. The more you fluff and curve them before attaching, the fuller your wreath will look.
2. Start Layering from the Bottom
Attach your first cluster of leaves to the wreath base using floral wire or hot glue. Work in one direction — clockwise or counterclockwise — tucking each new cluster slightly under the previous one. This layering technique is the secret to that lush, full look.
3. Build Up the Fullness
Keep adding clusters, alternating the angle of the leaves slightly so they don’t all face the same direction. Some leaves facing up, some tilted to the side — this gives depth and dimension. Step back every few minutes to check the overall shape.
4. Fill in the Gaps
Once you’ve gone all the way around, look for thin or bare spots. Tuck in small individual leaves or mini clusters to fill them in. This is also where you can add your accent pieces — a few dried cotton stems, sprigs of eucalyptus, or a single pinecone tucked in at the bottom center look absolutely beautiful.
5. Add a Finishing Touch
A simple ribbon bow in burlap, velvet, or linen adds a polished finishing touch without overpowering the natural look of the leaves. Attach it at the bottom or top depending on where you want the focal point.

Tips for Making It Last
- For real leaves: Mist them lightly every few days to slow drying, or dip stems in a glycerin-water solution before assembling for a longer-lasting wreath.
- For faux wreaths: Store in a large zip bag or wreath storage box to keep the shape between seasons.
- Avoid direct sunlight for either type — it fades color over time.
You’ve Got This
Making a magnolia wreath is one of those projects that looks incredibly impressive but is genuinely beginner-friendly. Once you’ve made your first one, you’ll want to make them for every season, every doorway, and every friend who compliments yours.
Save this tutorial for your next crafty afternoon — and don’t forget to share your finished wreath! 🌿