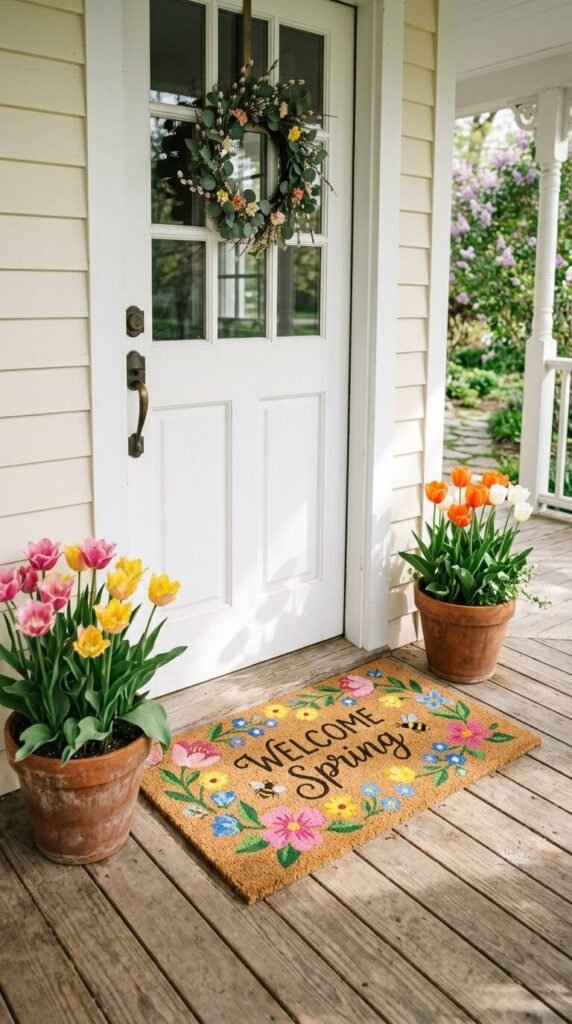
Spring is knocking at your door — so why not make sure your doormat is ready to answer? A painted doormat is one of the easiest, most satisfying DIY projects you can tackle in an afternoon. No special skills required, just a plain coir mat, a little paint, and some creativity. Whether you go freehand or use stencils, the result is a cheerful, custom welcome mat that sets the tone for the entire season.
What You’ll Need Before You Start
Gathering your supplies ahead of time makes everything run smoother. Here’s your quick checklist:
- Coir or rubber doormat (plain, no existing pattern)
- Outdoor acrylic paint or porch paint in spring colors — think sage green, butter yellow, coral, or sky blue
- Stencils (floral, botanical, or simple geometric designs work great)
- Foam roller or stiff-bristled stencil brush
- Painter’s tape
- A piece of cardboard or drop cloth to protect your workspace
- Clear outdoor sealant (optional but highly recommended)
Pro tip: Pick up a cheap foam brush set — they make detail work much easier and are easy to clean between colors.
How to Prep Your Doormat
Prep is everything. Skip this step and your paint may not stick properly.
- Lay your mat flat on a protected surface outdoors or in a well-ventilated area.
- Brush off any loose dirt or debris with a dry brush.
- If your mat is brand new, give it a quick shake — coir fibers can be dusty right out of the bag.
- Let it sit in the sun for 20–30 minutes to make sure it’s completely dry before painting.
No need to prime a coir mat — the natural fibers actually grip paint really well on their own.
Painting with Stencils: Step-by-Step
Stencils are the secret weapon for a clean, professional-looking result — even if your freehand drawing skills are nonexistent.
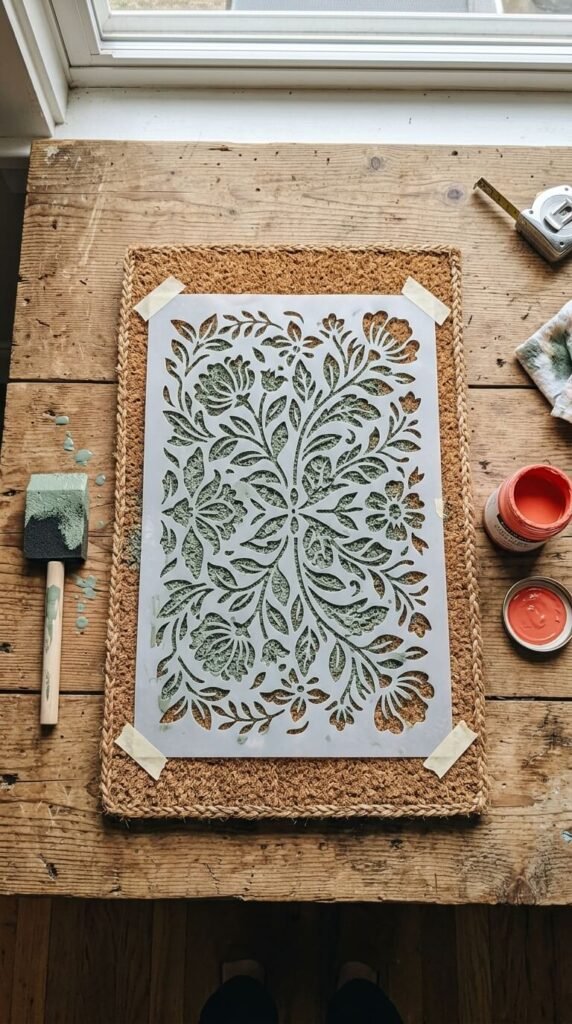
Step 1: Position and secure your stencil. Use painter’s tape to hold the stencil firmly against the mat. Coir can be bumpy, so press the stencil down as flat as possible around the edges.
Step 2: Apply paint with a dabbing motion. Load a small amount of paint onto your foam brush or stencil brush, then dab (don’t drag!) across the stencil openings. Dragging pulls paint under the edges and creates bleed.
Step 3: Lift the stencil carefully. Peel back slowly and straight up to avoid smudging. Let each section dry for at least 15–20 minutes before repositioning the stencil nearby.
Step 4: Layer colors if desired. Let the first color dry completely, then add a second stencil layer in a complementary color for depth and dimension.

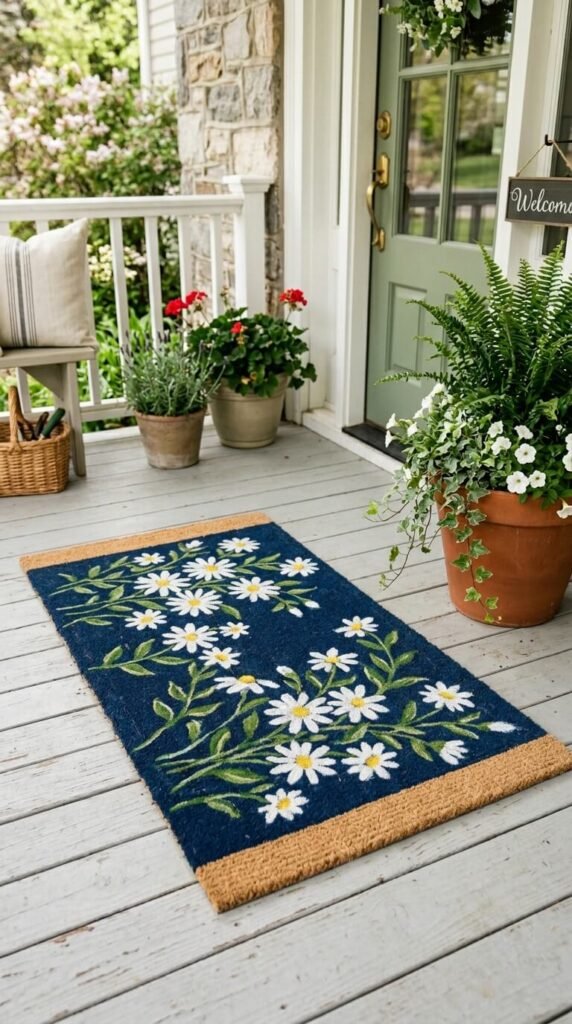
Going Freehand: Tips for a Loose, Artsy Look
Not into stencils? Freehand painting gives your mat a charming, hand-crafted feel that’s totally on trend for spring.
- Use a pencil or chalk to sketch your design lightly on the mat first
- Keep shapes simple — leaves, stems, dots, and simple florals are perfect
- Embrace imperfection — uneven edges actually add character on coir
- Start with your background colors first, then add detail on top once dry
Sealing and Curing Your Doormat
Once your design is fully dry (give it a full 24 hours to be safe), seal it for durability.
- Spray an outdoor clear sealant in light, even coats
- Let each coat dry before adding another — two coats is plenty
- Keep the mat covered or indoors for the first 48 hours before placing it outside
Sealing isn’t required, but it extends the life of your design significantly — especially through spring rain showers.
Final Thoughts
A painted spring doormat is the kind of small, joyful project that makes your whole entryway feel intentional and fresh. It costs under $20, takes just a few hours, and makes everyone smile the moment they walk up to your door.
Save this project for your next free weekend — and tag your finished mat when you share it! 🌸