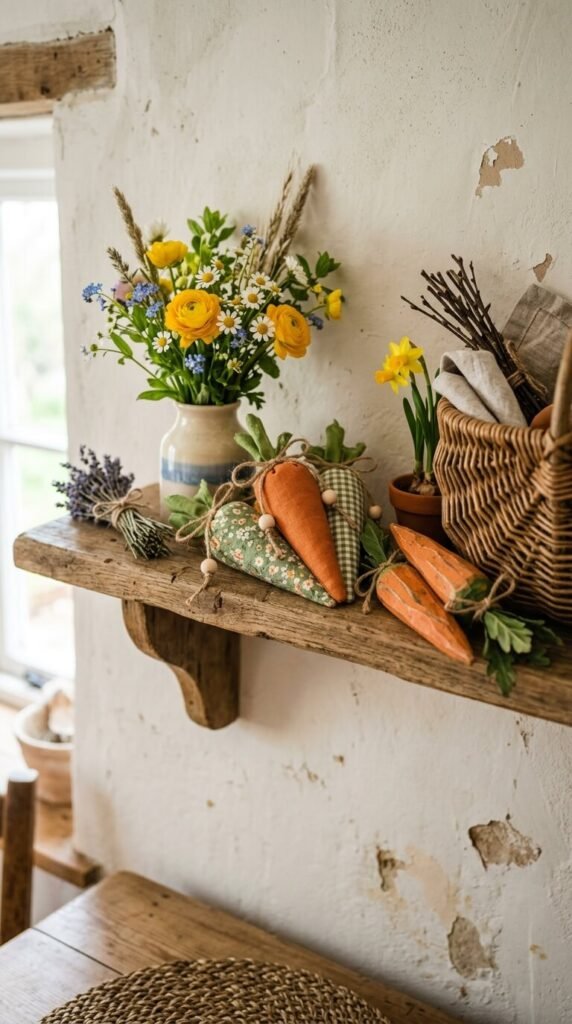
Spring is calling — and nothing says fresh, seasonal charm quite like a cluster of handmade carrot decorations nestled in a basket or hanging from a wreath. Whether you’re decorating for Easter, a farmhouse-themed space, or just want a pop of cheerful orange in your home, DIY carrot decorations are surprisingly easy, endlessly customizable, and totally adorable. The best part? You probably have most of what you need already sitting in your craft drawer.
Why Carrot Decorations Are a Spring Craft Must-Do
Carrots have become one of the most beloved motifs in seasonal home décor — and it’s easy to see why. They’re playful, simple in shape, and work beautifully in both modern farmhouse and cottagecore aesthetics. Plus, making them from wood or fabric means they last for years, unlike fresh floral arrangements that wilt in a week.
You can use your finished carrots to:
- Tuck into tiered tray displays
- Bundle them into a spring wreath
- Hang them as wall art or window décor
- Fill a galvanized bucket or terracotta pot
- Gift them as charming Easter basket additions
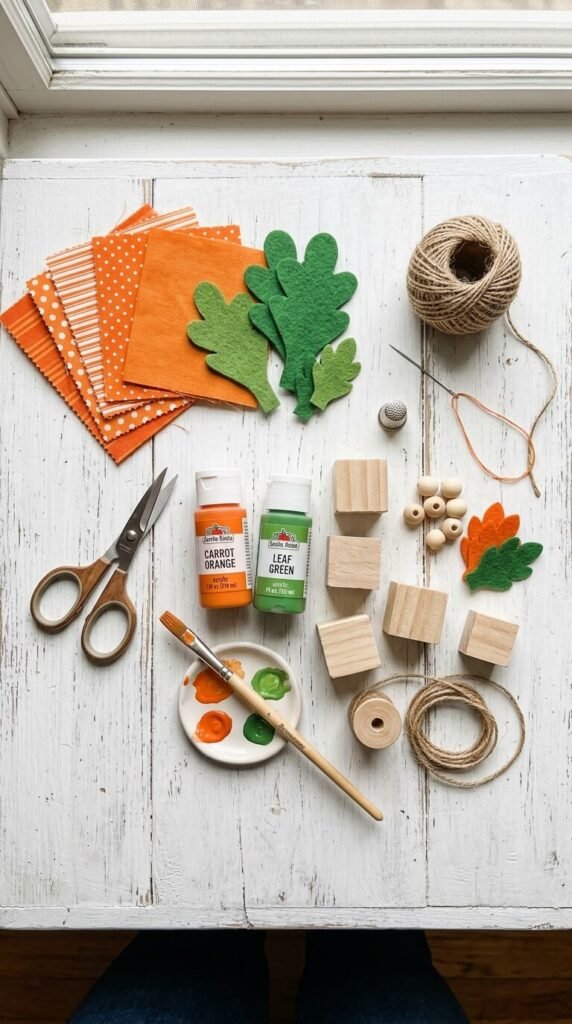
What You’ll Need
For Wooden Carrots:
- Unfinished wood (craft store blocks, dowels, or scrap wood)
- Orange and green acrylic paint
- Sandpaper (fine grit)
- Wood glue or a drill
- Twine or raffia for the tops
- Mod Podge or varnish (optional, for sealing)
For Fabric Carrots:
- Orange cotton or burlap fabric
- Green felt, burlap strips, or faux greenery
- Poly-fil stuffing
- Needle and thread (or a sewing machine)
- Hot glue gun
- Jute twine or ribbon
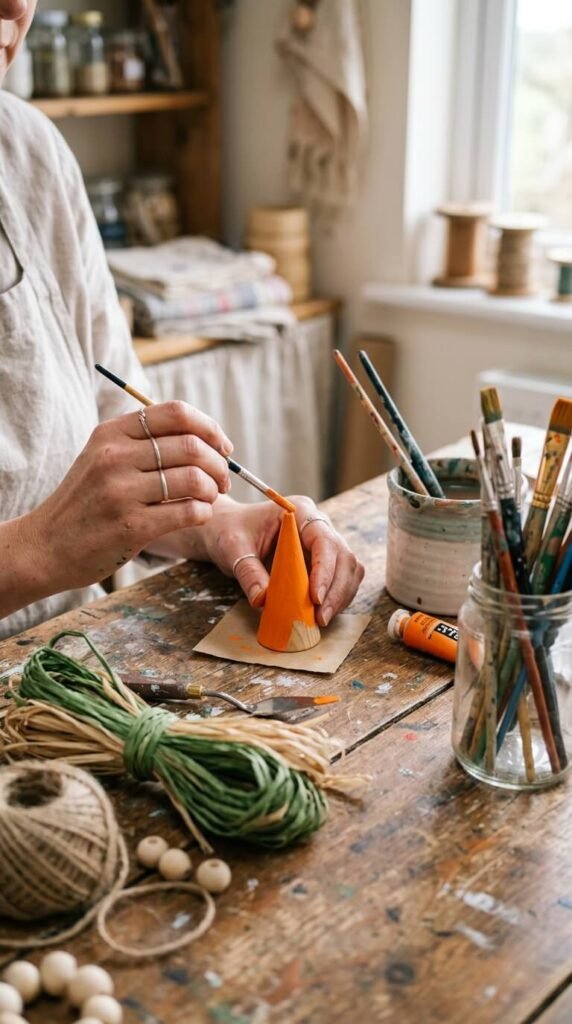
How to Make Wooden Carrot Decorations
Step 1: Shape Your Wood If you’re using craft store wood turnings, you’re already halfway there — many come pre-shaped in a cone or tapered form perfect for carrots. If working with scrap wood or dowels, use sandpaper to round the edges and create a more tapered look.
Step 2: Paint and Layer Apply two coats of orange acrylic paint, letting each coat dry fully. For a rustic, farmhouse look, lightly sand after the second coat to distress the surface. Add thin horizontal lines in a slightly darker orange to mimic the look of a real carrot.
Step 3: Add the Greens Drill a small hole in the top (or use strong wood glue) to insert a bundle of twine, raffia, or even dried greenery. Fluff it out to look like carrot tops. You can dip the ends in green paint for extra detail.
Step 4: Seal It Finish with a light coat of Mod Podge or matte varnish to protect your paint — especially important if these will sit near a window or be handled often.
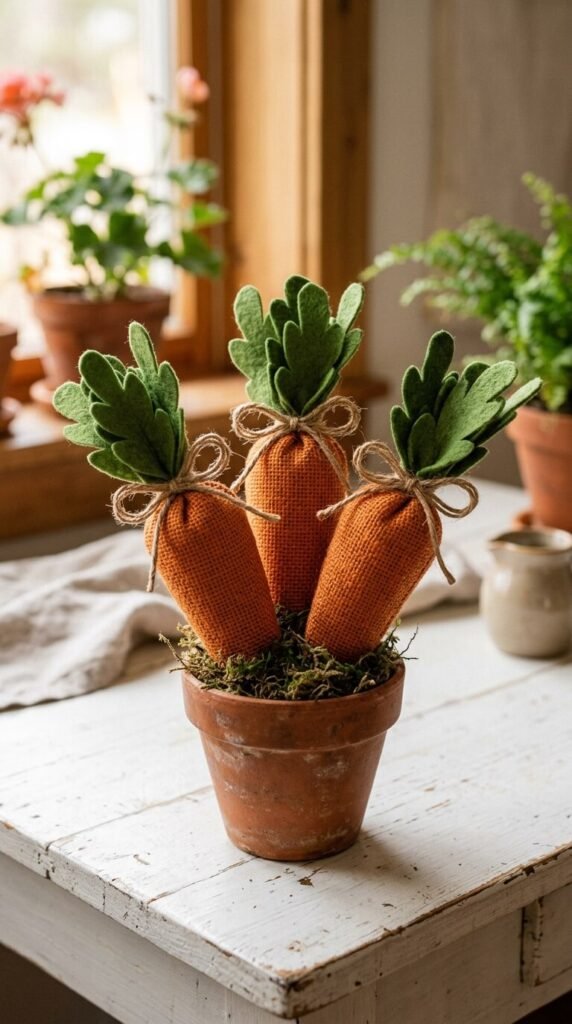
How to Make Fabric Carrot Decorations
Step 1: Cut Your Pattern Cut a triangle or cone shape from your orange fabric — about 8–10 inches tall for a standard decorative carrot. Cut two identical pieces.
Step 2: Sew and Stuff With right sides together, sew along the two long edges, leaving the top open. Turn right-side out, then stuff firmly with poly-fil until the carrot holds its shape. The more firmly you stuff it, the better it stands up.
Step 3: Add the Carrot Top Gather a handful of green felt strips, burlap fringe, or faux greenery. Pinch them together and insert into the open top of the carrot. Hot glue in place, then hand-stitch the opening closed around the stems.
Step 4: Style and Finish Wrap a piece of jute twine around the top of the carrot just below the greenery and tie a simple bow. This hides any raw edges and adds a darling finishing touch.
Tips for the Cutest Results
- Mix and match wooden and fabric carrots together for a layered, textured display
- Vary the sizes — make a few mini ones and one large statement carrot for visual interest
- Use chalk paint on wooden carrots for an ultra-matte, farmhouse-chic finish
- Add personalization by painting small polka dots or stripes on fabric carrots before sewing
Bring Your Spring Décor to Life
Whether you’re a seasoned crafter or just picking up a hot glue gun for the first time, these carrot decorations are the perfect weekend project. They come together quickly, cost very little, and make a huge impact on your spring vignettes.

Save this guide and come back to it every spring — once you make your first batch of handmade carrots, you’ll want to craft a new set every single year! 🥕