Ever walked past a boutique display and done a double-take at a flower arrangement — only to realize it was fabric? That’s the magic of a well-made fabric flower. Whether you’re decorating a wreath, dressing up a gift, or adding a handmade touch to your home, fabric flowers can look every bit as polished as something you’d find on a shelf. And the best part? You can make them yourself with a few simple materials and a little patience.
What You’ll Need Before You Start
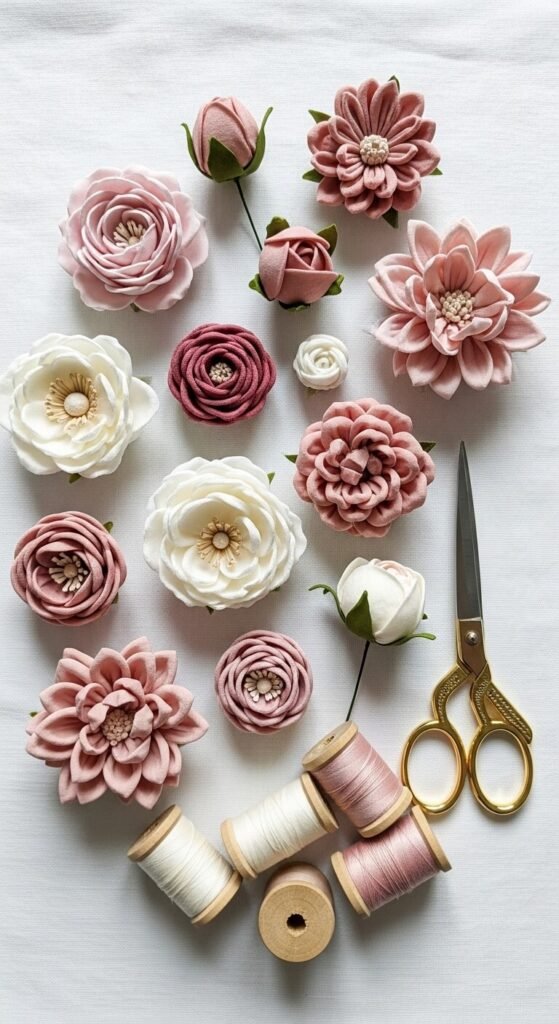
You don’t need a craft room full of supplies. A short, focused materials list is all it takes to get professional-looking results:
- Fabric — Chiffon, satin, felt, or cotton work beautifully. Each gives a different “feel” to the finished flower.
- Sharp fabric scissors — Dull scissors will fray your edges unevenly. This is non-negotiable.
- A hot glue gun — Your best friend in this project.
- Floral wire or stem wire — For flowers you want to display upright.
- A lighter or candle — For sealing chiffon or satin petal edges (more on this below).
- A button, bead, or pearl — For the flower center.
Pro tip: raid your fabric scraps bin first. Fabric flowers are one of the best ways to use up leftover material from other projects.
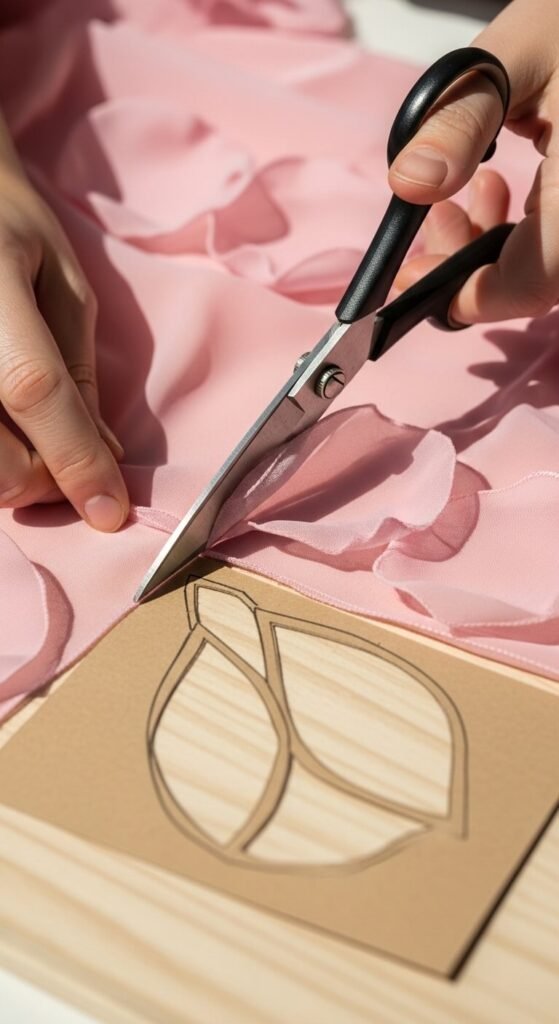
Cutting Your Petals: The Secret to a Realistic Look
This step makes or breaks the final result. Uneven, clunky petals = a craft-fair look. Smooth, intentional shapes = store-bought quality.
- Draw petal templates on cardstock first. A teardrop shape, a rounded square, and an elongated oval are the three most versatile options.
- Cut 5–7 petals per layer, and plan for 2–3 layers per flower.
- Vary the size slightly between layers — larger on the outside, smaller toward the center.
For a natural curl, use the rounded back of a spoon heated briefly over a candle to gently cup each petal inward. It takes about 10 seconds per petal and makes a huge difference.
Shaping & Sealing the Edges
If you’re using chiffon or satin, raw edges will fray — and not in a good way. Here’s how to seal them cleanly:
- Hold each petal close to (but not touching) a candle flame or lighter.
- Move it in a slow, steady arc for 1–2 seconds.
- The edge will slightly melt and curl inward, creating a soft, finished look.
Felt users, you’re off the hook — felt doesn’t fray, so you can skip this step entirely and move straight to assembly.
Assembling Your Flower
Now comes the fun part. Assembly goes faster than you’d expect:
- Start with your smallest petals and glue them in a tight cluster at the center.
- Layer the medium petals around them, offsetting each one slightly so there are no gaps.
- Add the largest outer petals last, fanning them outward for fullness.
- Finish with a button, pearl bead, or rolled fabric center glued right in the middle.

Hold each layer down for 10–15 seconds while the glue sets. Rushing this step leads to lopsided petals — and nobody wants that.
Finishing Touches That Elevate Everything
This is where “handmade” becomes “did you buy that?”:
- Add a calyx (the green base): Cut a small star shape from green felt and glue it to the back of the flower. Instant polish.
- Attach to wire stems: Use floral tape to wrap a piece of stem wire, then glue your flower on top. Now it can stand in a vase.
- Cluster in odd numbers: Groups of 3, 5, or 7 flowers always look more intentional than even groupings.
- Vary your fabric textures: Mixing matte felt with shiny satin in the same arrangement creates beautiful depth.
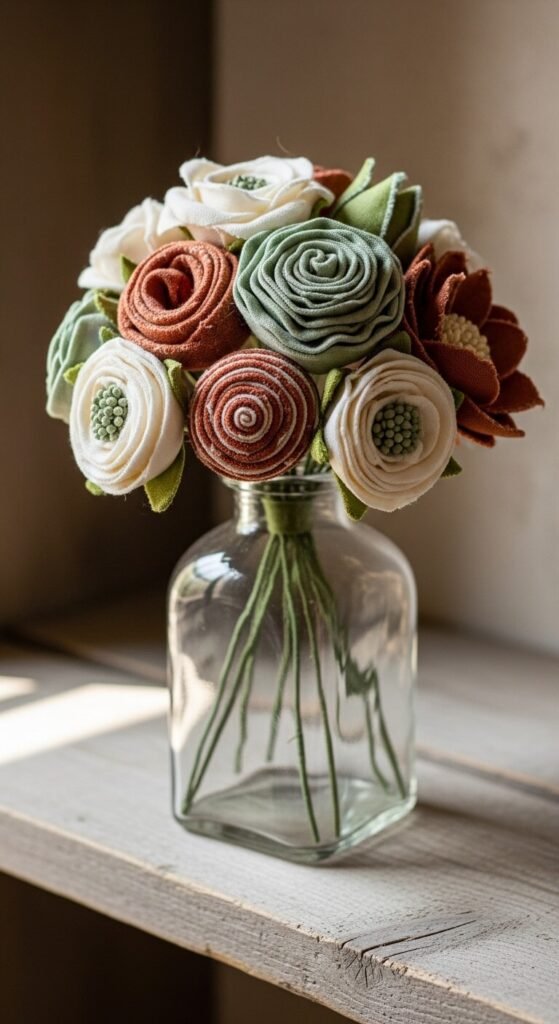
You’re Ready to Bloom
Fabric flowers are one of those crafts that reward you the more attention you give them — and once you nail the basics, the variations are endless. Try ombre petals, mix in lace for a vintage feel, or go bold with velvet for a luxe look.
Whether you’re making them for a wedding, a seasonal wreath, or just because — these little blooms are proof that handmade can absolutely look high-end.
Save this tutorial and start with one flower today. You might just end up making a whole garden. 🌸