There’s something quietly magical about bringing the outdoors in — and moss balls are one of the easiest, most satisfying ways to do it. Whether you’re styling a minimalist shelf, filling a glass bowl, or anchoring a centerpiece, these soft, earthy spheres add instant organic texture to any space. The best part? You don’t need a green thumb, a craft degree, or a big budget.
Let’s get into exactly how to make them — from materials to finishing touches.
What You’ll Need
Before you dive in, gather your supplies. Most of these can be found at a craft store, garden center, or even ordered online.
- Sheet moss or preserved moss (fresh or dried both work)
- Styrofoam balls in your preferred sizes (2–4 inches work great)
- Craft glue or a hot glue gun
- Scissors
- A bowl of water (if using dried moss)
- Twine or floral wire (optional, for hanging versions)
- Floral pins or U-pins (optional, for securing moss)
Tip: Preserved moss is a fantastic low-maintenance option — it holds its color and texture for months without any watering.
Step 1 — Prep Your Moss
If you’re working with dried sheet moss, start by soaking it in a bowl of water for about 5–10 minutes. This makes it pliable, easier to wrap, and less likely to crumble as you work.
Once it’s softened, gently squeeze out the excess water and lay the moss flat on a towel. You want it damp — not dripping.
If you’re using preserved moss, skip the soaking. It’s already ready to go straight from the bag.
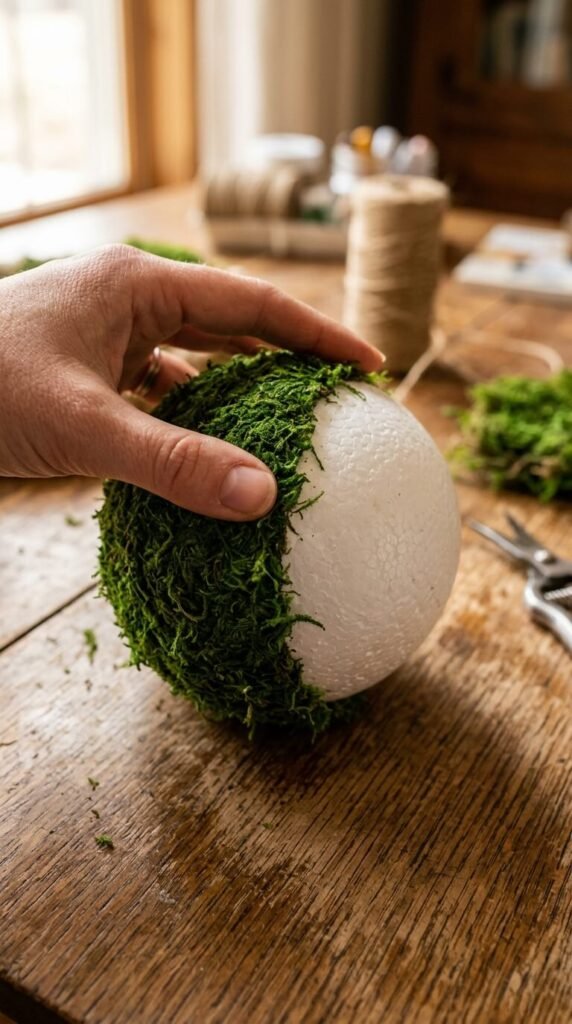
Step 2 — Apply Glue to Your Base
Take your Styrofoam ball and start applying glue in small sections — working in patches rather than all at once keeps the glue from drying before the moss sticks.
A hot glue gun gives you the fastest bond, but be careful around the foam. Some glue guns can melt Styrofoam if applied too long in one spot. If that’s a concern, use craft glue instead and allow extra drying time.
Work around the ball gradually, pressing pieces of moss firmly into each glued section as you go.
Step 3 — Wrap and Press the Moss
This is the most satisfying part. Tear or cut your moss into manageable pieces and press them onto the glued surface, overlapping edges slightly for full, seamless coverage.
Don’t worry about perfection — the beauty of moss balls is in their organic, imperfect texture. Gaps, bumps, and variations in color actually make them look more natural and interesting.
Use floral pins to tuck in any stubborn edges or hold larger pieces in place while the glue sets.
Step 4 — Let Them Dry and Set
Once your moss ball is fully covered, set it aside on a dry surface and let it cure for at least an hour. If you used craft glue, give it a full 2–3 hours before handling.
This is a great time to make a few more — moss balls always look better grouped in odd numbers (3, 5, or 7).
Creative Ways to Display Moss Balls
Once they’re dry, the styling fun begins. Here are some ideas to get you inspired:
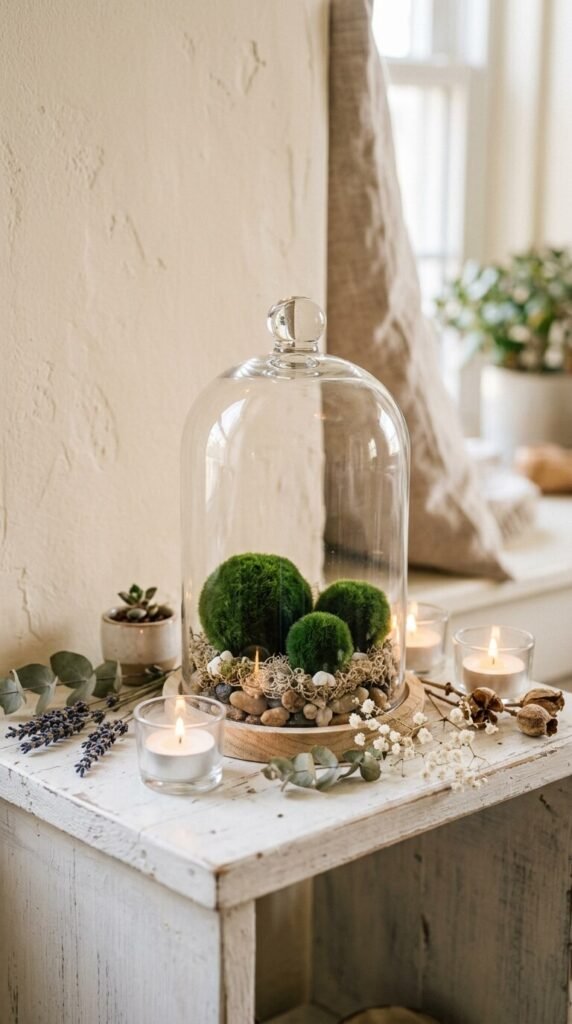
- Stack them in a glass cloche or apothecary jar for an earthy terrarium look
- Arrange in a shallow tray with pebbles and driftwood for a Zen-inspired vignette
- Hang them with jute twine at varying heights for a boho wall installation
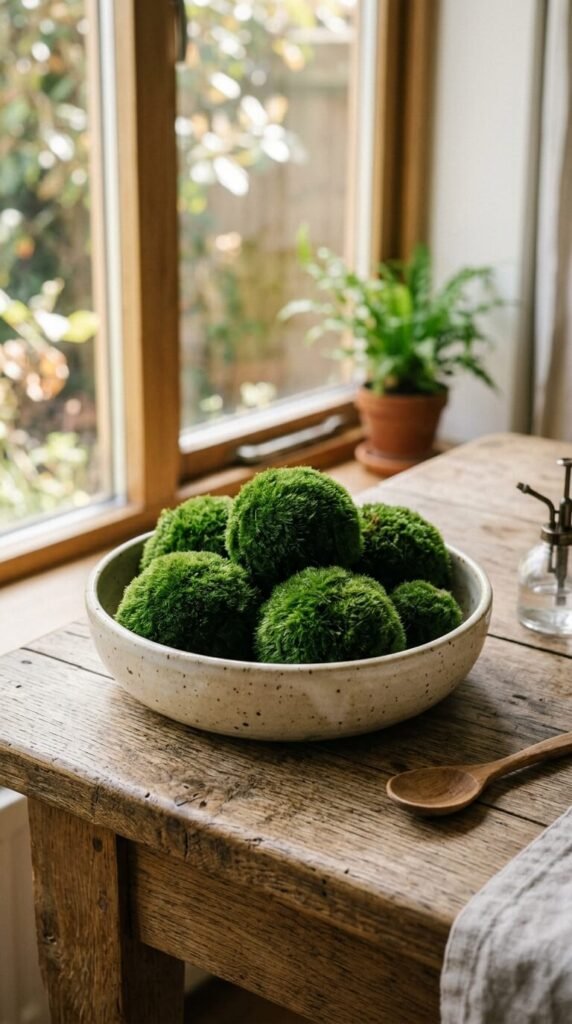
- Mix different sizes in a wooden bowl as a living-inspired centerpiece
- Tuck them into a bookshelf between books and objects for unexpected texture
Tips for Long-Lasting Moss Balls
- Avoid direct sunlight — it can fade the color over time
- Mist occasionally if you used fresh moss to keep it looking vibrant
- Preserved moss needs zero maintenance — just dust lightly as needed
- Store in a cool, dry place if you’re not using them seasonally
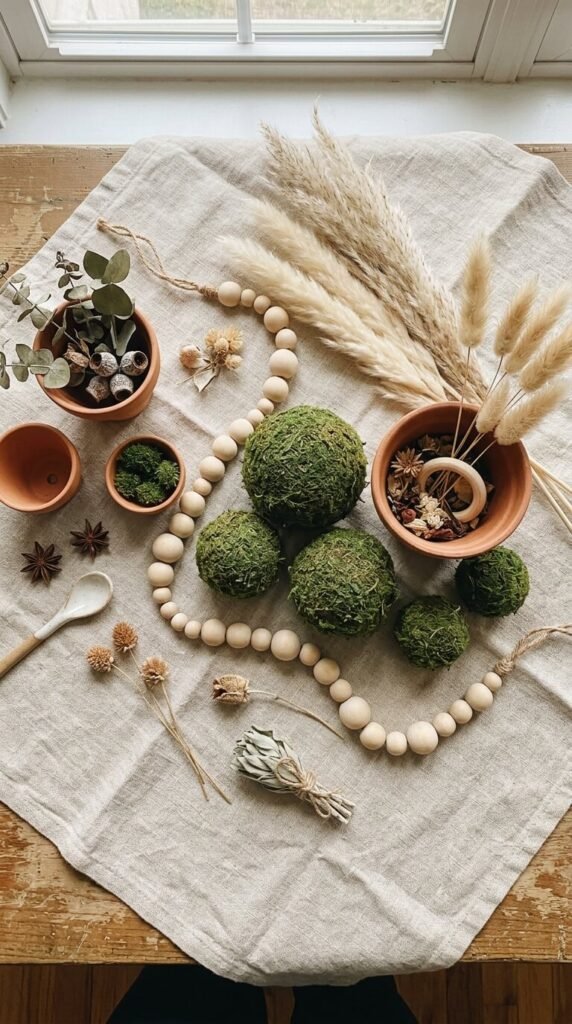
[Image Prompt] A styled flat lay of moss balls, dried pampas grass, small terracotta pots, and wooden beads arranged on a linen cloth, earthy tones, Pinterest-style overhead shot.
Ready to Bring Nature Indoors?
Moss balls are one of those rare DIY projects that look high-end, cost almost nothing, and come together in under an hour. They’re endlessly versatile, naturally beautiful, and completely beginner-friendly.
Make a set this weekend, experiment with groupings, and watch how much life a little greenery adds to your shelves, tables, and corners. Save this tutorial for your next cozy craft day — and don’t forget to share your moss ball creations! 🌿