There’s something quietly magical about turning a handful of twigs, moss, and feathers into a decoration that looks like it belongs in a woodland fairy tale.
Whether you’re crafting for spring, Easter, a rustic wedding centerpiece, or just because nature called — nest decorations are one of those projects that feel as good to make as they look on display. The best part? Your backyard, a nearby park, or even a simple craft store nature bin has everything you need.
What You’ll Need to Get Started
Before you head outside for a foraging walk, here’s a general list of natural materials to look for:
- Twigs and thin branches — the thinner and more flexible, the better
- Dried grass, straw, or raffia — perfect for filling and weaving
- Moss — adds a lush, earthy texture
- Feathers — foraged or craft-store bought
- Pine cones, acorns, or small stones — great for decoration inside the nest
- Floral wire or natural twine — helps hold everything together
- Hot glue gun — your best friend for securing loose pieces
You don’t need all of these. The charm of this project is in using what you find. Every nest will be completely one-of-a-kind.
Step 1 — Build Your Base
Start by gathering your longest, most flexible twigs. Soak them briefly in warm water if they feel stiff — this makes them much easier to bend without snapping.
Shape a loose circle about 6–8 inches in diameter (or smaller for a mini nest). Twist and weave the twigs around each other, overlapping them naturally the way a bird would. Don’t overthink this — imperfect is the goal.
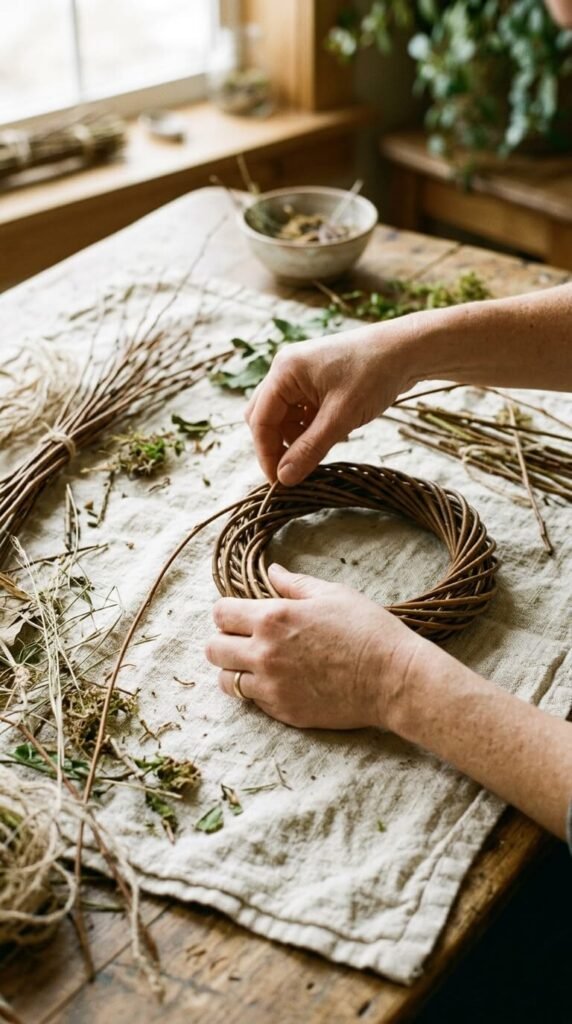
Use a small piece of floral wire or twine to tie a few key overlapping points together. This keeps the shape from collapsing while you build up the layers.
Step 2 — Add Your Inner Layers
This is where the nest starts to feel real. Press dried grass, straw, or raffia into the center of your twig base, weaving it gently through the gaps. Push it inward and downward to create a natural cup shape in the middle.
Then tuck in pieces of moss around the inner edge. Moss is forgiving and fills in beautifully — it also adds wonderful color contrast against the brown twigs.
Tips for this step:
- Work in small handfuls rather than big clumps
- Alternate between grass and moss for a more natural layered look
- A tiny dab of hot glue under the moss keeps it locked in place
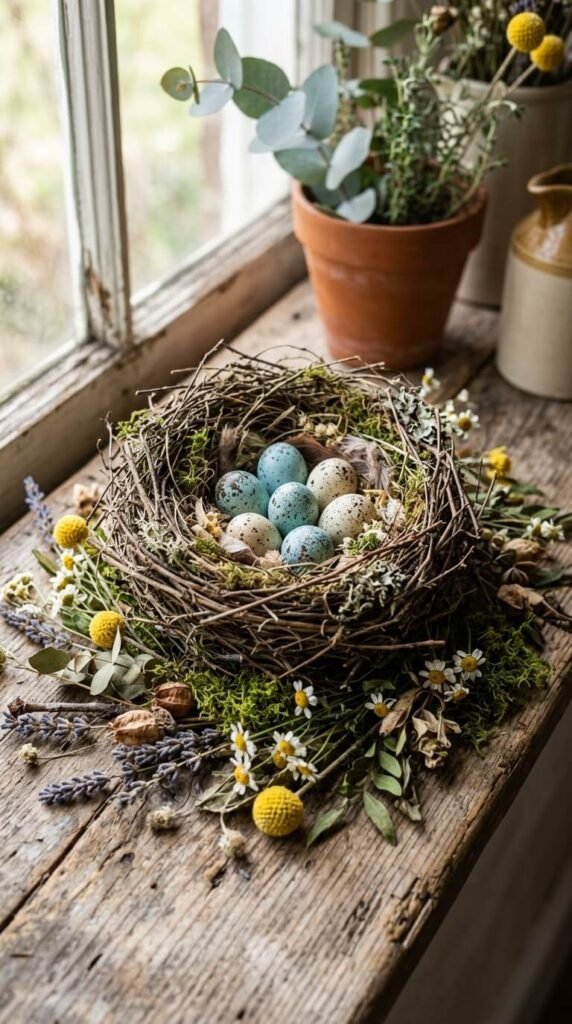
Step 3 — Decorate the Inside
Now comes the fun part — filling your nest with decorative treasures.
Some beautiful ideas for what to tuck inside:
- Faux or real bird eggs — classic and timeless
- Smooth river stones painted in pastels
- Tiny wildflowers or dried botanicals
- A single candle or tea light (for a centerpiece)
- Crystal clusters or geodes for a boho touch
Arrange your fillers loosely — nests in nature aren’t perfectly styled, and that natural messiness is exactly what makes them charming.
Step 4 — Finishing Touches
Step back and look at your nest from above and from the side. Add a few final touches:
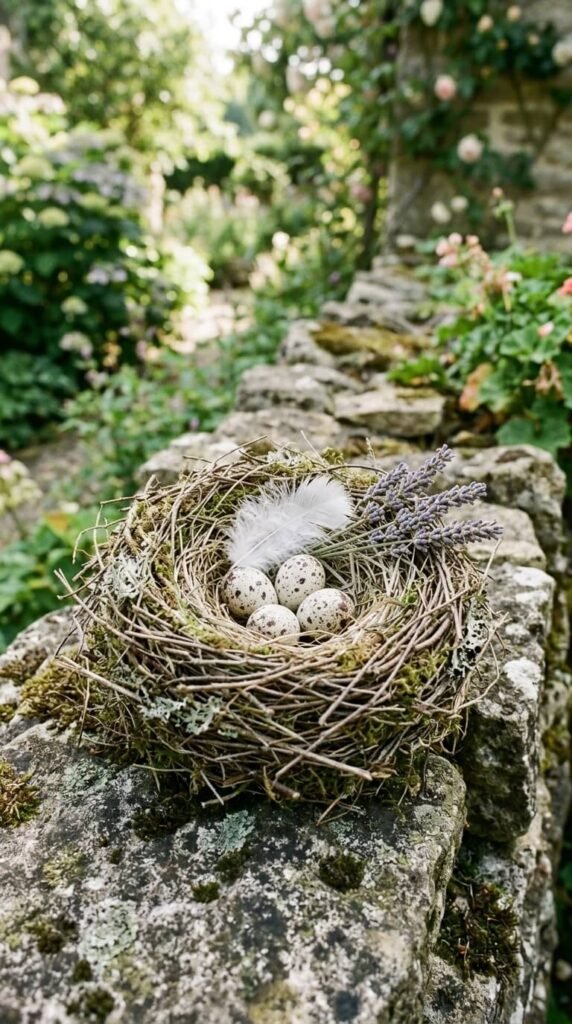
- Tuck extra feathers into the outer edges for texture
- Press a small sprig of dried eucalyptus or lavender into the moss
- If your nest feels too loose, add a little more hot glue at the base from underneath

Ways to Display Your Nest Decorations
Once you’ve made one, you’ll want to make a dozen. Here are some display ideas:
- On a tiered tray with seasonal accents
- As a table centerpiece surrounded by pillar candles
- Hanging on a wreath with a ribbon or wire loop
- On a bookshelf or mantle tucked between plants and books
- As a gift nestled in tissue paper inside a gift box
Bring a Little Nature Indoors
Nest decorations are one of those crafts that reconnect you with slow, intentional making. There’s no screen required, no complicated technique to master — just your hands, a little patience, and the quiet beauty of natural materials.
Save this article for your next crafting afternoon, and share your finished nests in the comments below — we’d love to see what you create! 🌿