There’s something almost magical about lighting a candle that smells like a fresh spring morning — like dewy lavender fields, blooming citrus trees, or a warm garden after rain. The best part? You don’t need a fancy studio or expensive equipment to create them. With just a few simple supplies and the right essential oils, you can pour your own beautiful spring candles right at your kitchen counter.
Whether you’re making them as gifts or treating yourself, homemade candles are a creative, calming, and surprisingly affordable DIY project. Let’s get into it.
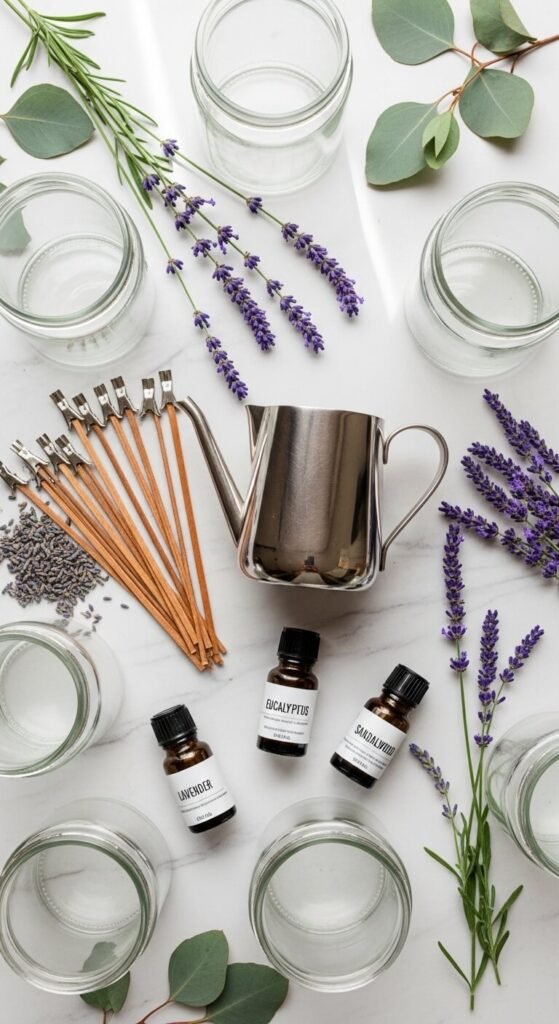
What You’ll Need
Before you start melting anything, gather your supplies. Here’s a simple shopping list to get you set up:
For the candle base:
- Soy wax flakes (clean-burning and beginner-friendly)
- Glass jars or tins (mason jars work beautifully)
- Cotton or wooden wicks
- Wick stickers or a small dab of hot glue
- A pouring pitcher or heat-safe measuring cup
- A double boiler or microwave-safe bowl
- A thermometer
For your spring scent blends:
- Essential oils — lavender, lemon, eucalyptus, bergamot, rosemary, or ylang-ylang
- Fragrance load: about 1 oz of essential oil per 1 lb of wax (roughly 6%)
Tip: Soy wax is ideal for essential oils because it holds scent well and burns slower than paraffin. It’s also a natural, eco-friendly choice.

Step 1: Prepare Your Jars and Wicks
Start by centering your wick in each jar. Use a wick sticker or a tiny dot of hot glue to secure the metal base to the bottom of the container. Then, use a wick bar, two pencils, or even a chopstick laid across the top of the jar to keep the wick upright and centered while the wax sets.
This step matters more than it seems — a crooked wick leads to uneven burning and tunneling later on.
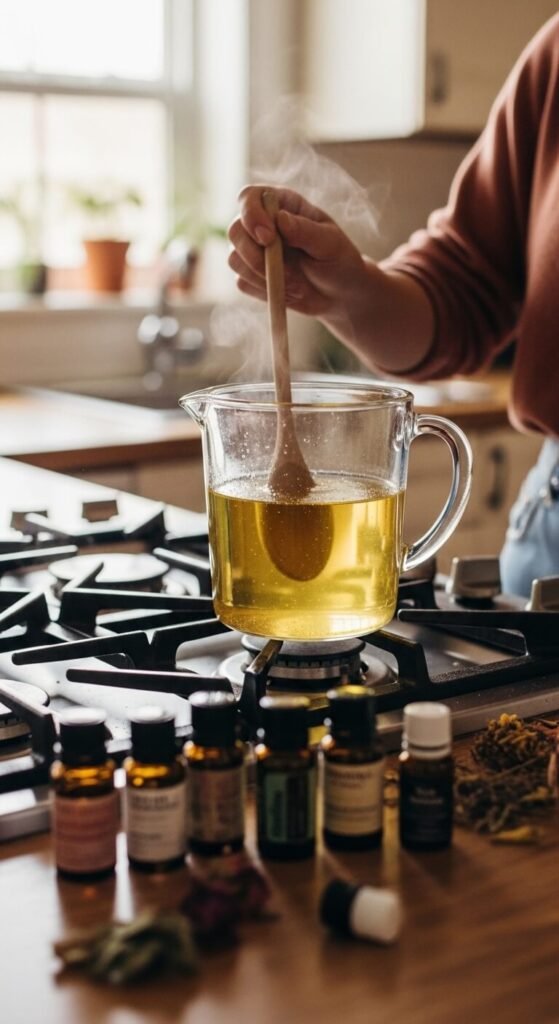
Step 2: Melt the Wax
Measure your soy wax flakes and melt them using a double boiler over medium-low heat, stirring gently. If you’re using a microwave, heat in 30-second intervals and stir between each round.
Target temperature: Melt until the wax reaches 170–180°F, then remove from heat and let it cool slightly to around 140–150°F before adding your essential oils.
Why wait to add the oils? Adding essential oils to wax that’s too hot will cause them to evaporate before the candle even sets — and you’ll lose most of that gorgeous scent.
Step 3: Blend Your Spring Scents
This is the fun part! Here are a few spring-inspired essential oil combinations to try:
- 🌸 Garden Party: Lavender + Bergamot + a hint of Rosemary
- 🍋 Citrus Bloom: Lemon + Sweet Orange + Ylang-Ylang
- 🌿 Fresh Morning: Eucalyptus + Peppermint + Lime
- 🌼 Floral Spa: Geranium + Lavender + Cedarwood
Stir your chosen blend into the cooled wax slowly and thoroughly for about 2 minutes. This helps the scent bind evenly to the wax.
Step 4: Pour and Set
Carefully pour the scented wax into your prepared jars, leaving about half an inch of space at the top. Pour slowly to avoid air bubbles.
Let your candles cool at room temperature — don’t move them to the fridge or freezer, as rapid cooling can cause sinkholes and cracking on the surface.
Cooling time: Allow at least 24 hours before trimming the wick and lighting.
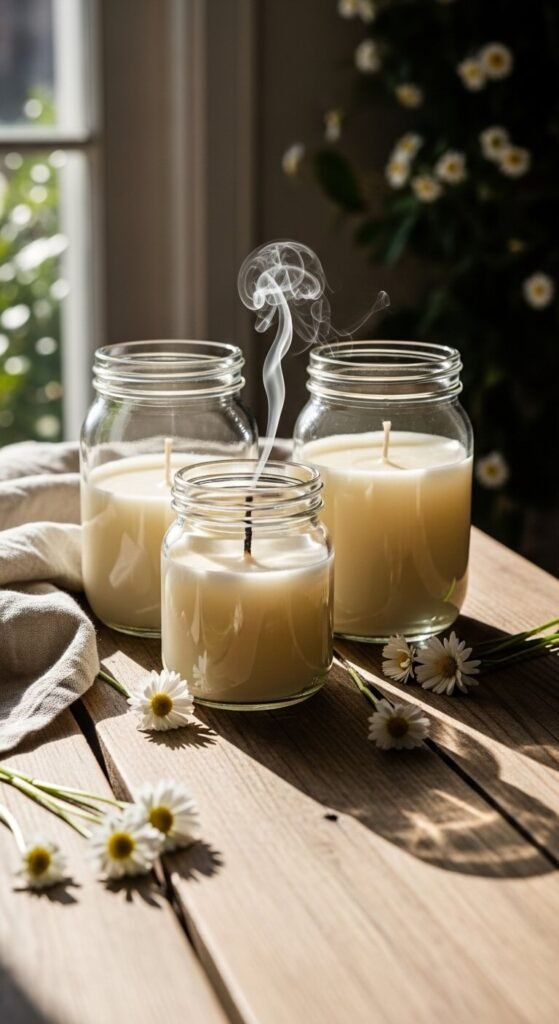
Step 5: Trim, Cure, and Enjoy
Once fully set, trim your wick to about ¼ inch for a clean, even burn. For the best scent throw, let your candles cure for 3–5 days before their first burn. Patience pays off here — the scent deepens significantly during this time.
When you finally light it? Pure spring bliss.
A Few Pro Tips Before You Go
- Always burn your candle for at least 1 hour on the first use so the wax melts to the edges (prevents tunneling).
- Store unused candles away from direct sunlight to preserve the essential oil scent.
- Label your jars with the scent blend — you’ll thank yourself later when you want to recreate a favorite.
- Tie a piece of twine or dried florals around the jar for an adorable gift-ready look.
Ready to Pour Your First Spring Candle?
Making your own essential oil candles is one of those weekend projects that feels both productive and deeply satisfying. You end up with something beautiful, something that smells amazing, and something that’s completely, uniquely yours.
Pin this guide, gather your supplies, and make a candle afternoon out of it. Your home — and everyone you gift them to — will thank you. 🕯️🌸