Spring is calling — and all it takes is a mason jar, a handful of blooms, and a little creativity to bring that fresh-season magic right into your home. Whether you’re dressing up your kitchen windowsill, creating a centerpiece for brunch, or adding charm to a porch table, mason jar vases are the easiest (and most budget-friendly) DIY you’ll try this season.
The best part? You probably already have everything you need. Let’s get into it.
What You’ll Need
Before you start, gather your supplies. Nothing here requires a trip to a specialty store — this is all about working with what you have and making it beautiful.
Mason jars (any size — pints, quarts, or those adorable half-pints)
Fresh or faux spring flowers (tulips, ranunculus, daffodils, eucalyptus, or wildflowers)
Twine, ribbon, or lace trim
Paint, chalk paint, or glass spray paint (optional)
Floral foam or clear marbles (for arranging)
Scissors and floral wire (optional)
Labels or kraft paper tags (for a rustic touch)
Step 1 — Choose Your Vibe
Mason jars are endlessly versatile, so the first step is deciding on your aesthetic. Spring lends itself to a few gorgeous styles:
Rustic farmhouse — raw wood tray, white or cream jars, wildflowers and greenery
Soft & romantic — blush-painted jars, peonies, trailing ivy, silk ribbon
Bright & playful — clear jars, bold tulips in yellow and coral, colorful twine
Boho garden — earthy tones, dried pampas grass, eucalyptus, and lavender
Pick one and build everything around it — your flower choices, your jar finish, and your arrangement style will all follow naturally.
Step 2 — Prep Your Jars
Plain mason jars are lovely on their own, but a little prep work takes them from “pantry staple” to “Pinterest-worthy.”
To paint: Apply chalk paint with a foam brush in thin layers. Two coats give a beautiful matte finish. Let dry completely before adding flowers.
To wrap: Cut a length of twine and wrap it around the neck of the jar, securing with a knot or a dab of hot glue. Layer with lace for a vintage feel.
To leave clear: Simply clean the glass until it sparkles — clear jars let the stems and water become part of the display, which looks stunning with colorful tulips or tropical greenery.

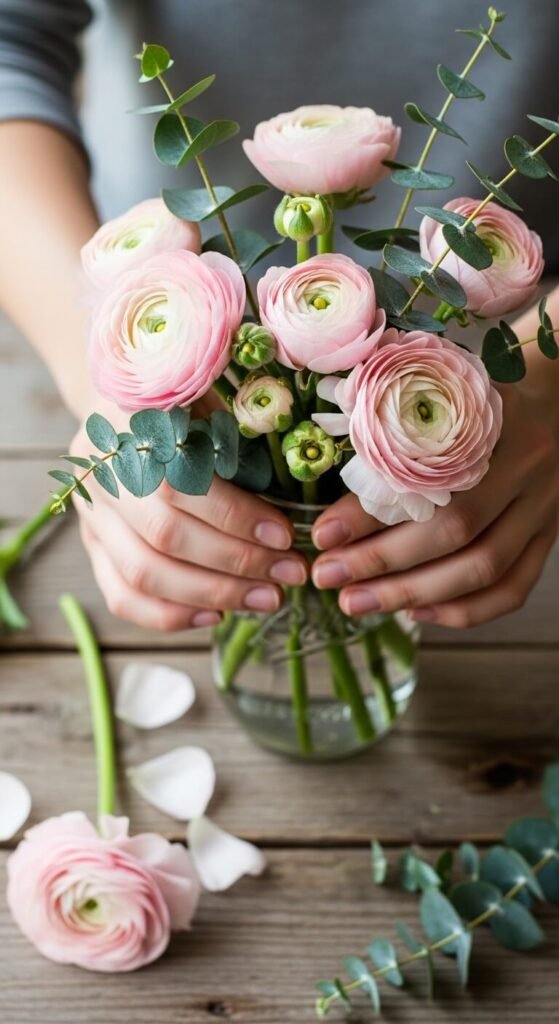
Step 3 — Arrange Your Flowers Like a Pro
This is where the magic happens. You don’t need to be a florist — just follow these simple tricks:
Vary the heights. Trim stems at different lengths so flowers cascade naturally rather than sitting in a flat, uniform line.
Start with greenery. Eucalyptus, ferns, or ivy create a lush base and fill gaps beautifully.
Use the “odd number” rule. Three or five blooms per jar always looks more natural than even numbers.
Add texture. Mix soft petals with wispy grasses or seed pods for visual interest.
Criss-cross stems inside the jar to create a natural grid that holds blooms in place — no floral foam needed.
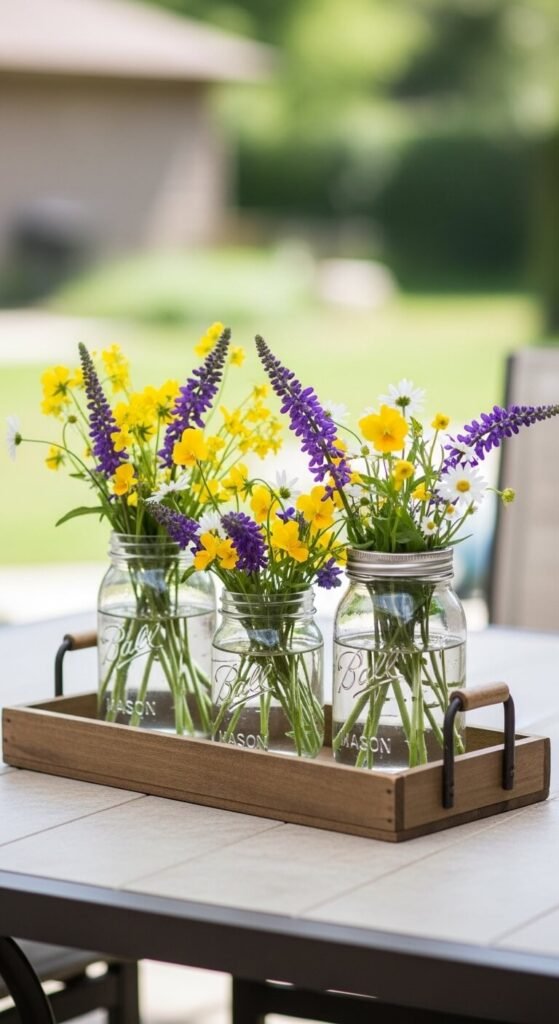
Step 4 — Style Your Display
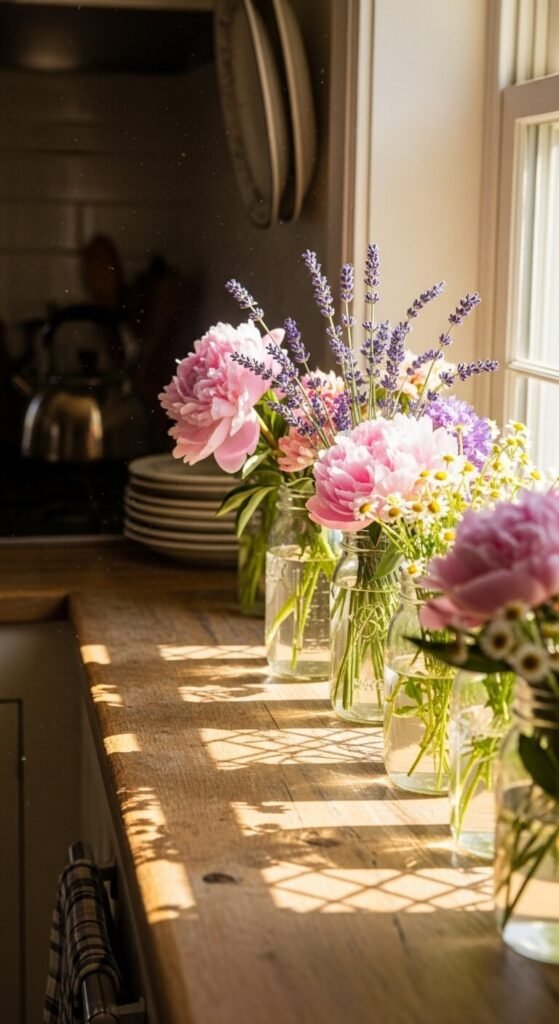
A single mason jar vase is charming. A cluster of them is absolutely stunning.
Try grouping three jars of varying heights on a wooden tray or cutting board. Mix sizes — a tall quart jar flanked by two small half-pints creates beautiful visual balance. Tuck in a candle or two, add a small kraft paper tag with a spring quote, and you have an effortless centerpiece.
For a porch or outdoor table, line up five jars along the center, alternating painted and clear, with wildflowers and trailing greenery spilling over the edges.
The Takeaway
Mason jar vases are proof that beautiful doesn’t have to mean expensive. With a few jars, some seasonal blooms, and five minutes of your time, you can transform any corner of your home into a fresh spring moment.