Spring is basically begging to come inside your home — and your tiered tray is the perfect place to let it in. Whether yours has been sitting bare since Valentine’s Day or is still rocking its winter pinecone look, a quick seasonal refresh is all it needs. The best part? You don’t need a design degree, a big budget, or even a full afternoon. Ten minutes, a few simple items, and you’re done. Let’s do this.
Start With a Clean Slate
Before you style anything, clear the tray completely. Give it a quick wipe-down so you’re starting fresh. This one step makes the whole process feel intentional rather than cluttered.
Now, take a quick look at what you already own. Spring styling doesn’t mean buying everything new — it means rethinking what you have. Check your:
Kitchen junk drawers for small candles or mini frames
Holiday bins for pastel or floral items
Garden shelf for tiny pots or seed packets
Bookshelf for small ceramic animals or bookends
You’d be surprised how much you already have hiding in plain sight.
Choose a Color Palette First
This is the secret step most people skip — and it’s why some trays look curated while others look chaotic.
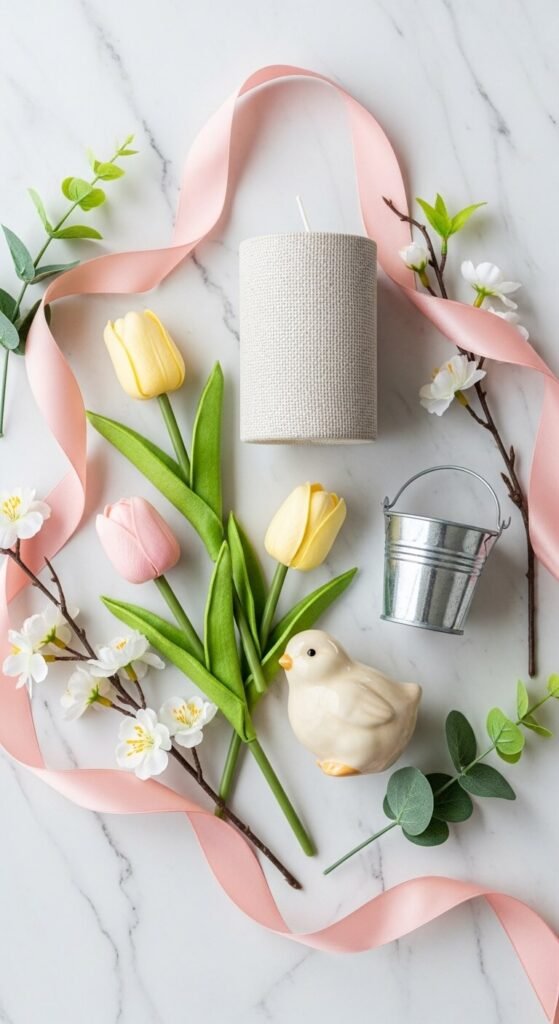
Pick 2–3 colors that feel like spring to you. Classic combos include:
Soft green + white + blush pink
Lavender + cream + sage
Butter yellow + mint + natural wood tones
Stick to your palette when selecting items, and the tray will look cohesive even if the objects are totally different shapes and sizes.
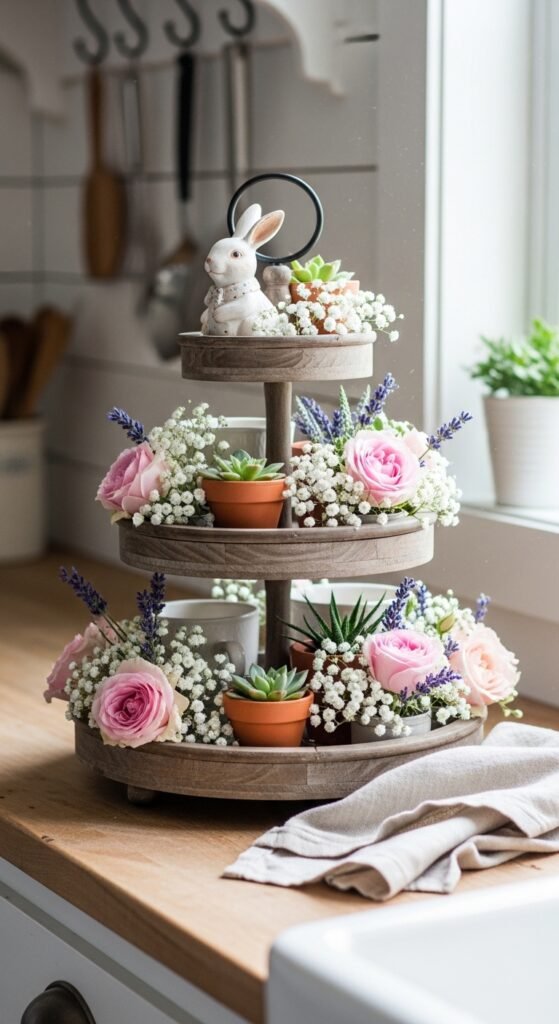
Build in Layers: The Rule of Three
Tiered trays look best when you vary height, texture, and type of item on each level. Follow this simple formula for each tier:
One tall item — a candle, small vase, or lantern
One medium item — a figurine, small plant, or decorative jar
One small filler — a sprig of faux flowers, moss ball, or mini sign
You don’t have to overthink it. Just make sure no two items on the same tier are the exact same height.
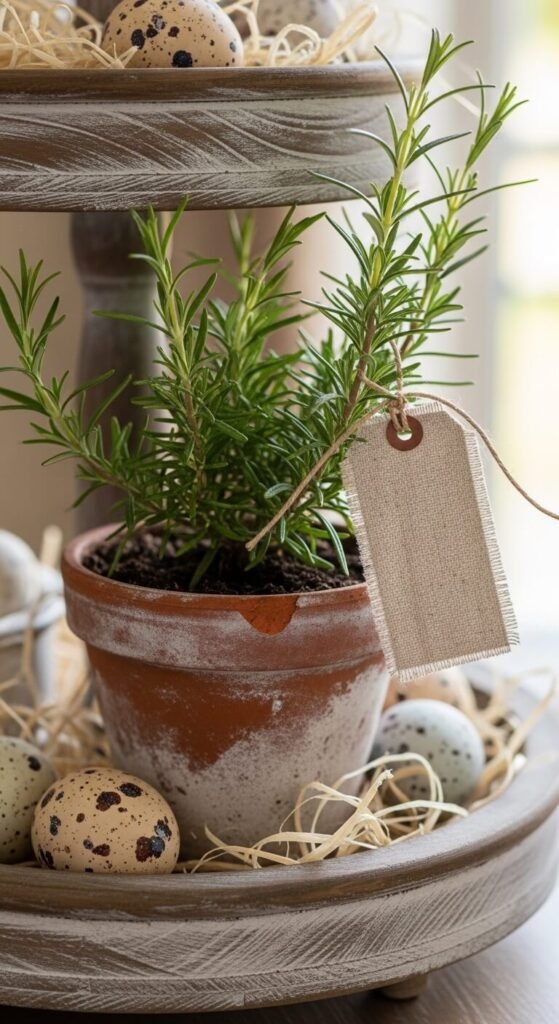
Add a Natural Element
Nothing says spring like something alive (or at least looking like it is). Adding a natural element instantly warms up the whole tray and keeps it from feeling too “dollar store.”
Great options include:

A small potted succulent or herb (rosemary smells amazing)
A bundle of fresh or dried eucalyptus
A few stems of grocery store tulips in a tiny bud vase
A nest with a few decorative eggs
Even a single stem from your backyard in a little jar works beautifully.
Finish With a Filler
Once your main pieces are placed, step back and look for any gaps that feel empty or awkward. This is where your filler items save the day:
Curling ribbon or twine
Small wood bead garlands draped loosely
Faux flower stems tucked at angles
A folded mini linen napkin or tea towel
These little details make the tray look finished rather than thrown together.
The 10-Minute Tray Checklist
Before you call it done, run through this quick list:
✅ Color palette is consistent
✅ Each tier has varied heights
✅ There’s at least one natural or organic element
✅ No tier feels too crowded or too empty
✅ It makes you smile when you look at it
That last one matters most.
You’re Done — Go Enjoy Spring
See? Ten minutes, no stress, and your tiered tray is officially ready for the season. Styling your home for spring doesn’t have to be a whole production. Small, intentional touches in everyday spaces like your kitchen counter or entryway table make a bigger impact than you’d think.